You will also have the opportunity to unleash your creativity and design a skateboard that reflects your personal style.
Materials Needed
Before you begin drawing your electric skateboard, its important to gather the necessary materials.
Pencils of different grades give you the flexibility to create light or dark lines, depending on your preferences.
Erasers are essential for fixing mistakes and refining your drawings.
Colored pencils or markers can help bring your electric skateboard to life with vibrant colors.
So, lets move on to the first step: gathering your supplies!
Take your time, have fun with it, and be open to experimentation.
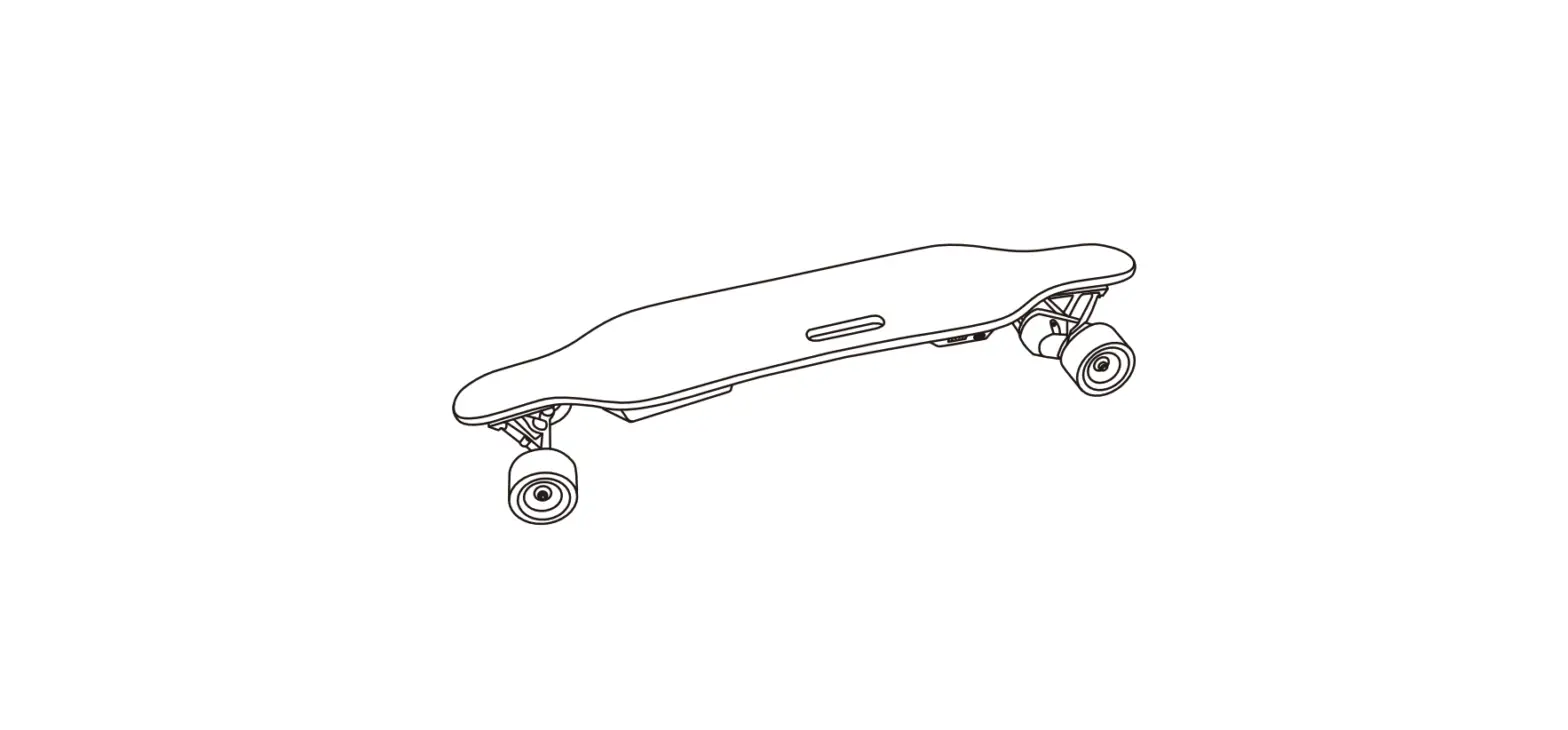
Take your time to capture the details and characteristics that give your electric skateboard a realistic and functional appearance.
These elements help to make your artwork stand out and reflect your unique style.
Be creative and have fun with it!
With the coloring complete, you have successfully reached the final step of creating your electric skateboard drawing.
Now you’ve got the option to admire and showcase your unique and colorful design!
Final Thoughts
Congratulations on completing your journey of drawing an electric skateboard step by step!
Embrace the opportunity to experiment, make adjustments, and explore different ideas along the way.
Allow yourself to take risks and add your own artistic touch to your design.
Dont be afraid to continue practicing and honing your skills.
The more you draw, the more you will improve your technique and develop your own unique style.
Remember to have fun throughout the process.
Enjoy the journey of bringing your electric skateboard to life on paper and let your imagination soar.
Keep your artwork as a reminder of your artistic accomplishment and as inspiration for future drawings.
Share your creation with others to showcase your skills and inspire fellow artists and skateboard enthusiasts.
