However, the core steps remain the same, regardless of the platform.
Before we begin, verify you have your SD card and the necessary cables handy.
Most modern laptops and desktop computers have built-in SD card slots.
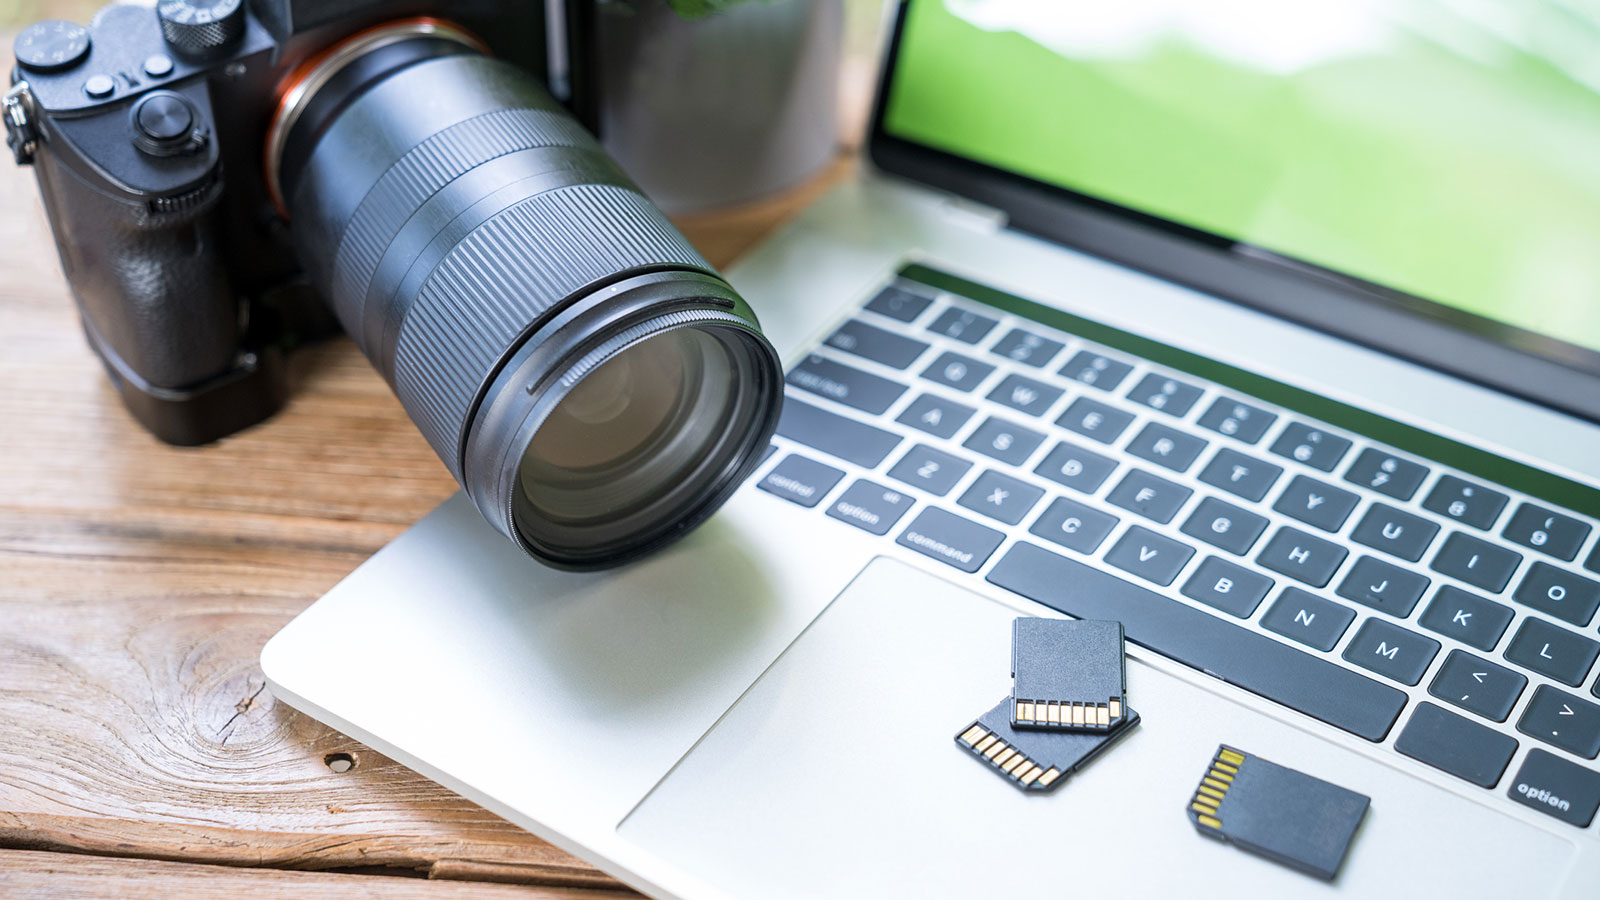
once you nail inserted the SD card, the computer will automatically recognize it as a removable storage rig.
You may hear a notification sound or see a pop-up window confirming the detection of the SD card.
If this doesnt happen, dont worry.
it’s possible for you to proceed to the next steps without any issues.
Ensure that you are inserting the SD card into the correct slot that matches its size and format.
Look for the name or label of your SD cardin the left-hand pane of the File Explorer window.
It may be listed under the This PC or Devices and drives section.
hit the label of your SD card to access its contents.
This section contains a list of all the storage devices connected to your system, including the SD card.
Look for the name or label of your SD card within this section.
It is usually displayed as a removable storage gear.
The label of your SD card may vary depending on your machine or how it has been named.
Sometimes, it may take a moment for the computer to recognize and display the SD card.
after you grab located your SD card, punch its label to get into the contents.
The File Explorer will display the files and folders stored on the SD card in the main window.
Take a moment to familiarize yourself with the organization of your SD card.
You may find one or more folders containing your pictures.
These folders could be organized by date, event, or any other categorization you have established.
Navigate through the folders and subfolders to find the pictures you wish to download.
When you locate a picture that you want to download, tap on it to select it.
The selected picture will be highlighted or marked in some way to indicate that it has been chosen.
Take your time, ensuring that you dont miss any important pictures that you want to keep.
To copy the selected pictures, right-tap on one of the selected images.
A context menu will appear.
From the menu, snag the Copy option.
Alternatively, you could use the keyboard shortcut Ctrl + C to copy the selected files.
This could be your desktop, a specific folder, or any other location of your choice.
Right-click within the desired folder or location and choose the Paste option from the context menu.
The selected pictures will then be copied from the SD card to the specified folder on your rig.
Depending on the number and size of the pictures, the copying process may take a few moments.
You will see a progress bar indicating the status of the file transfer.
This allows you to easily identify and manage your pictures later on.
Double-check the destination folder to verify the presence of the downloaded images.
By choosing a specific folder, you’re free to keep your downloaded pictures well-organized and easily accessible.
Navigate to the location on your setup where you want to create a new folder or paste the pictures.
You may choose to paste them directly onto your desktop or within an existing folder.
The selected pictures will then be pasted into the folder or location you have chosen.
Depending on the number and size of the pictures, the pasting process may take a few moments.
You will see a progress bar indicating the status of the file transfer.
Ensure that you have enough space on your computers storage gadget to accommodate the pasted pictures.
You should see the downloaded pictures displayed within the folder, maintaining their original file names and formats.
you might now move on to the final step safely removing the SD card from your machine.
Removing the SD card safely also helps extend the lifespan of the card and prevents potential hardware issues.
We started by inserting the SD card into the computer and opening the File Explorer to locate the card.
Next, we selected the desired pictures and copied them from the SD card.
Then, we pasted the pictures into a folder of our choice on the computer.
Finally, we safely removed the SD card from the computer, completing the process.
Always follow the recommended steps for safely removing the SD card to maintain its integrity and longevity.
It allows you to take control of your digital photo collection and enjoy your memories for years to come.
