Introduction
Welcome to the world of music!
In this guide, well show you the step-by-step process of downloading music from a CD to your system.
In the digital age, CDs are becoming less common as music has transitioned to online streaming platforms.
However, many music lovers still have a CD collection they want to access on their computers.
Downloading music from a CD to your computeris relatively straightforward.
you’re free to then listen to the songs at your convenience or transfer them to other devices.
Throughout this guide, well provide detailed instructions for each step of the process.
This step is essential as it allows your machine to recognize the CD and access its contents.
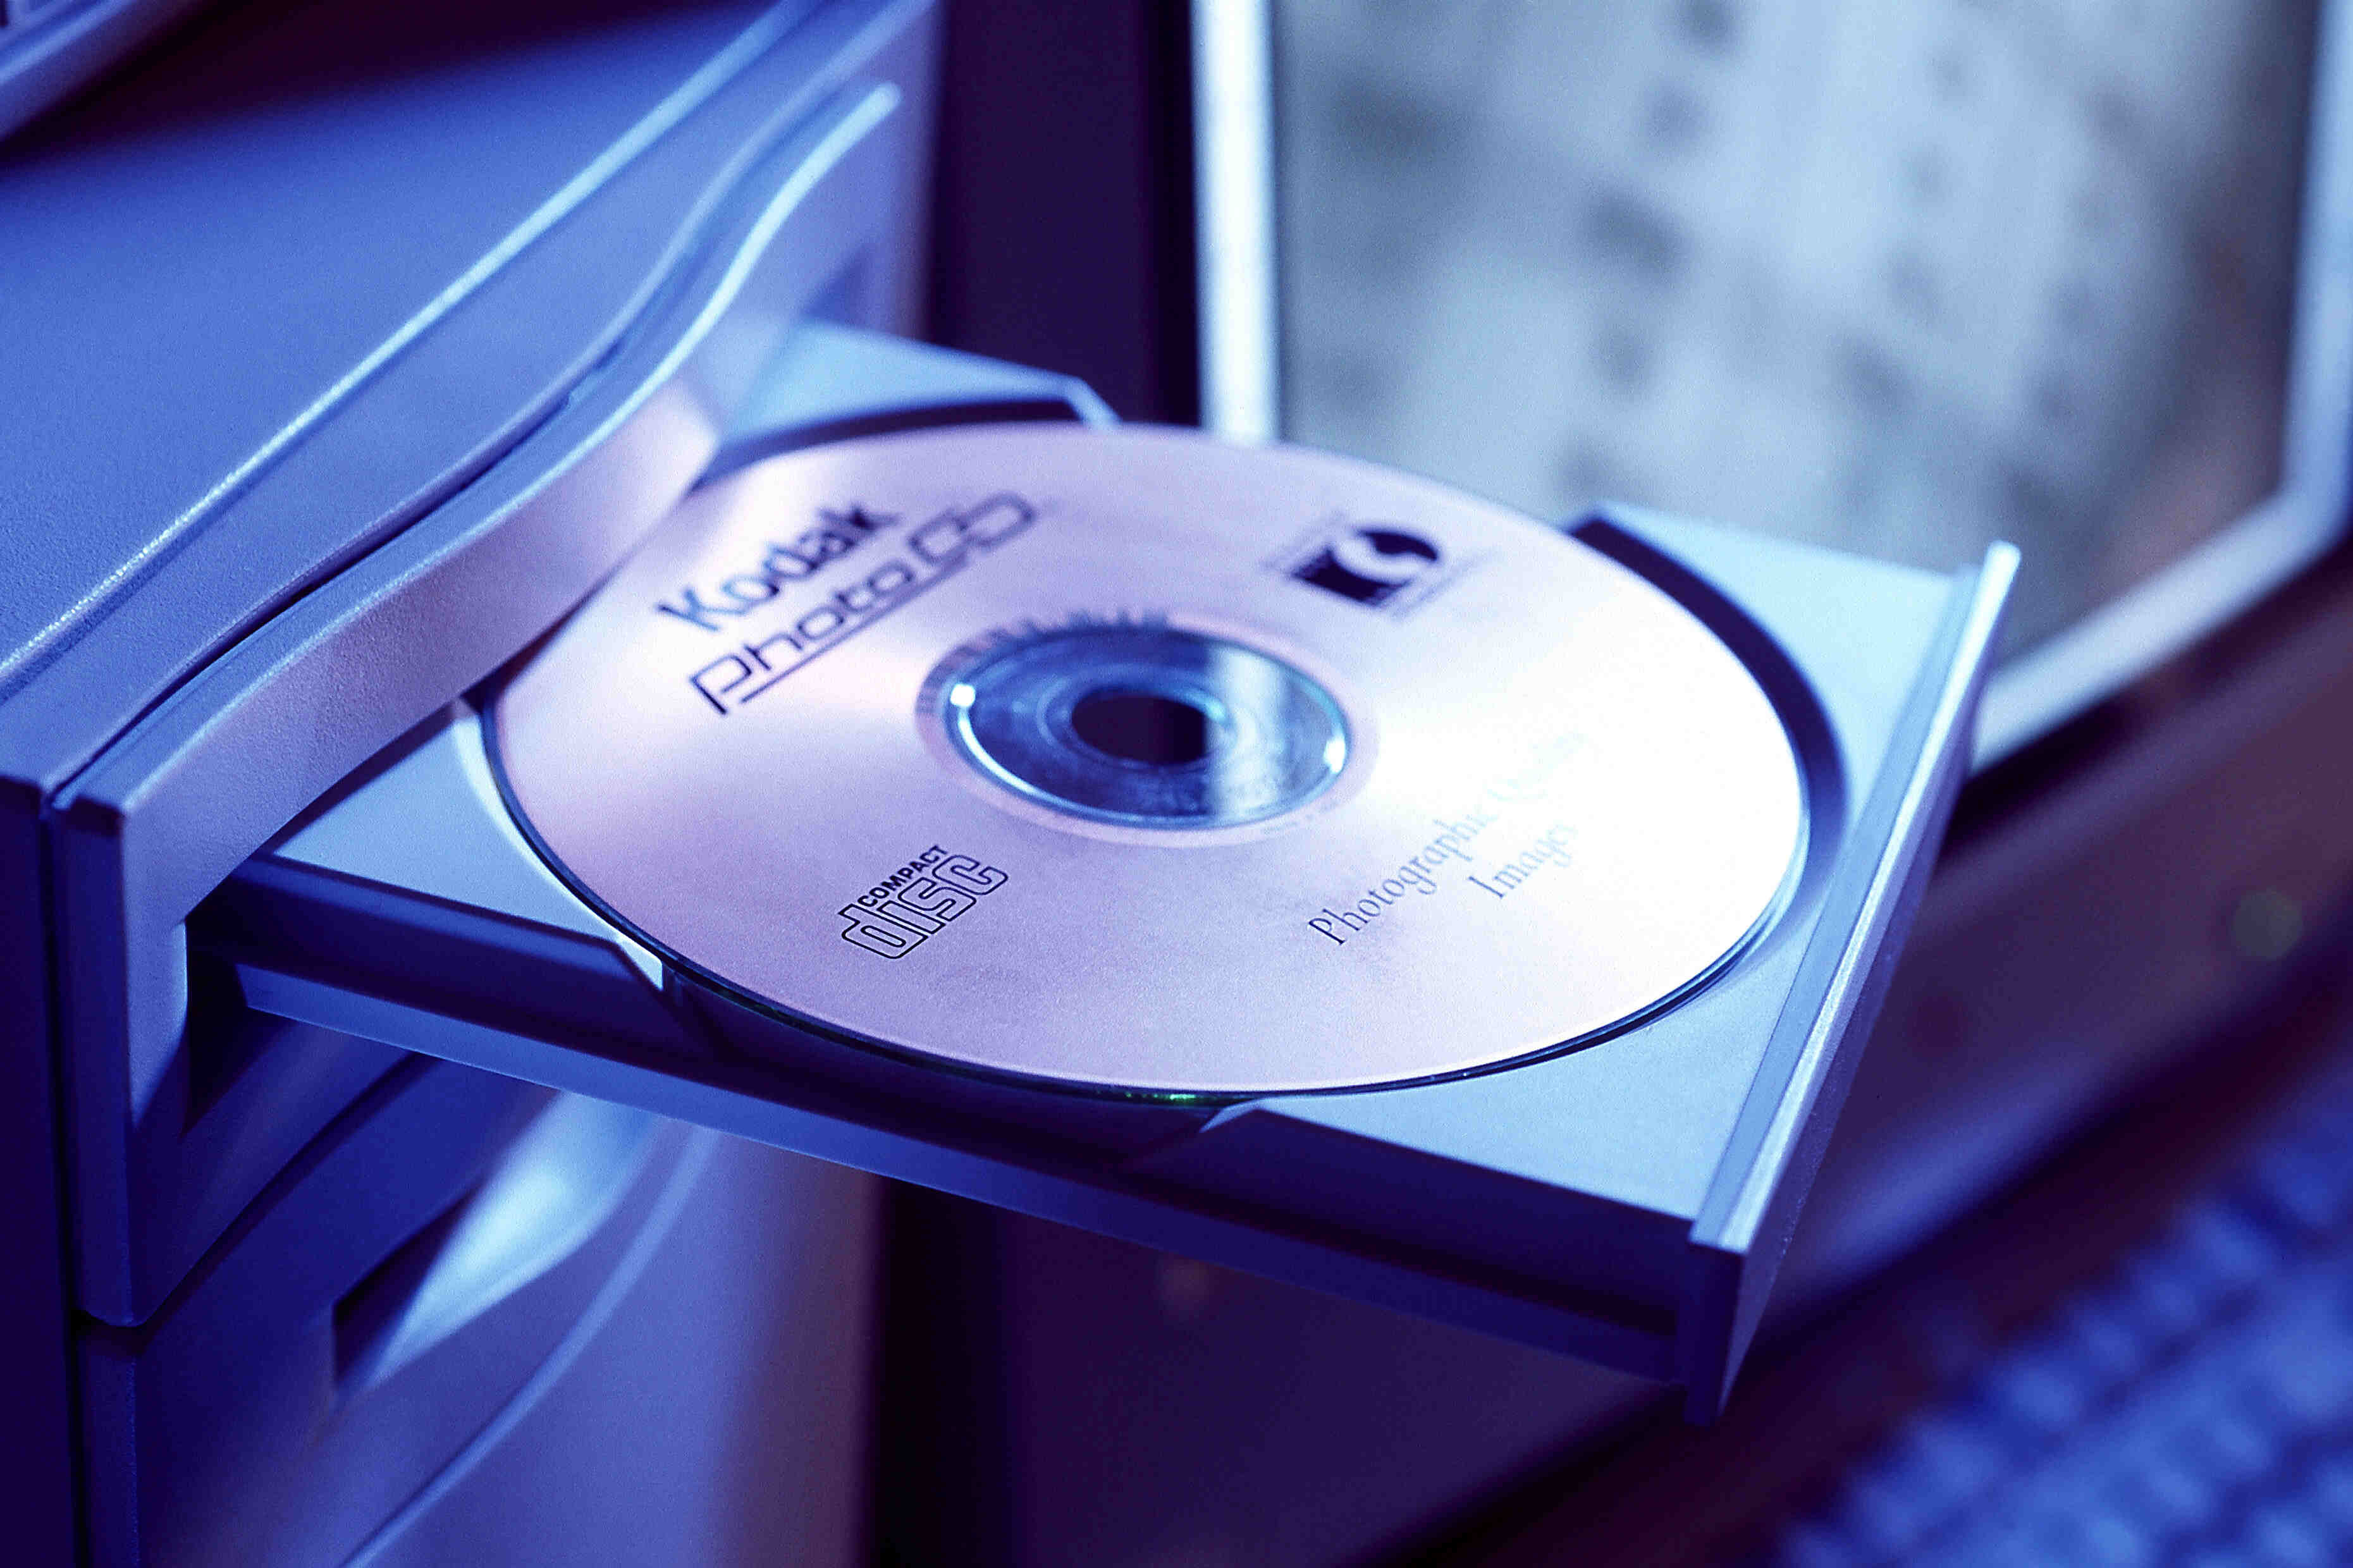
To begin, locate the CD drive on your rig.
The CD drive is a slot where you could insert the CD.
Gently push the CD into the CD drive until it is fully inserted.
double-check to align the CD with the guides or markings on the drive to ensure it is properly placed.
Once inserted, you will hear a slight clicking sound, indicating that the CD is securely in position.
After inserting the CD, your gear may take a few moments to recognize it.
The CD drive will spin, and the computer will detect the presence of the disc.
If this happens, you’re able to proceed to Step 2.
Most computers come with pre-installed media player software such as Windows Media Player or iTunes.
Alternatively, you’re free to use a third-party media player of your choice.
If youre using a Windows computer, one of the most common media player options is Windows Media Player.
For Mac users, iTunes is the default media player software.
you’re free to also find iTunes in your Applications folder.
Once youve opened your preferred media player software, it may take a few moments to load and initialize.
The software will display a user interface that provides various options and features for managing and playing media files.
Take a moment to familiarize yourself with the layout and controls of the media player software.
Look for an option or tab labeled Library or Music.
It may also show album artwork if its available.
Look for the CDs entry and press it to select it.
This will allow you to enter the individual songs on the CD.
If this option is available, select it to proceed.
Otherwise, the media player software may automatically start loading the CDs contents.
These songs are typically displayed as individual tracks under the CDs entry.
Take a moment to browse through the list and familiarize yourself with the songs.
In most media players, you could choose the checkboxes or select a specific song by clicking on it.
This allows you to quickly choose all the tracks in one go.
Take your time to go through the list and opt for songs that you want to download.
Common file formats for audio files include MP3, AAC, and WAV, among others.
Once youve accessed the configs, navigate to the section or tab that pertains to audio file formats.
In the audio file format section, you will typically find a list of available formats.
snag the format that best suits your needs or preferences.
For compatibility across various devices and platforms, MP3 is generally a widely supported and recommended file format.
By default, the media player software may suggest a location such as the Music or Downloads folder.
However, you’ve got the option to customize the destination folder to your liking.
To set the destination folder, navigate to the parameters or Preferences section of the media player software.
Look for an option related to the file storage location or the destination folder for downloaded files.
Once youve located the appropriate setting, tap on it to open a file web app window.
you’re free to create a new folder if needed or select an existing folder.
Once youve chosen the destination folder, confirm your selection and save the changes.
However, the general process remains similar across different applications.
In your media player software, there should be a dedicated button or option to start the download process.
Look for a button labeled Rip, Import, Download, or a similar command.
punch this button to begin the download process.
Once the download process starts, the media player software will begin reading the selected songs from the CD.
This allows you to monitor the progress and estimate the time remaining until the download is complete.
This indicates that the selected songs have been successfully transferred and saved as digital files on your system.
This feature allows you to monitor the progress and estimate the time remaining until the download is complete.
The downloaded songs are now available on your machine for offline listening and further customization.
This is the folder where the media player software saved the transferred music files.
In the destination folder, you will see the downloaded songs listed as individual files.
They should now appear alongside your other music files in the softwares library view.
You have successfully downloaded and accessed your favorite songs from the CD on your box.
Now you could enjoy your music library anytime, anywhere, without the need for the physical CD.
Conclusion
Congratulations on successfully downloading music from a CD to your box!
Thank you for following along, and enjoy your newly digitized music library!
