Introduction
Immersing oneself in the world of Minecraft is an experience like no other.
One of the most exciting ways to personalize your Minecraft experience is by downloading and applying Minecraft skins.
While the process of downloading Minecraft skins may seem daunting at first, it is actually quite simple.
So, lets dive in and discover the wonderful world of Minecraft skins!
What are Minecraft skins?
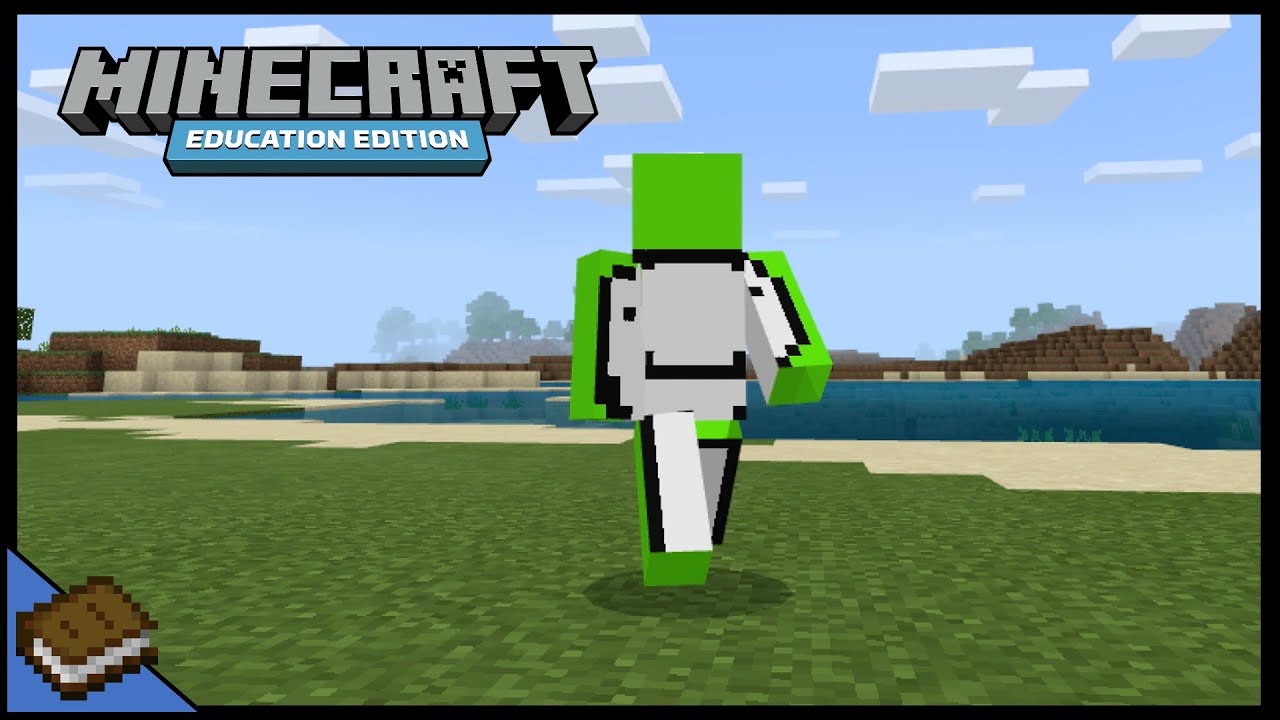
Skins define the facial features, hair color, clothing, and overall visual representation of your avatar.
They allow you to stand out from the crowd, showcasing your style and personality.
Minecraft skins come in many forms, ranging from simple and minimalistic designs to intricate and highly detailed creations.
Creating Minecraft skins requires a basic understanding of graphic design and image editing tools.
However, most players opt to download pre-made skins created by talented artists and developers from various online platforms.
These platforms are vast treasure troves of creativity, offering a wide selection of skins to suit any preference.
Skins can be inspired by popular culture, movies, video games, or even original designs.
From superheroes to animals, historical figures to fantasy creatures the options are truly limitless.
Why use Minecraft skins?
Using Minecraft skins offers numerous benefits and adds a whole new level of enjoyment to your Minecraft experience.
Skins give you the freedom to make your Minecraft avatar truly reflect who you are.
3.Community Engagement:Minecraft has a thriving community of players who share and showcase their creativity through skins.
It fosters a sense of community and allows you to be part of a larger creative connection.
By visually transforming your character, skins enhance the immersion and make your in-game adventures even more exciting.
5.Teaching Tool:In an educational setting, Minecraft skins can be used as a teaching tool.
Students can create and customize skins to represent historical figures, characters from literature, or scientific concepts.
Popular platforms such as Minecraft Skins, Planet Minecraft, and The Skindex are excellent options to consider.
Take your time to find a skin that resonates with your personal preferences or educational needs.
Once you find the perfect skin, press it for more details.
choose it to initiate the download process.
Step 4: Import the skin into Education Edition
Launch Minecraft Education Edition and launch the Character Creator.
In the Character Creator menu, grab the Owned tab, then grab the Import button.
This will allow you to import your downloaded skin file into the game.
The changes will take effect immediately, and you will now see your character transformed with the new skin.
You have successfully downloaded and applied a Minecraft skin for Education Edition.
if you catch any issues during the process, refer to the troubleshooting section below for common solutions.
Look for user reviews and feedback to get an idea of the sites reputation.
This step will help ensure that you are using a trusted source.
Check the websites security:Prioritize websites that have secure HTTPS connections.
Secure connections protect your personal information and minimize the risk of encountering malware or viruses.
Evaluate the websites design and functionality:A professional and user-friendly website design often indicates a more reliable source.
Verify sources for submitted skins:Some websites allow users to submit their own skins.
Heres how to choose the perfect Minecraft skin:
1.
Start by exploring different categories that align with your interests or the educational context you are working with.
This will help narrow down your search and make it easier to find the right skin.
Utilize search filters:Many websites offer search filters to refine your search further.
Filters can include options such as gender, style (cartoon, realistic, etc.
), popularity, and more.
This allows you to get a visual representation of how the skin will look on your Minecraft character.
This can provide insight into the quality and user satisfaction of the skin.
Look out for positive reviews and high ratings to help guide your decision-making process.
Trust your intuition:Ultimately, selecting a Minecraft skin is a personal choice.
Trust your instincts and choose a skin that you genuinely like or feel excited about.
This button is typically labeled as Download or indicated by an arrow pointing downwards.
Depending on your net net app options, a prompt may appear asking you to confirm the download.
Click Save or Save As to proceed.
Select a location that is easily accessible, such as your desktop or a designated folder.
Remember the location where you save the file for future reference.
Larger files may take longer to download, so be patient and wait for the download to complete.
The progress may be indicated by a download bar or a percentage display.
In Minecraft, skins are typically saved as PNG files.
Launch Minecraft Education Edition:Start by launching Minecraft Education Edition on your rig.
Wait for the game to fully load and bring you to the main menu.
double-check you are logged in with the appropriate credentials if required.
hit the Owned tab to dive into the section where you could manage and import your own custom skins.
- hit the Import button:In the Owned tab, you will find an Import button.
tap on this button to initiate the process of importing your downloaded skin file into Minecraft Education Edition.
A file surfing app window will appear, allowing you to locate and grab the downloaded skin file.
Depending on the size of the file, this process may take a few seconds.
Be patient and wait for the import to complete before moving on to the next step.
It will now be available for you to apply and use for your in-game character.
This allows you to see how the skin will look on your character before applying it.
This will complete the process and allow you to see the new skin in your Minecraft gameplay.
fire up the Character Creator:Launch Minecraft Education Edition and navigate to the main menu.
grab the Owned tab:Within the Character Creator, locate and choose the Owned tab.
This tab contains all the skins that you have imported and can apply to your character.
choose the skin to select it.
Apply the skin:After selecting the imported skin, you will see an Apply button.
press this button to apply the skin to your character.
Once applied, your characters appearance will be instantly updated with the new skin.
Preview your character:Take a moment to preview your characters new skin in the Character Creator interface.
This will allow you to see how the skin looks on your character before entering the game world.
You will now see your character in the game world showcasing the newly applied skin.
Good luck and have fun exploring Minecraft Education Edition with your personalized character!
Here are a few troubleshooting tips to help you overcome potential problems:
1.
Skins should be in PNG format for Minecraft.
Also, ensure that you are following the correct import process outlined in the previous steps.
If the issue persists, try re-downloading the skin from a different source.
Confirm that the skin is compatible with the version of Minecraft Education Edition you are using.
Also, check that the server you are playing on allows custom skins and has not disabled them.
Consult the servers rules or ping the server administrator for assistance.
Try removing or disabling other mods or resource packs temporarily to see if the skin displays correctly.
Skin file size too large:Minecraft has limitations on skin file size.
If necessary, use an image editing tool to resize the skin file before importing it.
Ensure that the file is accessible and in a location that can be easily located by the game.
If needed, move the skin file to a different directory or folder and try importing it again.
By following these steps, you could easily elevate your Minecraft experience and make it uniquely yours.
Get out there and let your customized Minecraft journey begin!
