If so, we have good news for you!
The process might seem daunting at first, but fear not!
We have broken it down into simple steps to guide you through the process.
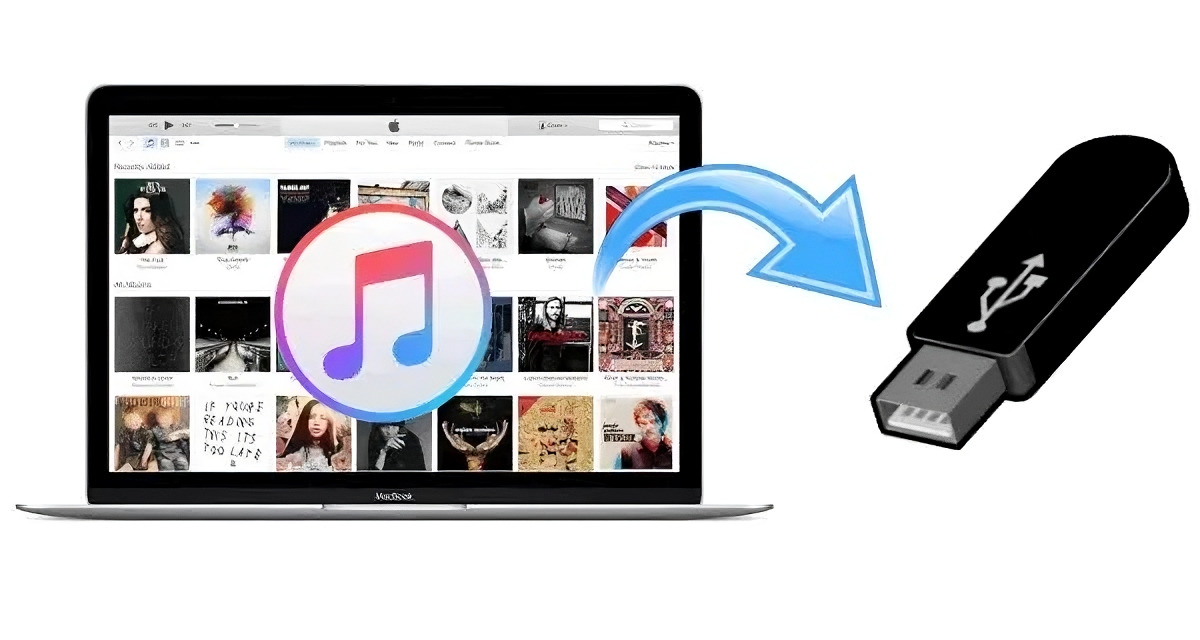
So, lets dive in and learn how todownload iTunes music to a thumb drive!
Locate an available USB port on your rig and insert the thumb drive securely into the port.
confirm that the thumb drive is properly inserted to avoid any connection issues.
Once the thumb drive is connected, your setup should recognize it and assign it a drive letter.
This will allow you to dive into the thumb drive as a storage machine on your system.
If you have a large music library, you may need a thumb drive with a higher storage capacity.
This can be done by accessing the Preferences prefs in iTunes.
First, open iTunes on your system.
A new window will appear, displaying various parameters for iTunes.
Look for the Advanced tab at the top of the window and select it.
Within the Advanced tab, locate the iTunes Media folder location section.
By default, iTunes stores your music files in a specific folder on your computers local storage.
We need to change this location to the thumb drive.
tap on the Change button next to the current iTunes Media folder location.
A filebrowser windowwill pop up, allowing you to choose a new location for your music files.
Look for the drive letter that corresponds to your thumb drive and select it.
Then, click Open to confirm the selection and shut the file web app window.
Back in the Preferences window, click OK to save the changes and exit the Preferences configs.
In the Advanced tab of the Preferences window, locate the section titled iTunes Media folder location.
By default, this folder is set to a location on your computers local storage.
To change it, tap on the Change button next to the current directory.
A file online window window will appear, allowing you to navigate through your computers file system.
Look for the drive letter that corresponds to your thumb drive, and select it.
Click OK to stash your changes and exit the Preferences window.
Then, choose Organize Library from the submenu.
A dialog box will appear, presenting you with a checkbox labeled Consolidate files.
verify this box is checked and go for the OK button.
iTunes will now begin the process of consolidating your library.
This may take some time depending on the size of your library.
During the consolidation process, you may be prompted to locate any missing music files.
During the consolidation process, its crucial not to interrupt or close iTunes.
The progress of the consolidation process can be monitored in the top center of the iTunes window.
Its best to leave your setup running and allow iTunes to finish the consolidation without any interruptions.
Start by locating the new iTunes Media folder on your thumb drive.
Look for a folder named iTunes or iTunes Media and open it.
Inside the iTunes Media folder, you will find subfolders that contain your music files.
Alternatively, you could use the Copy and Paste commands to transfer the files.
In the final step, we will cover the process of ejecting the thumb drive safely.
To safely eject the thumb drive, locate the USB icon in your computers system tray or menu bar.
press the icon to reveal a list of connected devices, including your thumb drive.
Identify the entry that corresponds to your thumb drive and choose it.
A pop-up menu will appear, displaying options such as Eject, Disconnect, or Safely Remove.
snag the appropriate option to safely eject the thumb drive.
In some cases, you may receive a notification stating that its not safe to remove the rig yet.
This often comes up whenever files are still being accessed or copied to/from the thumb drive.
Its crucial to wait until all activities are complete before safely ejecting the thumb drive.
Remember to handle the thumb drive gently and avoid any sudden movements or impacts that could potentially damage it.
Now you’re able to take your thumb drive with your iTunes music library wherever you go.
Conclusion
Congratulations!
Remember to always handle the thumb drive with care and keep it in a safe place.
