However, downloading and installing a VPN on a school Chromebook may require some additional steps and considerations.
Some schools may have specific guidelines or restrictions that you better abide by.
Always check with your schools IT department or administration before proceeding.
Look for any policies or guidelines that outline the acceptable use of technology and internet access.
Its essential to respect and adhere to your schools policies to avoid any disciplinary actions.
see to it to take note of any specific instructions or requirements provided by your school.
You want to select a reputable and reliable provider that offers the features and capabilities you need.
Start by researching different VPN providers that are compatible with Chromebooks.
Look for providers that have positive reviews and a track record of delivering secure and fast connections.
Consider the features you require from a VPN.
Do you need a VPN that allows for unlimited bandwidth or multiple simultaneous connections?
Are you looking for a provider with servers located around the world to access geo-restricted content?
Assess your needs and compare them against the features offered by different providers.
Another crucial factor to consider is the providers privacy policy.
This ensures that your browsing history and personal information are kept private.
Additionally, take into account customer support options and the providers reputation for responding to customer inquiries or issues.
Reliable customer support can be crucial if you hit any technical difficulties or have questions about the VPNs functionality.
Lastly, cost may be a deciding factor.
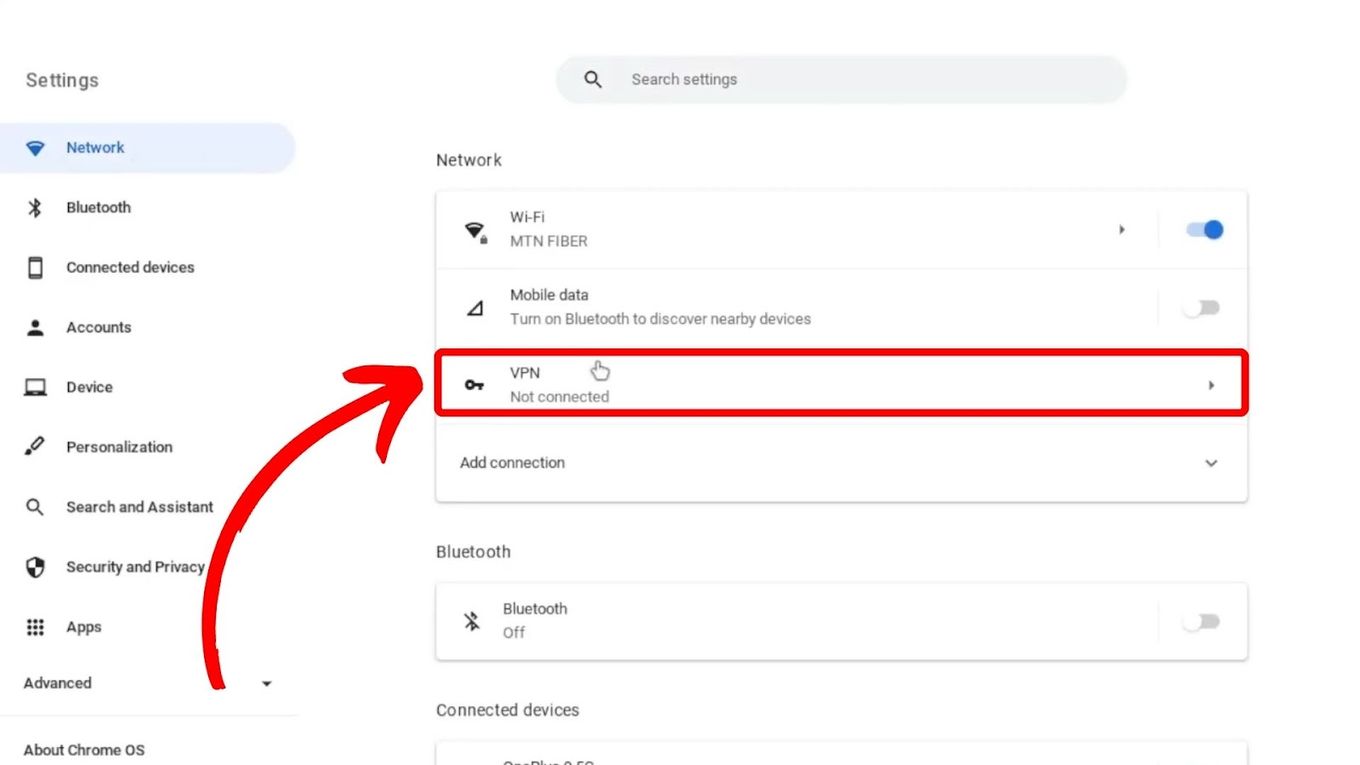
Start by opening your Chrome surfing app on your Chromebook.
Once the internet tool is open, punch the Apps button located on the bookmarks bar.
This will open a list of installed apps and extensions on your Chromebook.
Next, press the Web Store icon, which resembles a small blue puzzle piece.
This will take you directly to the Chrome Web Store homepage.
With the Chrome Web Store open, you are now ready to search for a VPN extension.
A VPN extension will enable you to establish a secure and encrypted connection while browsing the internet.
Start by clicking on the search bar located at the top left corner of the Chrome Web Store homepage.
jot down in keywords such as VPN or virtual private data pipe to initiate the search.
Press enter or tap on the magnifying glass icon to view the search results.
The search results will display various VPN extensions available in the Chrome Web Store.
Take your time to browse through the options and read the descriptions and user reviews.
This will help you make an informed decision about which VPN extension to choose.
Look for VPN extensions that have positive reviews, a high rating, and a good number of users.
This indicates that the extension is reliable and trusted by the Chrome community.
Pay attention to the features and capabilities mentioned in the descriptions to ensure they fulfill your specific needs.
While browsing, also make note if the VPN extensions offer free or premium versions.
Free versions typically come with limitations, such as a restricted number of server locations or slower speeds.
Premium versions, on the other hand, often offer more features and a wider range of server options.
Take your time to compare different VPN extensions and their features before proceeding to the next step.
Choosing the right VPN extension will ensure that you have a secure and reliable connection on your school Chromebook.
Start by reviewing the different VPN extensions that appeared in your search results.
These details will give you an overview of the extensions popularity and functionality.
Read the user reviews and ratings for each VPN extension.
Look for extensions with positive feedback and high ratings to ensure a quality experience.
Consider the specific features and capabilities that are essential to you.
Choose an extension that aligns with your needs and preferences.
If your school has recommended specific VPN providers, verify if any of those providers are available as extensions.
Opting for a recommended provider may ensure better compatibility with your schools web link and adherence to their policies.
Furthermore, take note of the pricing options for the VPN extensions.
Consider your budget and what you are willing to invest in a VPN extension.
Take a final look at the details provided to see to it it meets your needs.
hit this button to begin the installation process.
A pop-up dialog box will appear, asking for confirmation to add the extension.
This may include access to your web client data or permission to change your proxy prefs.
when you land reviewed the information, punch the Add extension button to initiate the installation.
Chrome will then begin downloading and installing the VPN extension on your Chromebook.
You have successfully added the VPN extension to your Chrome web client.
Hover your mouse over the icon to view any additional information or options that may be available.
Take a moment to familiarize yourself with the available options and options provided by the extension.
Ensure that the VPN extension is enabled by default.
Verify that the switch is set to the on position to switch on the VPN.
This will kick off the extensions interface.
Within the VPN extensions interface, you should see an option to sign in or enter.
press this option to proceed with the sign-in process.
A sign-in window or prompt will appear, asking for your VPN providers login credentials.
Enter the username and password associated with your VPN account.
After entering your credentials, tap on the Sign In or get in button to submit the information.
In such cases, double-check your username and password and ensure that you have a stable internet connection.
If you continue to experience issues, reach out to the VPN providers customer support for assistance.
In the upcoming step, we will guide you through the process of selecting and establishing a VPN connection.
Within the interface, you should see an option to connect or a button that initiates the connection process.
tap on the connect option or button to start establishing a VPN connection.
Take a moment to review the list of server locations and consider your specific needs.
press the server location to establish the VPN connection.
Once the connection is successful, the VPN extension will indicate that you are connected to the selected server.
The extensions icon may change or display a connected status to confirm the successful connection.
Remember, its important to adhere to your schools policies and guidelines regarding the use of VPNs.
In the final step, well guide you through the process of verifying your VPN connection.
Start by checking the VPN extensions interface.
The interface may display the current status of your VPN connection, indicating if you are connected or disconnected.
This can be represented by a connected status message, a green icon, or a similar visual cue.
Keep in mind that the speed of your internet connection may be impacted when using a VPN.
If you notice any unexpected connection drops or inconsistencies, its important to troubleshoot and address the issue promptly.
Enjoy the freedom and privacy that the VPN provides as you browse the web on your school Chromebook.
However, its important to always adhere to your schools policies regarding the use of VPNs on their devices.
Remember to use the VPN responsibly and respect the policies set by your school.
VPNs can be powerful tools, but its important to use them ethically and for legitimate purposes.
Enjoy the benefits of a secure and unrestricted internet experience while keeping your schoolwork and online activities accessible.
