Introduction
Welcome to this tutorial on how to delete empty rows in Google Sheets.
These empty rows can clutter your document, making it difficult to analyze and work with the data effectively.
In this step-by-step guide, we will explore two approaches todelete empty rows in Google Sheets.
So, lets dive in and learn how to effectively clean up your data in Google Sheets!
Why Delete Empty Rows?
see to it to pick the appropriate worksheet before proceeding with the deletion of empty rows.
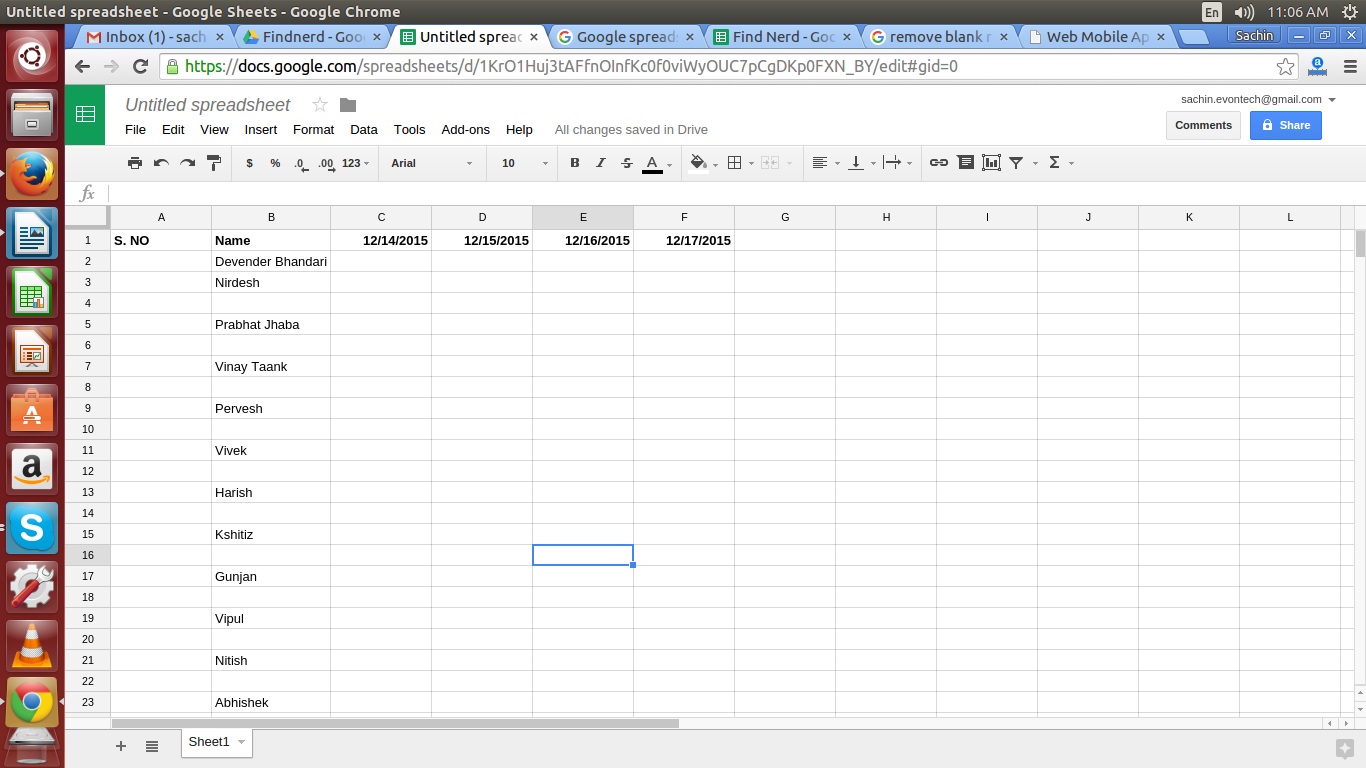
Opening your Google Sheets document and selecting the correct worksheet is the starting point for cleaning up your data.
Now, lets move on to the next step to identify the empty rows that need to be deleted.
hit the tab corresponding to the desired worksheet to activate it.
It is important to choose the correct worksheet before identifying and deleting empty rows.
This will ensure that you are only removing unnecessary rows from the specific dataset you are working with.
Empty rows refer to rows that do not contain any data or have all cells within the row empty.
There are different ways to identify empty rows depending on the size and complexity of your dataset.
This method is suitable for smaller datasets or instances when you want full control over the deletion process.
Therefore, its recommended to double-check your selection before deleting the rows to prevent accidental deletions.
Ensure that the desired empty rows are deleted and that the remaining data is intact and accurate.
We began by opening the Google Sheets document and selecting the desired worksheet.
Remember to always double-check your selections before deleting rows and take caution to prevent accidental deletions.
Google Sheets offers a wide range of powerful features to manipulate, analyze, and present your data.
