Introduction
Safari is a popular web surfing app known for its sleek interface and seamless user experience.
In this guide, we will walk you through the step-by-step process of deleting downloads on Safari.
By following these instructions, you might quickly declutter your downloads folder and free up space on your rig.
Let’s get started!
By opening Safari, you’ve taken the initial step towards organizing and optimizing your browsing experience.
This will reveal a dropdown menu with various options.
Select “Preferences”:From the dropdown menu, select “Preferences.”
This will open a new window with a range of Safari tweaks and preferences.
This tab houses essential configs related to Safari’s general behavior and appearance.
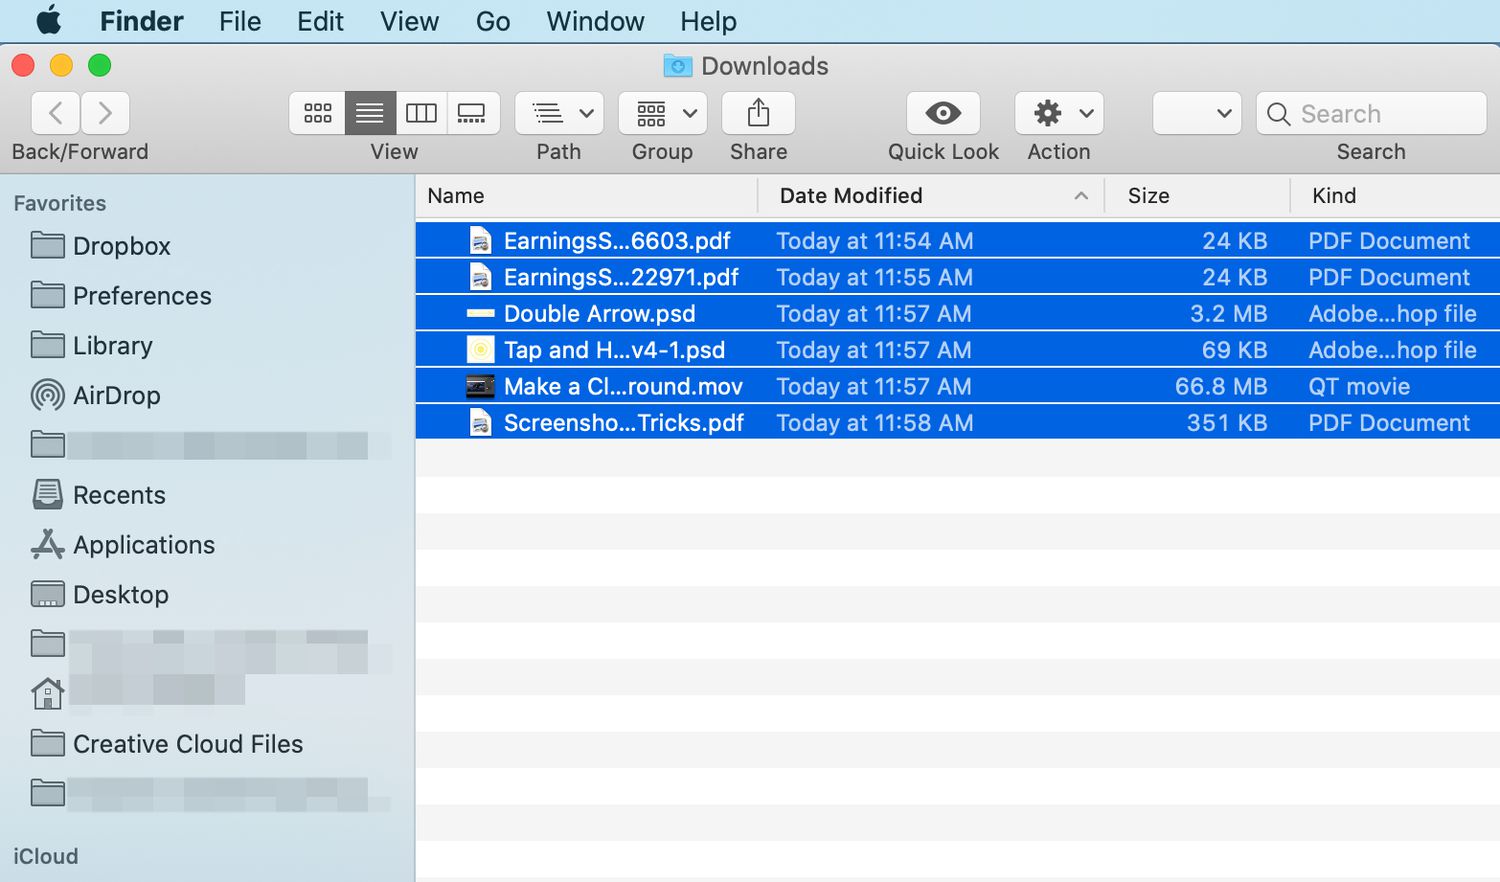
This action will open a Finder window displaying the contents of your downloads folder.
This will reveal your bookmarks and browsing history.
This tab allows you to access and manage the files you’ve downloaded while browsing the web.
Simply navigate to the file you wish to delete.
Alternatively, you’re able to drag the file to the Trash icon in the dock.
Simply tap on the file you want to delete to open it.
This will reveal a list of options for managing the file.
This is where you’re able to initiate the process of clearing your entire download history.
To select all downloads at once, you’re free to use thekeyboard shortcutCommand + A.
This action will highlight all the files in the downloads folder.
Alternatively, you’re able to drag the selected files to the Trash icon in the dock.
Right-choose the Trash icon in the dock and select “Empty Trash” from the menu.
This action will permanently remove all the selected downloads from your machine.
This is where you’re able to initiate the process of clearing your entire download history.
Select Edit:In the top-right corner of the screen, tap the “Edit” button.
This will allow you to select multiple downloads at once.
