In addition, its recommended to have a code editor installed on your system.
Popular options include Visual Studio Code, Sublime Text, or Atom.
These code editors provide a user-friendly interface with syntax highlighting and other useful features to enhance your development experience.
Now that you have the necessary prerequisites in place, lets move on to setting up the project.
We will build upon this structure as we progress through the tutorial.
Next, we need to configure our web server to point to the project folder.
If you are using Apache, you might do this by creating a virtual host.
Save the configuration file and power cycle your Apache server to apply the changes.
This confirms that our project setup is successful.
In the next step, we will create the database required to store our image information.
The ID column is set as the primary key, ensuring each image has a unique identifier.
Once the table is created, you have successfully set up the database structure for your photo gallery.
Step 3: Creating the File Structure
phpIn this code, replaceyour_usernameandyour_passwordwith your actual MySQL credentials.
Also, modify theBASE_URLto match the URL of your local development environment.
Our file structure is now set up.
In the next step, we will learn how to upload images to our photo gallery.
;}}}?>
This code handles the image upload process.
To test the image upload functionality, save theupload.phpfile and access it via your web internet tool.
You should see a file upload form.
Choose an image file from your setup and poke the Upload button.
If successful, you will see a message indicating that the image has been uploaded.
In the next step, we will learn how to display the uploaded images in our photo gallery.
The images are ordered by the upload date in descending order, ensuring that the latest uploads appear first.
Save the changes toindex.phpand access it via your web net web surfer.
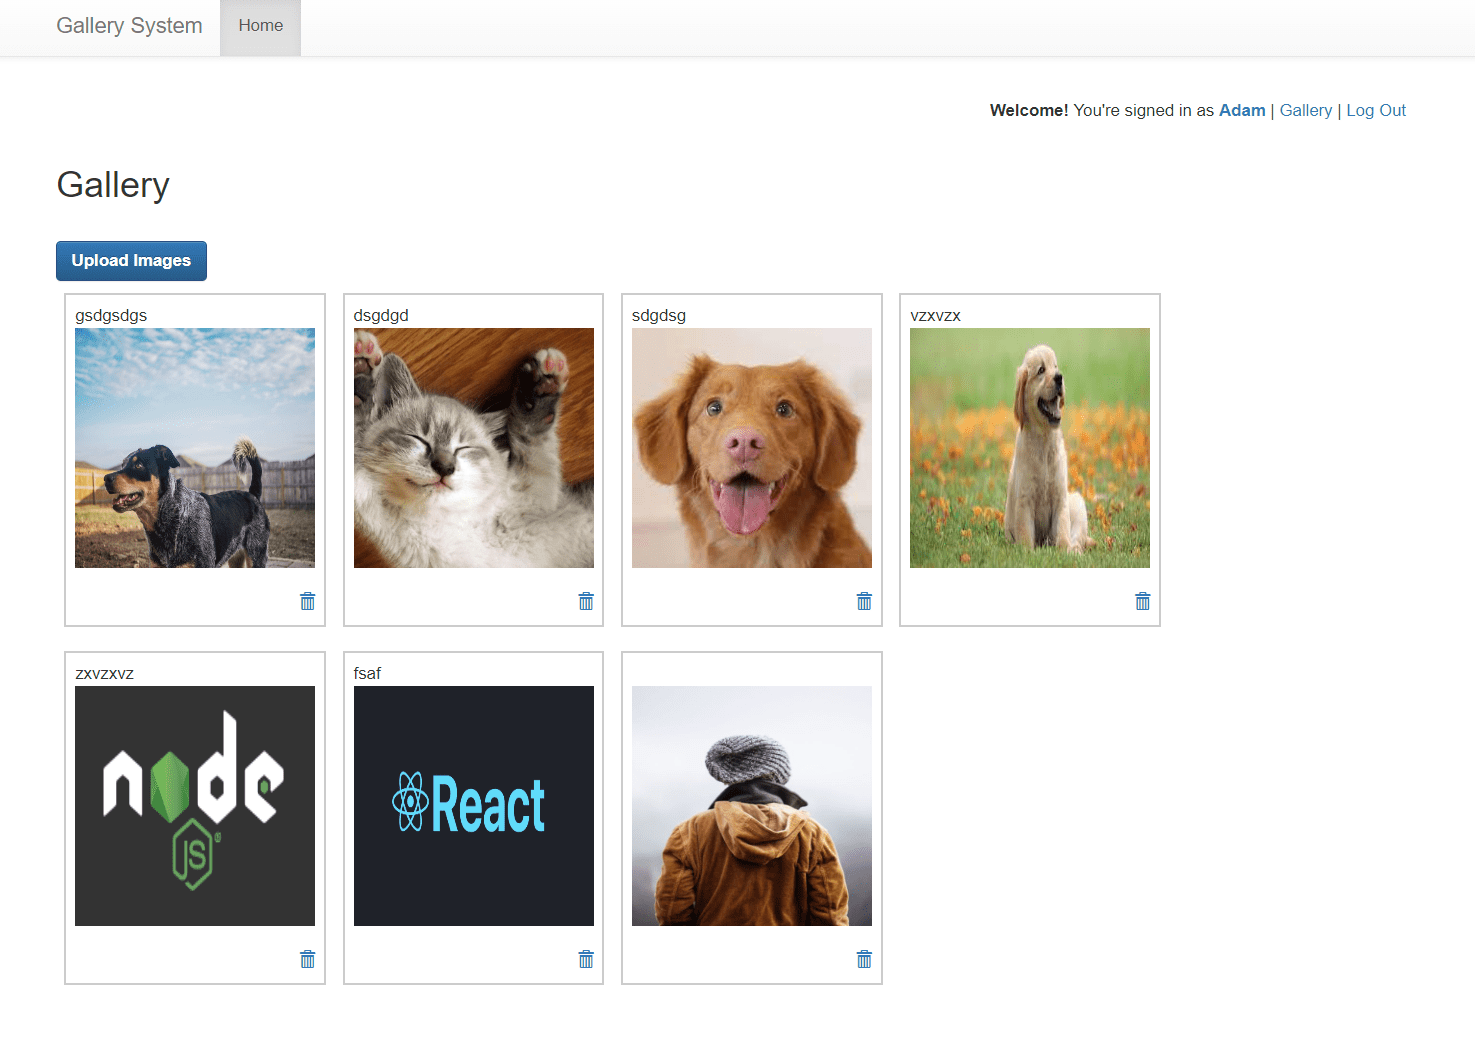
You should now see the uploaded images displayed on the page as thumbnails.
Clicking on a thumbnail should pop crack open the full-size image.
To test the pagination, save the changes toindex.phpand access it via your web internet tool.
You should see the image thumbnails displayed with pagination links at the bottom.
Clicking on the page links should navigate to the corresponding set of images.
You have successfully created a simple photo gallery in PHP with pagination.
Feel free to customize and expand upon this photo gallery to suit your specific needs.
Conclusion
Congratulations on completing the tutorial on creating a simple photo gallery in PHP!
Remember that this tutorial provides a foundation for building more advanced features.
Thank you for following along with this tutorial.
We hope you found it informative and helpful in creating your own photo gallery in PHP.
Good luck with your future PHP projects!
