Introduction
Welcome to the world of PHP login page creation!
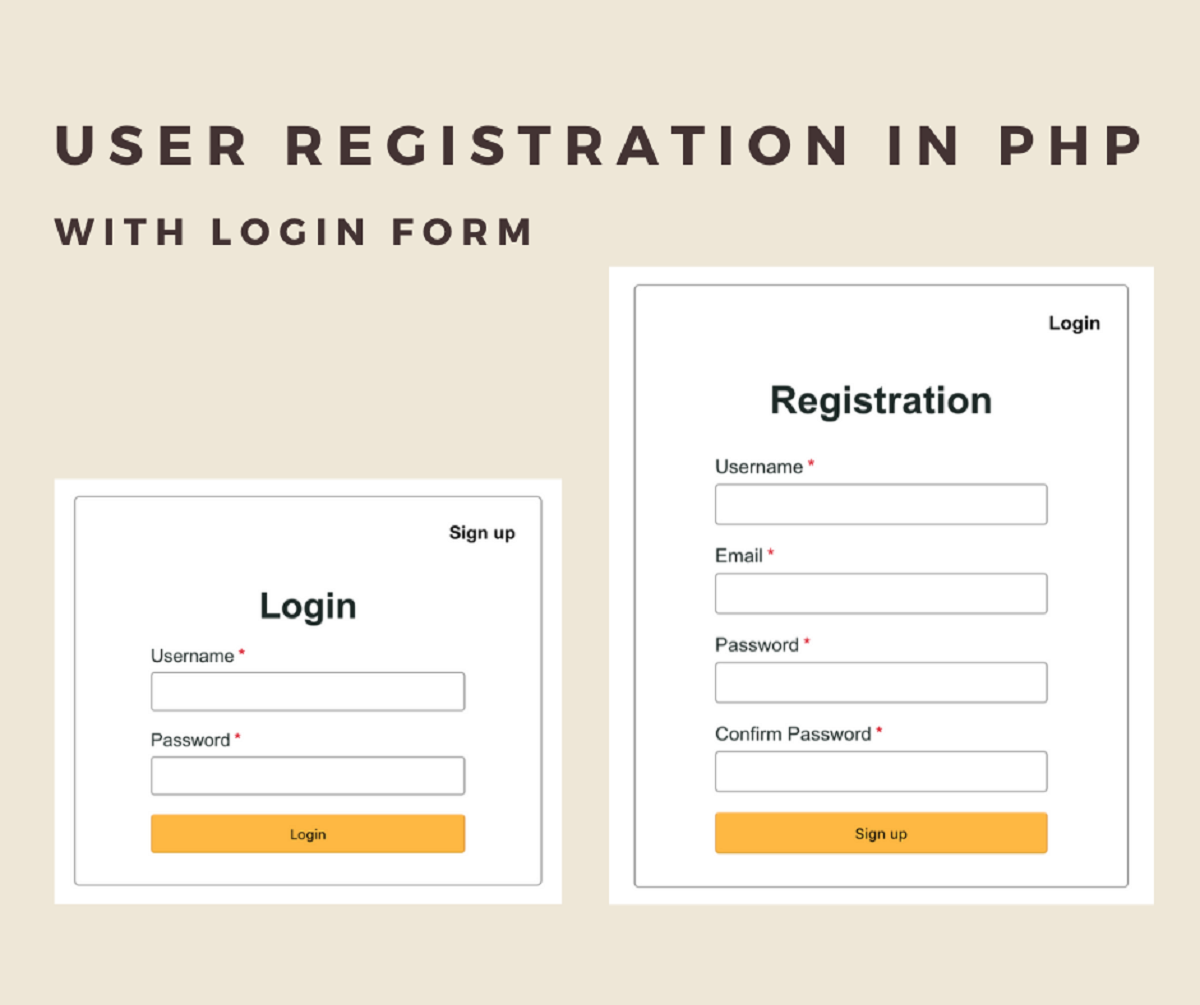
In this guide, well walk through the step-by-step process of creating a login page using PHP.
Youll need a text editor or an integrated development environment (IDE) to write your PHP code.
Popular options include Sublime Text, Visual Studio Code, and PhpStorm.
Additionally, you should have PHP installed on your local machine or use aweb hosting servicethat provides PHP support.
This will allow us to customize the appearance of the page and make it visually appealing.
Well also cover how to validate user input, display error messages, and implement logout functionality.
So, lets get started on creating a robust and secure login page using PHP!
2.PHP:PHP is a powerful server-side scripting language widely used for web development.
Familiarize yourself with these languages if you havent already.
4.Web Server:To test your PHP code locally, youll need a web server installed on your machine.
Setting Up the Environment
2.
Start a Web Server:To run PHP code locally, youll need to start a web server.
Set Up a Database:Most login systems require a database to store user information.
For this tutorial, well use MySQL as the database management system.
Install MySQL on your machine and create a new database for our login system.
Test Your Environment:Create a new PHP file with the following code and save it as test.php.
If everything is set up correctly, congratulations!
Youre now ready to proceed.
With the environment set up, were ready to dive into creating the HTML structure of our login page.
Creating the HTML Structure
1.
Create a New HTML File:Open your favorite text editor or IDE and create a new HTML file.
Save it with a descriptive name, like login.html.
Add the HTML Doctype:Begin your HTML file by declaring the HTML doctype.
This tells the web client which version of HTML is being used.
Add the following line of code at the top of your HTML file:
3.
Create the HTML Structure:Within the HTML body, create a div container to hold the login form.
Add a form element inside the container to encapsulate the form fields.
Give the form element an ID for easier access with JavaScript.
Heres an example:
4.
Add Input Fields:Within the form element, add input fields for the username and password.
you’re free to also add labels for each input field to provide user-friendly instructions:
5.
Youve successfully created the HTML structure for your login form.
Styling the Login Page
1.
Create a CSS File:Open your text editor or IDE and create a new CSS file.
Save it with a relevant name, such as style.css.
Use the link tag with the href attribute set to the path of your CSS file:
3.
Style the Input Fields:Target the input fields in your CSS file and customize their appearance.
Style the Submit Button:Target the submit button and add CSS properties to enhance its appearance.
Save the CSS file and refresh your HTML page to see the updated style.
By applying CSS to your login page, youve added visual appeal and made the form more user-friendly.
In the next section, well look at designing the database for storing user login information.
Designing the Database
1.
Determine the Data to Collect:Decide which user information you want to collect during the registration process.
Define the necessary fields based on your applications requirements.
Define the table schema with appropriate columns for each data field.
For example:
3.
Constraints include primary keys, unique keys, and foreign keys.
Additionally, consider adding indexes to columns that will be frequently searched to improve query performance.
Use password hashing algorithms like bcrypt or Argon2 to protect user passwords from unauthorized access.
By designing an efficient and secure database structure, you are laying the foundation for a robust login system.
In the next section, well delve into creating thePHP scriptthat handles user authentication and login functionality.
Creating the PHP Script for Handling User Login
1.
Create a New PHP File:Open your text editor or IDE and create a new PHP file.
Save it with a descriptive name, such as login.php.
This connection will allow PHP to interact with the database.
Query the Database:Retrieve user information from the database based on the entered username.
Use a SQL query to pick the users password hash and any additional relevant data:
4.
If they match, the users login credentials are valid:
5.
In the next section, well explore how to validate user input to ensure the login process is secure.
Validating User Input
1.
Validate Usernames:verify to validate the entered username to ensure it meets the desired criteria.
This can include checking for a minimum and maximum length, character restrictions, and uniqueness if necessary.
Use a combination of regular expressions and built-in PHP functions to perform password validation.
Sanitize User Input:Sanitize the user input to remove any potentially harmful or unexpected characters.
This helps prevent SQL injection and XSS attacks.
you might use the mysqli_real_escape_string() function to escape special characters before storing them in the database.
Check for data types, length restrictions, and any specific requirements before storing the data in the database.
In the next section, well explore how to handle user authentication once the login credentials have been validated.
Handling User Authentication
1.
This allows you to keep track of the users authentication status throughout their session on the website or tool.
This can be done by checking the authentication status stored in the session variable.
This can include showing the users username, avatar, or any other relevant data.
Provide Logout Functionality:Implement a logout functionality to allow users to securely drop off of their session.
This involves destroying the session and redirecting the user to the login page or the desired destination.
In the next section, well explore how to display error messages in case of invalid login credentials.
Redirecting the User after Successful Login
1.
Determine the Destination:Decide where you want to redirect the user after they have successfully logged in.
This will notify the web client to navigate to the specified page.
Session-Based Redirect:Another approach is to store the redirect location in a session variable before redirecting the user.
This allows you to retrieve the intended destination after the user has successfully authenticated.
This creates a cohesive and user-friendly experience.
In the next section, well explore how to display error messages in case of invalid login credentials.
Displaying Error Messages
1.
Assign meaningful error messages to each pop in of error.
For example:
2.
This enhances the user experience and helps them to take the appropriate steps for successful login.
In the next section, well explore how to create logout functionality for the user.
Creating the Logout Functionality
1.
Implement Logout Link or Button:Add a logout link or button to your website or applications interface.
In this script, destroy the session and clear all session variables:
3.
This is especially important in applications that handle sensitive information or require increased privacy measures.
In the next section, well summarize the key aspects covered in this tutorial.
Conclusion
Congratulations!
Youve successfully learned how to create a login page using PHP.
Throughout this tutorial, we covered key steps and techniques to build a secure and functional login system.
Next, we dived into database design, creating tables to store user information securely.
We covered techniques like hashing passwords to protect user data.
We also discussed input validation and sanitization to ensure the security and integrity of user input.
Handling user authentication was another crucial aspect we covered.
