Introduction
Welcome to the world of blogging!
Creating a blog with PHP allows you to have full control over the design and functionality of your blog.
We will be using HTML, CSS, and PHP to build our blog.
after you grab your server set up, youll need to create a new directory for your blog project.
This will serve as the root directory for all your files.
In addition to the server setup, youll also need a code editor towrite and edit your PHP files.
There are many options available, such as Visual Studio Code, Sublime Text, or Atom.
Choose the one that suits your preferences and requirements.
These editors provide features like syntax highlighting, code snippets, and debugging tools to enhance your development experience.
HTML provides the structure and content of your web pages, while CSS is responsible for the visual styling.
Now that our development environment is ready, we can move on to creating the database for our blog.
A database management system like MySQL is a reliable and popular choice for this purpose.
To start, open your preferred database management tool, such as phpMyAdmin or MySQL Workbench.
Create a new database and give it a meaningful name that reflects your blog content.
For example, you’ve got the option to name it blog_db.
Once the database is created, we will need a table to store our blog posts.
In the same database, create a new table named posts.
This table will have the following columns:
double-check to choose the appropriate data types for each column.
Once the table is created, you have successfully set up the database structure for your blog.
This database will be used to store and retrieve blog posts dynamically.
This form will collect user information such as their name, email address, and password.
To get started, create a new PHP file named register.php in your project directory.
This file will contain the HTML markup and PHP code necessary to render and process the registration form.
you’re able to also add additional fields if needed, such as a confirmation password field.
ensure to provide labels for each input field to improve accessibility and user experience.
In the PHP section of the file, you will handle the form submission and validate the user input.
Start by checking if the form has been submitted using the $_POST superglobal.
If it has, retrieve the submitted values and perform validation on each field.
If any validation errors occur, display appropriate error messages to the user.
Use SQL queries to insert the data into the appropriate table and fields.
Remember to hash the password using a secure hashing algorithm before storing it in the database to enhance security.
With the registration form completed, youve taken a crucial step towards creating a secure and user-friendly blogging platform.
To begin, create a new PHP file named login.php in your project directory.
This file will contain the HTML markup and PHP code necessary to render and process the login form.
In the PHP section of the file, you will handle the form submission and validate the users credentials.
Start by checking if the form has been submitted using the $_POST superglobal.
If the passwords match, set a session variable to indicate that the user is authenticated.
If the authentication fails, display an oops message indicating that the email address or password is incorrect.
With user authentication in place, youve created a secure way for registered users to access your blog.
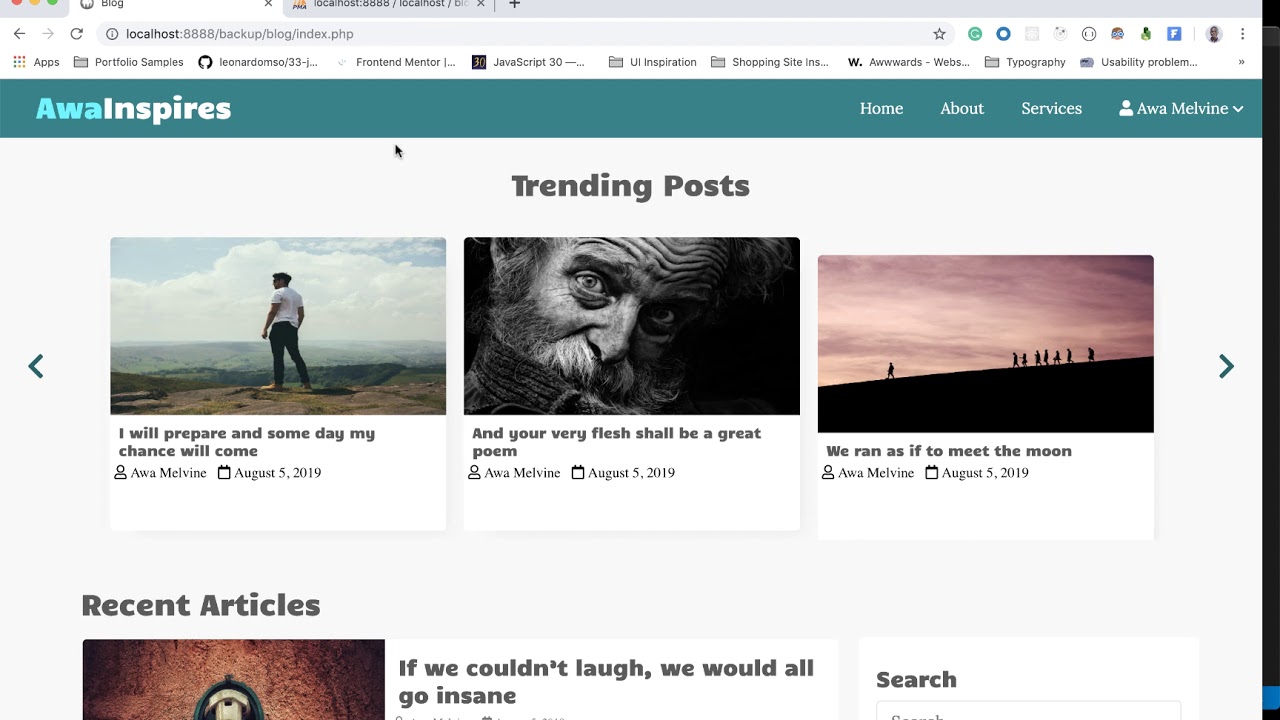
To get started, create a new PHP file named index.php in your project directory.
In the HTML section of the file, create the structure for the home page layout.
Customize the layout and design to match your blogs aesthetic and branding.
Start by querying the database to fetch the latest blog posts.
you’re able to sort them by date or any other criteria you choose.
Loop through the fetched posts and display them in the main content section of the home page.
it’s possible for you to also add a Read More button or link to the full blog post.
Consider implementing pagination if you have a large number of blog posts.
This will allow users to navigate through different pages of blog posts.
In the next section, we will focus on displaying individual blog posts on a separate page.
This will allow readers to view the full content of a specific blog post and engage with it.
To begin, create a new PHP file named post.php in your project directory.
Consider implementing features like a comment section where readers can leave their thoughts and feedback on the post.
This can enhance user engagement and provide valuable insights and discussions related to the blog post.
This will improve the visibility of your blog posts in search engine results and attract more readers.
To get started, create a new PHP file named create_post.php in your project directory.
This file will contain the HTML markup and PHP code necessary to render and process the blog post form.
you might also provide features like a WYSIWYG editor to allow users to format their post content easily.
Use SQL queries to insert the data into the appropriate table and fields.
Remember to include the necessary columns like title, content, author, and publication date.
If there are any errors during the process, display appropriate error messages to the user.
This will allow users to access their posts, and for you to showcase the content on the blog.
Next, construct an SQL query to insert the submitted data into the database.
Include the necessary columns such as the post title, content, author, and publication date.
Execute the query using the database connection and verify if the insertion was successful.
If it was, provide a success message to the user.
Otherwise, handle any errors that occurred during the insertion process and display an appropriate glitch notice.
Consider implementing additional steps to enhance the user experience and ensure data integrity.
In the next section, we will focus on displaying a specific blog post based on user selection.
This will allow readers to enter the full article and engage with the content.
To get started, create a new PHP file named post.php in your project directory if you havent already.
After obtaining the ID, query the database to fetch the specific blog post based on that identifier.
ensure to sanitize the input to prevent any potential security vulnerabilities.
Consider adding additional features to enrich the user experience.
Include an option to share the post on social media platforms to encourage readers to spread the content.
This will improve the visibility of your posts in search engine results and attract more readers.
This will allow users to keep their content up to date and maintain control over their published articles.
To get started, create a new PHP file named edit_post.php in your project directory.
This file will handle the process of editing and updating individual blog posts.
This can be passed through the URL parameters or collected from a user selection.
Query the database to fetch the specific blog post based on the identifier.
Display the current values of the post within the input fields so that the user can easily make changes.
In the PHP section of the file, handle the form submission and process the updated data.
Construct an SQL query to update the specific blog post in the database.
Execute the query using the database connection and verify if the update was successful.
Provide appropriate success or error messages based on the outcome of the update operation.
Construct an SQL query to delete the specific blog post from the database based on the identifier.
Execute the query using the database connection and verify if the deletion was successful.
Provide appropriate success or error messages based on the outcome of the delete operation.
With the ability to update and delete blog posts, users can now manage their published content effectively.
By following these steps, you have successfully built a functional blog with PHP.
However, this is just the beginning.
Utilize search engine optimization techniques to increase visibility and attract more traffic to your blog.
Keep in mind that web development is a continuous learning process.
Stay updated with the latest advancements and practices in PHP and web development technologies.
We encourage you to experiment, customize, and personalize your blog to reflect your unique style and voice.
