Introduction
The Ryzen 5 2600X is a powerful CPU that offers excellent performance for gaming and productivity.
Screwing in the CPU cooler may seem daunting for those who are new to computer building or upgrading.
However, with the right tools and proper technique, it can be a straightforward and rewarding task.
Now, lets gather the necessary tools and get started with the installation process!
Double-check your equipment to double-check you have everything on hand.
Take a moment to inspect each component and ensure that nothing is missing or damaged.
Now, lets move on to preparing the motherboard for the installation process.
With the motherboard ready, its time to move on to applying the thermal paste.
Applying Thermal Paste
Note: Some CPU coolers come with pre-applied thermal paste on their base.
In such cases, skip the above steps as the thermal paste is already applied.
Applying thermal paste properly ensures an even layer and maximum heat transfer between the CPU and the cooler.
With the thermal paste applied, we can move on to attaching theCPU cooler bracket.
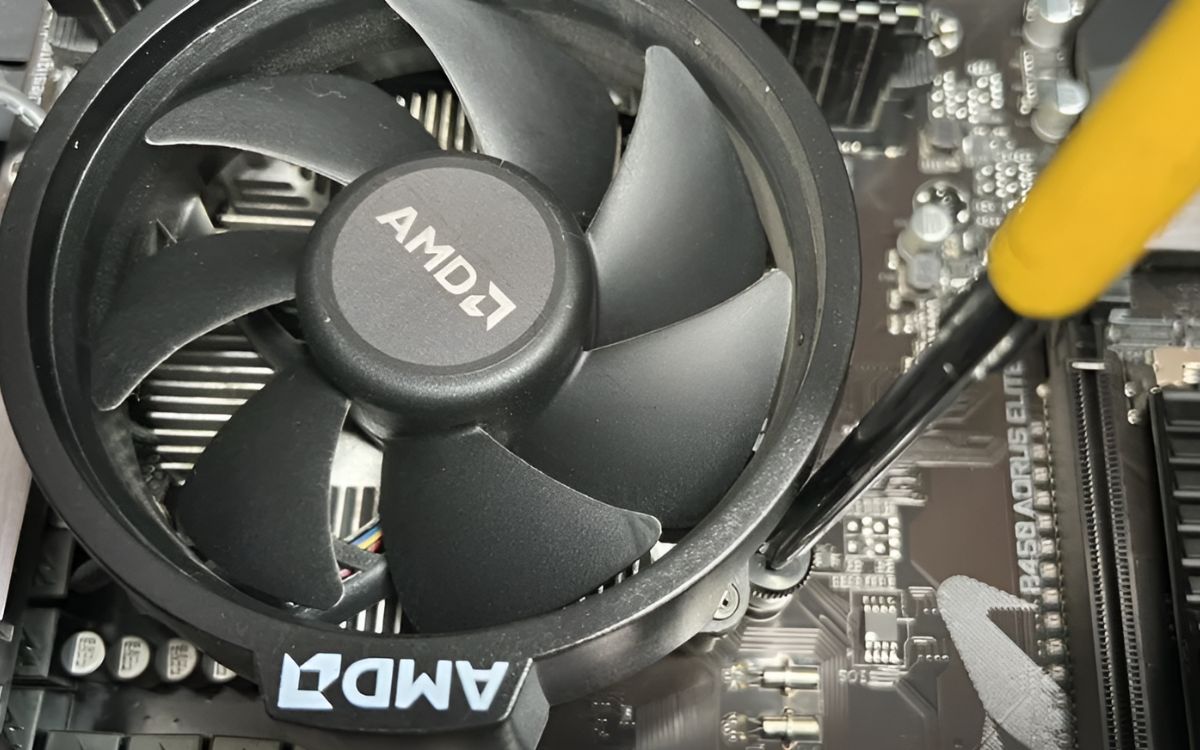
With the bracket in place, we can now proceed to mount the CPU cooler itself.
A securely mounted CPU cooler ensures efficient heat dissipation and prevents the cooler from moving during the computers operation.
This helps prevent any potential damage or movement during the computers operation, ensuring optimal cooling performance.
Next, well move on to connecting the cooler fan, an essential step in the installation process.
Additionally, a secure connection prevents the fan from coming loose or disconnected, maintaining stable cooling performance.
At this point, the installation of the Ryzen 5 2600X CPU cooler is complete.
However, its important to perform a final test to ensure the mounting is secure and functioning correctly.
Continue reading to learn more about testing the mounting and verifying the installation.
By correctly screwing in the CPU cooler, you could maintain optimal cooling performance for your CPU.
Take your time, follow the steps carefully, and double-check your work to ensure a successful installation.
