One effective solution is to transfer your photos from iPhoto to an external hard drive.
However, the basic process remains the same.
Now, lets get started on transferring your iPhoto photos to an external hard drive!
Lets move on to the next step!
Now that iPhoto is open on your gear, lets move on to the next step of the process!
Take your time to review your photo library and choose the images that are important to you.
Now, lets move on to the next step and begin the copying process!
This menu provides numerous options for managing, exporting, and organizing your photos.
Now, lets move on to the next step and continue the process of copying your photos!
Now, lets move on to the next step and configure the export configs!
This helps you create a backup of your photos and free up space on your computers internal drive.
Now, lets move on to the next step and finalize the export parameters!
Its important to remain patient as the software works in the background to complete the task.
Now, lets move on to the next step and confirm the successful transfer of your photos!
Now, lets move on to the next step and confirm the completion of the export process!
In some cases, restarting your rig or reconnecting the external hard drive may resolve any potential issues.
You have successfully copied your iPhoto photos to an external hard drive.
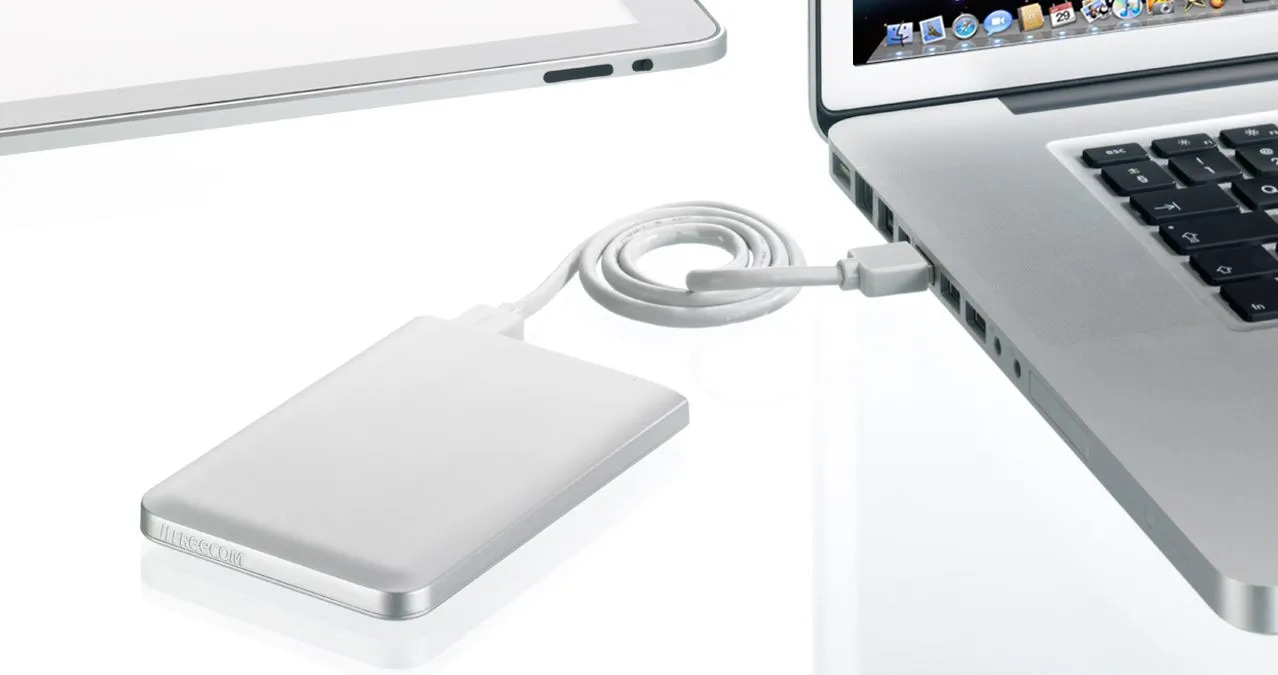
We began by connecting the external hard drive to your box, ensuring a proper physical connection.
Then, we opened iPhoto and selected the photos you wanted to copy.
Dont forget to regularly back up your external hard drive to prevent any potential data loss.
Enjoy the additional storage space and continue capturing and preserving the special moments in your life!
