However, the limited storage space on these devices can sometimes become a challenge.
Fortunately, there is a solution copying DVR recordings to an external hard drive.
Be sure to test whether your DVR has this capability before proceeding with this guide.
Look for information on external storage options or connectivity in the manual.
Additionally, you could try accessing the tweaks menu on your DVR.
Look for options related to storage or external devices.
Another way to check for compatibility is to consult with the manufacturers customer support team.
They should be able to confirm whether or not your unit can connect to an external hard drive.
Online forums and communities dedicated to DVRs are a great resource for troubleshooting and finding creative solutions.
By checking these requirements beforehand, you might avoid any compatibility issues and ensure a smooth transfer process.
The first requirement to consider is the compatibility of file formats.
Different DVRs may support different file systems and formats for the recordings.
Common file systems include FAT32 and NTFS.
Check your DVRs specifications or user manual to determine the supported file system for external hard drives.
Ensure that the external hard drive you choose is formatted with a compatible file system.
Along with file system compatibility, you should also consider the storage capacity of the external hard drive.
Check the size of your DVRs hard drive and determine how much space is currently used.
Choose an external hard drive with sufficient storage capacity to handle the recordings you want to transfer.
Another factor to consider is the connection bang out of the external hard drive.
Some DVRs may support USB connections, while others may require eSATA or other specific connection types.
Check your DVRs specifications to determine the supported connection throw in for external storage devices.
Lastly, consider the physical size and portability of the external hard drive.
This will allow you to easily connect and disconnect the gadget when needed.
Power off your DVR: Before making any connections, ensure that your DVR is turned off.
This will prevent any potential damage or data loss during the connection process.
Locate the USB or eSATA port: Look for the USB or eSATA port on your DVR.
Connect the other end to the respective port on the external hard drive.
Power on your DVR: Once the connections are secure, power on your DVR.
Heres how you might format the external hard drive.
- reach the DVR parameters: Power on your DVR and navigate to the parameters or storage options menu.
Look for an option related to formatting or managing external storage.
Highlight it and opt for option to format the drive.
pick the file system that is recommended by your DVRs specifications or user manual.
Common file systems include FAT32 and NTFS.
Initiate the formatting process: after you grab selected the file system, initiate the formatting process.
The DVR will begin formatting the external hard drive.
This process may take a few minutes, depending on the size of the hard drive.
Wait for the formatting to complete: Allow the DVR to complete the formatting process.
You may see a progress bar or indicator on the screen.
Do not interrupt or turn off the DVR while formatting is in progress.
Confirm successful formatting: Once the formatting is complete, your DVR should display a confirmation message.
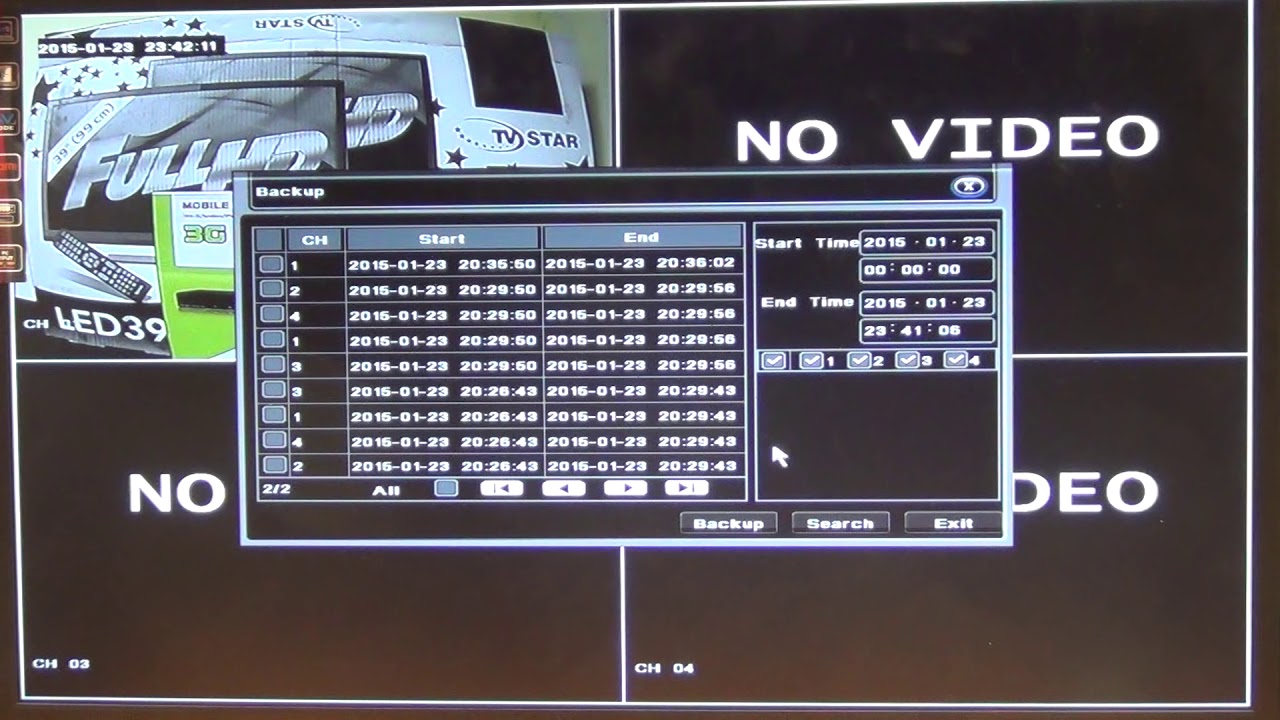
Look for options related to copying or transferring recordings.
- choose the recordings to copy: Choose the recordings you want to transfer to the external hard drive.
You may have different options for selecting individual recordings or entire folders.
Initiate the copying process: when you obtain selected the recordings, initiate the copying process.
Choose the destination: When prompted, snag the external hard drive as the destination for the copied recordings.
The DVR should display a list of available storage options, including the external hard drive.
Start the copying process: Confirm your selection and begin the copying process.
Your DVR will copy the selected recordings from its internal storage to the external hard drive.
The time it takes to complete this process will depend on the size and number of recordings being copied.
Disconnect the external hard drive from your DVR and connect it to a computer or another compatible unit.
Safely ejecting the external hard drive helps protect the integrity of your recordings and prevents data loss or corruption.
Heres how you’re able to safely remove the external hard drive from your DVR.
Check for any ongoing transfers or processes related to the external hard drive.
This will prevent any potential conflicts or data corruption.
This option may be labeled as Eject, Remove, or Unmount.
This will initiate the process of safely disconnecting the gadget from your DVR.
confirm to wait for this confirmation before physically disconnecting the gadget.
Gently remove the cable, making sure not to forcefully pull or damage the connectors.
It is always a good practice to safely remove external devices to maintain the integrity of your recorded content.
Remember to start by determining if your DVR allows for external hard drive connectivity.
Check the specifications, user manual, or contact customer support for confirmation.
when you land connected and formatted the external hard drive, you could proceed to copy your DVR recordings.
