Introduction
Welcome to the world of digital art!
If you are an aspiring artist or designer, you may have heard about Wacom tablets and Firealpaca software.
We will also provide step-by-step instructions on how to calibrate your tablet and test it within the Firealpaca software.
So, lets not waste any time and dive right in!
Step 1: Installing the necessary drivers
1.
Visit the official Wacom website and navigate to the Support or Downloads section.
Download the correct drivers by clicking on the appropriate link.
Once the download is complete, locate the file and double-punch it to initiate the installation process.
After the installation is finished, cycle your gear to ensure that the changes take effect.
Once your rig has restarted, the drivers for your Wacom tablet should be successfully installed.
This step is crucial as it allows your gear to recognize and properly communicate with your tablet.
Its important to note that different tablet models may have different installation processes.
They often include troubleshooting guides and FAQs that can help resolve any installation-related problems.
Step 2: Connecting your Wacom tablet
1.
Start by locating the USB cable that came with your Wacom tablet.
This cable is used to connect your tablet to your setup.
Plug one end of the USB cable into the USB port of your Wacom tablet.
The port is usually located on the side or bottom of the tablet.
Plug the other end of the USB cable into an available USB port on your system.
verify to use a USB port that is not only functional but also easily accessible for future use.
If prompted, follow any on-screen instructions to complete the installation process for the tablet-specific software.
In some cases, your tablet may have additional connectivity options, such as Bluetooth or wireless.
Step 3: Configuring your tablet configs in Firealpaca
1.
Open Firealpaca on your machine.
Once Firealpaca is open, navigate to the Preferences option.
This is usually located in the top menu or under the File or Edit dropdown menu.
In the preferences window, look for the Tablet or Pen configs.
punch this option to reach the tablet configuration tweaks.
Here, you will find various configs that can be adjusted according to your preferences.
These prefs may include the pressure sensitivity, tilt sensitivity, button shortcuts, and more.
Take some time to explore and customize these options to suit your needs and drawing style.
Close and reopen Firealpaca to ensure that the controls are applied correctly.
Experiment with different configs to find the ones that work best for you and enhance your digital art experience.
Step 4: Calibrating your tablet
1.
Launch Firealpaca or any other drawing program that you prefer to use with your Wacom tablet.
Locate and choose the tablet icon in the toolbar or navigate to the tablet options within the program.
Look for the Calibrate or Calibration option within the tablet prefs.
Typically, the calibration process involves tapping and/or dragging the stylus within designated areas of the screen.
This allows the tablet to determine the exact mapping and alignment of the stylus movements on the display.
After completing the required steps, the tablet calibration process will be finished.
The software will save the calibration configs for future use.
Calibration helps maintain accuracy and ensure optimal drawing and painting experiences.
Step 5: Testing your tablet in Firealpaca
1.
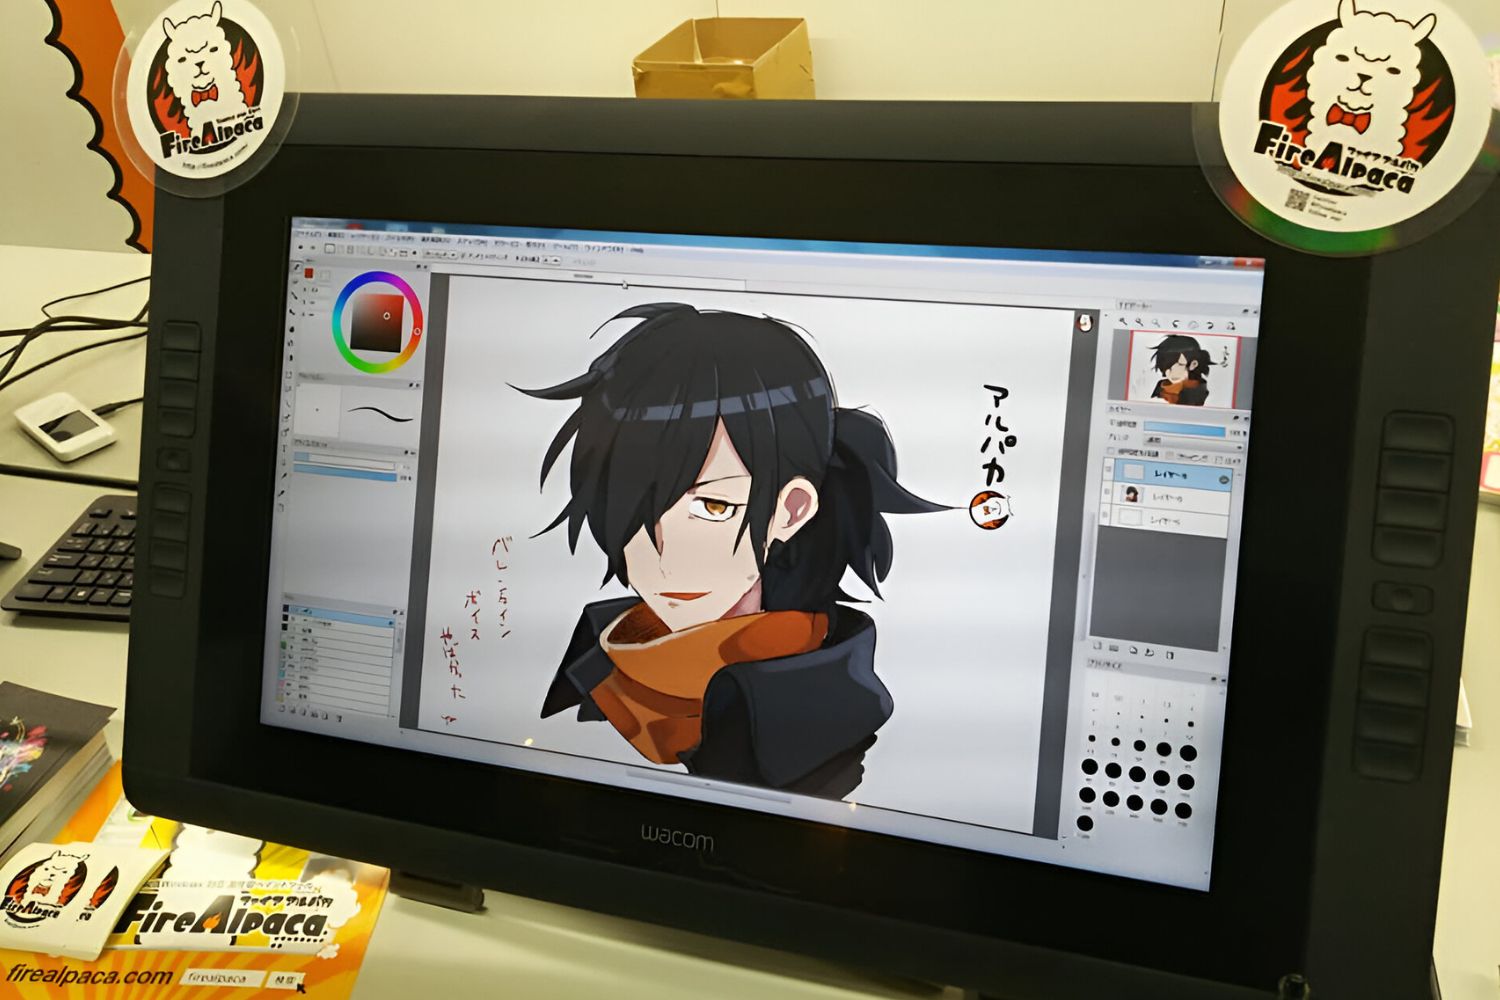
Open Firealpaca on your gear and create a new canvas or open an existing artwork.
Select a brush or drawing tool from the toolbar to begin drawing.
Place the stylus on the tablets active area and start making strokes on the canvas.
You should see the brush responding to the pressure sensitivity and capturing the movements accurately.
Test different brush sizes and pressure levels to see how the tablet responds.
Adjust the pressure sensitivity within Firealpacas brush controls if needed.
If everything functions as expected, congratulations!
Your Wacom tablet is now successfully connected and tested in Firealpaca.
it’s possible for you to now start exploring the various features and create stunning digital artwork with confidence.
Additionally, refer to the user manual or visit the Wacom or Firealpaca support websites for further troubleshooting assistance.
Remember, practice makes perfect.
Conclusion
Congratulations on successfully connecting your Wacom tablet to Firealpaca!
Configuring your tablet parameters in Firealpaca was the next step, allowing you to personalize your drawing experience.
Afterwards, calibrating your tablet played a crucial role in achieving accurate input recognition.
Finally, we tested your tablet within Firealpaca to ensure that everything is functioning as intended.
Remember, the journey does not end here.
Continue exploring the limitless possibilities that your Wacom tablet and Firealpaca offer.
Experiment with different brushes, techniques, and styles to develop and showcase your unique artistic voice.
They provide valuable resources, tips, and tricks to help you along your creative journey.
Enjoy the artistic freedom and boundless creativity that your Wacom tablet and Firealpaca bring to your digital art endeavors!
