Introduction
Welcome to the world of virtual reality!
However, the basic steps remain the same.
First, you should probably ensure compatibility between your VR headset and TV.
Dont worry if youre not tech-savvy well explain each step in detail.
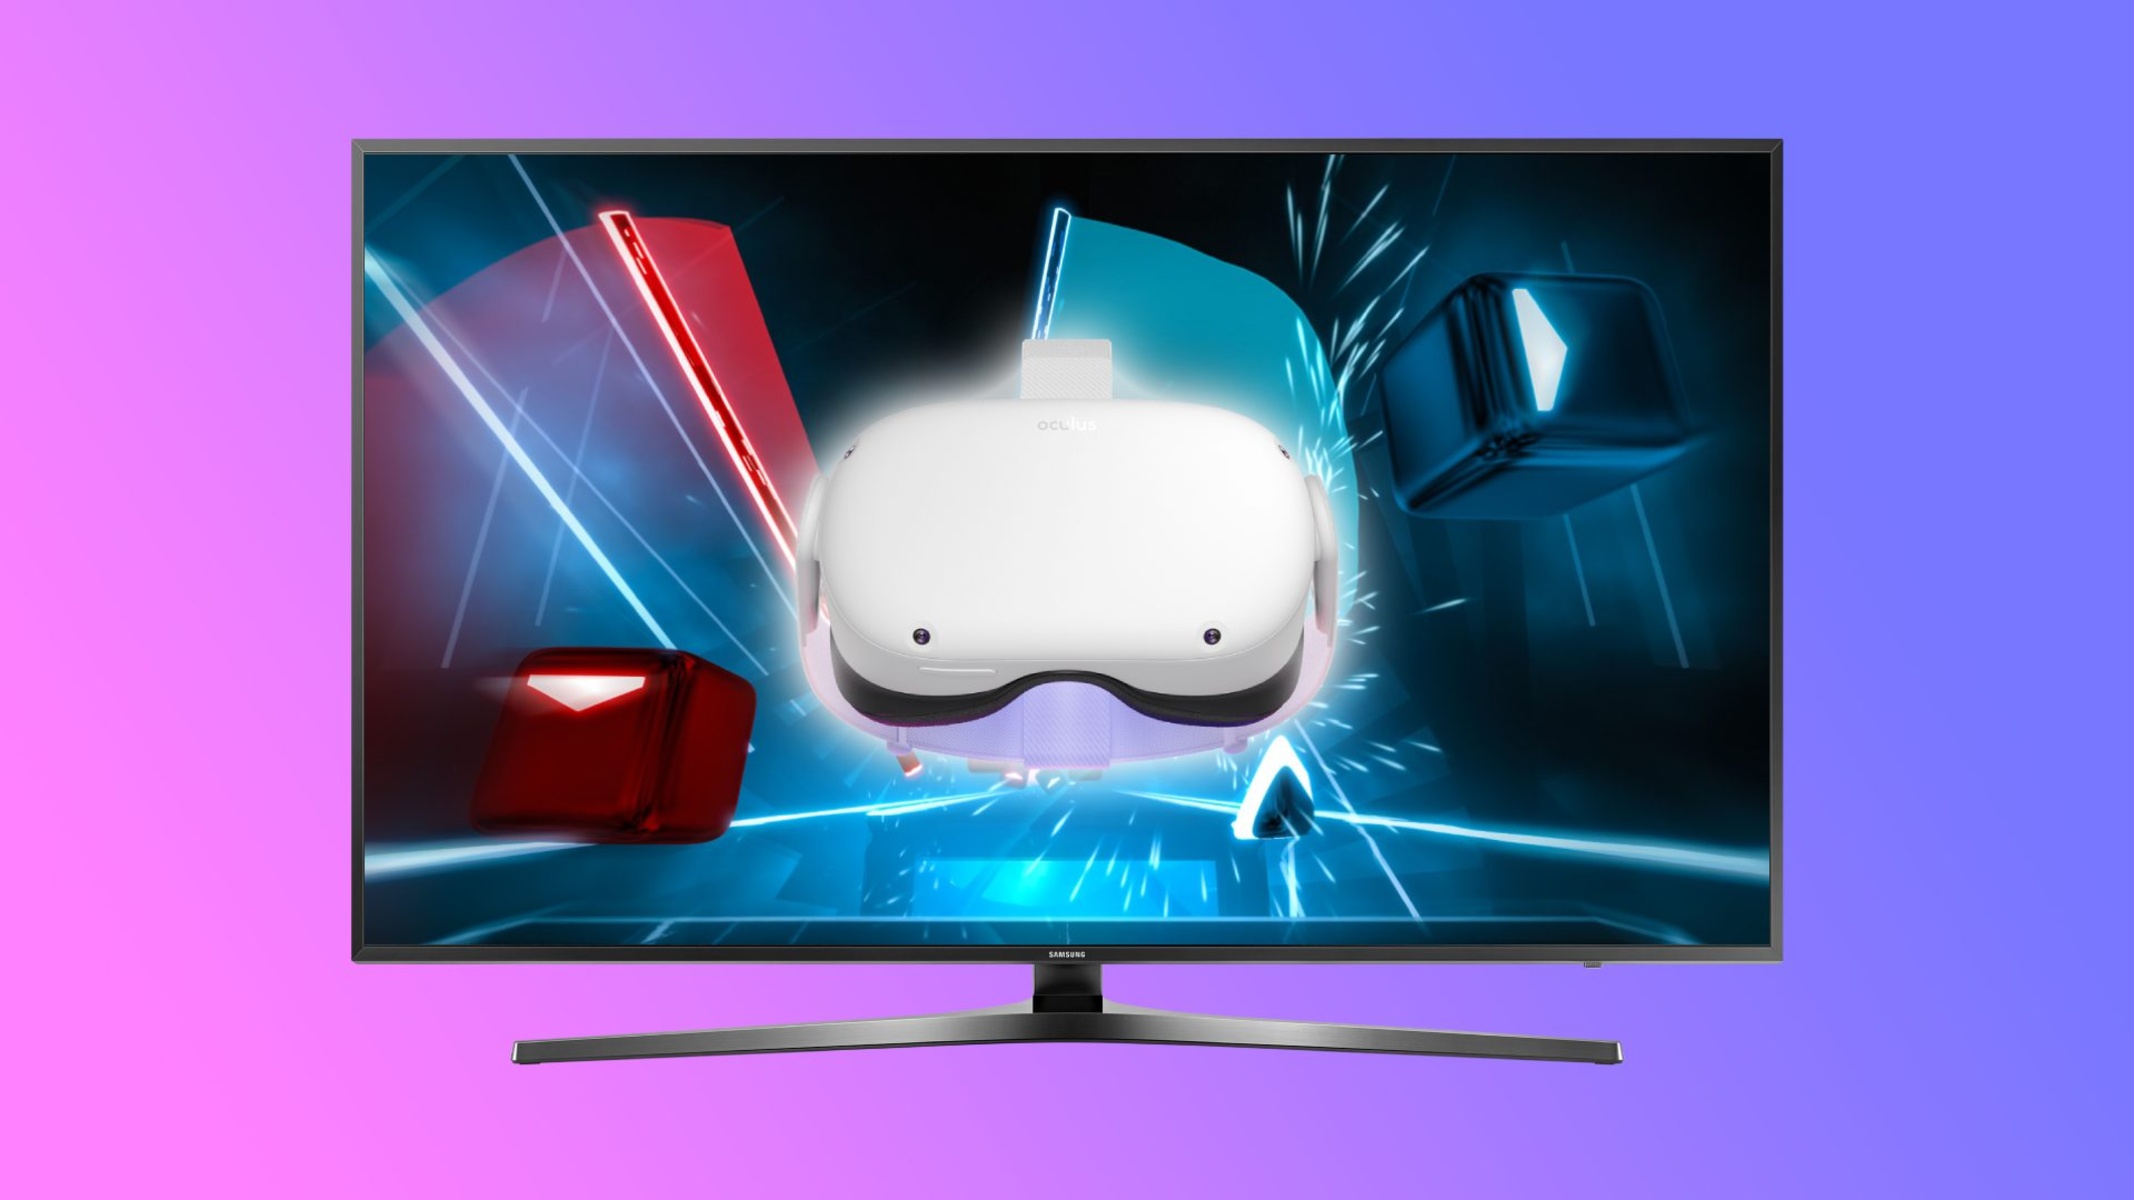
Different VR headsets have different requirements and compatibility with TVs.
However, if there are any compatibility issues, dont worry.
Alternatively, it’s possible for you to consider upgrading your TV or VR headset to ensure compatibility.
Its important to note that some VR headsets may require additional steps or adapters for the HDMI connection.
Refer to the user manual or instructions provided by the manufacturer for any specific requirements.
Use the input/source button on your TV remote to opt for HDMI input where the VR headset is connected.
This ensures that the VR content is displayed on the TV screen.
Lets move on to the next step to complete the connection process.
The USB connection is necessary for the VR headset to transmit tracking data and receive power from the TV.
Its important to ensure that the USB connection is secure to avoid any interruptions in the VR experience.
Lets move on to the next step to ensure that the TV prefs are optimized for the VR display.
Keep in mind that adjusting TV parameters may have an impact on regular TV viewing as well.
With the TV configs adjusted, youre almost ready to step into the virtual world.
Lets move on to the final step and set up the display on your VR headset.
Remember to familiarize yourself with the controls and interaction methods specific to your VR headset.
Each VR headset has its own set of controllers or tracking systems to navigate within the virtual environments.
You have successfully connected your VR headset to your TV and set up the display.
Enjoy the journey into the virtual world as you share your adventures with others through the TV screen.
So, what are you waiting for?
