Introduction
Welcome to the world of ultrabooks, where portability and performance meet seamlessly.
However, some ultrabooks may have a built-in Ethernet port.
Its essential to check the specifications of your ultrabook to determine the connectivity options available.
As mentioned earlier, the availability of an Ethernet port may vary depending on the model of your ultrabook.
If your ultrabook has a built-in Ethernet port, youre in luck!
This provides a convenient and straightforward way to establish a LAN connection.
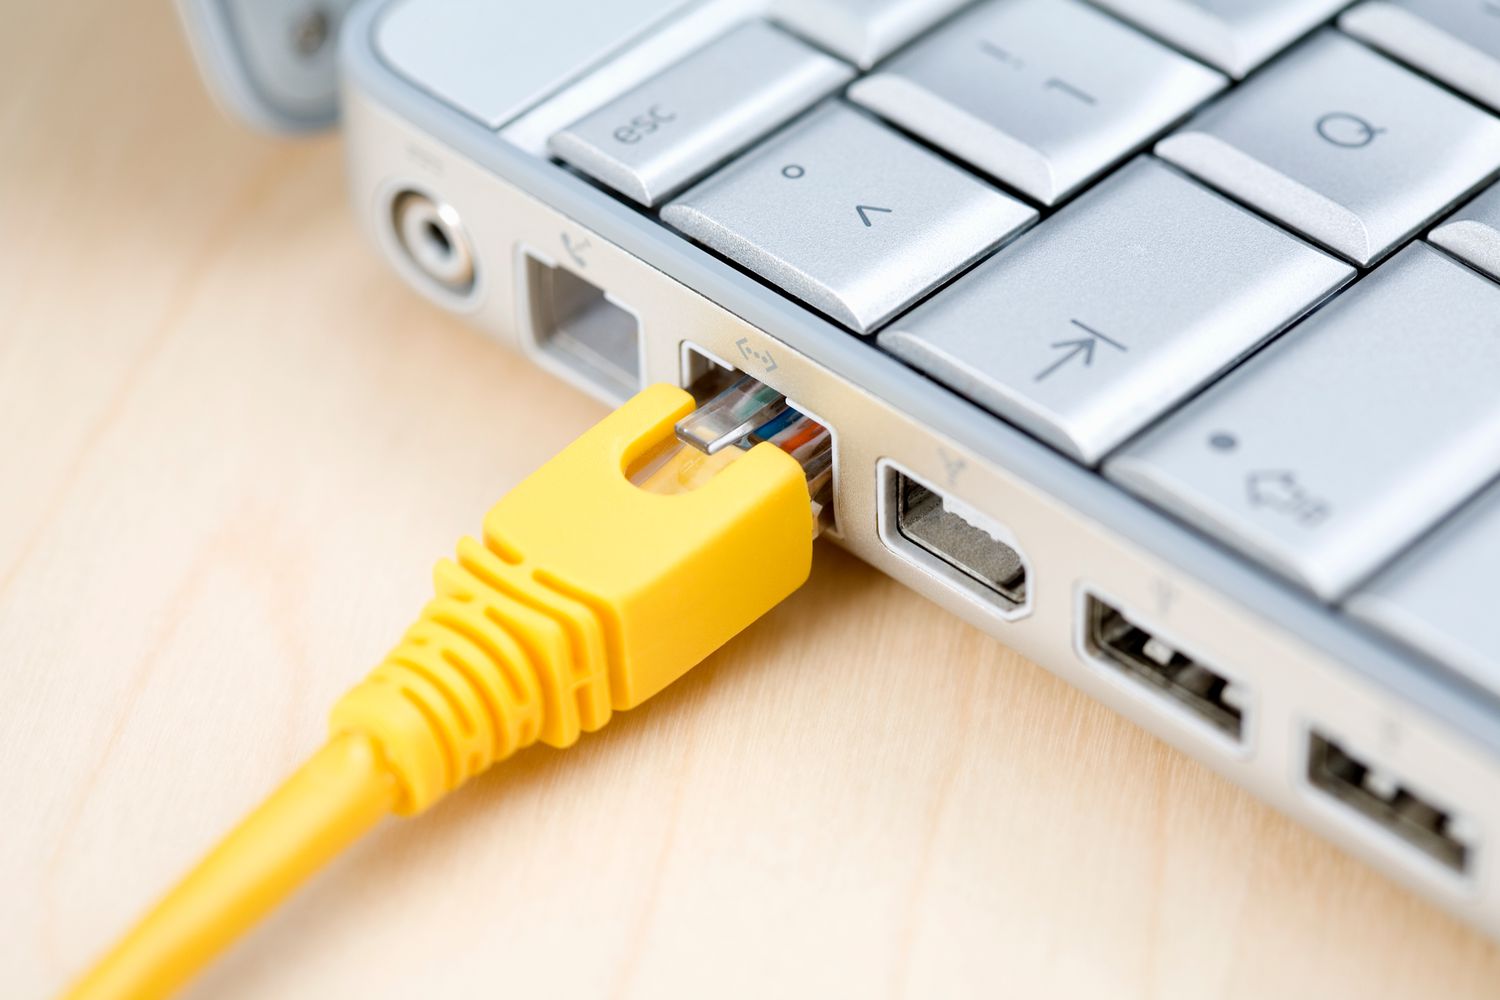
Another option is to visually inspect the sides or back of your ultrabook for a distinct Ethernet port.
It is usually a rectangular port with a small tab at the bottom for securing the Ethernet cable.
Ensure that the adapter is compatible with your ultrabook model and supports the necessary data transfer speeds.
It is usually a rectangular port with a small tab at the bottom.
Ensure that the connection is secure and snug.
Again, confirm the connection is secure.
It typically has a plug with eight copper connectors, which are inserted into the Ethernet port.
This will allow your ultrabook to establish a connection with the LAN and jump into the web link resources.
It is usually located near the modem or in a specific networking area of your home.
The ports are typically labeled with numbers or color-coded for easy identification.
Ensure that the connection between the Ethernet cable and the router or switch is secure.
You should hear a click or feel a slight resistance when the cable is properly inserted.
This will provide a stable and reliable connection between your ultrabook and the web connection machine.
The next step is to configure the online grid options on your ultrabook to enable online grid communication.
We will discuss this in detail in the following step.
These tweaks play an essential role in establishing a successful LAN connection.
We will cover this in the next step: Step 5: Test the LAN connection.
in case you find any difficulties during the testing process, dont panic.
Here are some troubleshooting tips to help you overcome these issues:
1.
A loose or improperly connected cable can result in a weak or unstable connection.
Try disconnecting and reconnecting the cable to ensure a proper connection.
Verify IP configuration: Double-check the IP configuration controls on your ultrabook.
Power off all the devices, wait for a few seconds, and then power them back on.
This can refresh the online grid connections and resolve any temporary glitches.
Update web link drivers: Outdated web link drivers on your ultrabook can cause connectivity problems.
Check the website of your ultrabooks manufacturer for any available driver updates.
Download and plant the latest drivers for the Ethernet adapter to ensure compatibility and optimal performance.
Temporarily disable these software programs and test the LAN connection again.
You have now successfully connected your ultrabook to a LAN using an Ethernet cable.
In this guide, we have walked you through the step-by-step process of connecting your ultrabook to a LAN.
Ensure that the cable connections are secure and that you have configured the connection options correctly.
Now, take advantage of your ultrabooks capability to connect to a LAN and explore the possibilities it offers.
