Introduction
Welcome to the world of gaming, where the possibilities are endless and the adventures await.
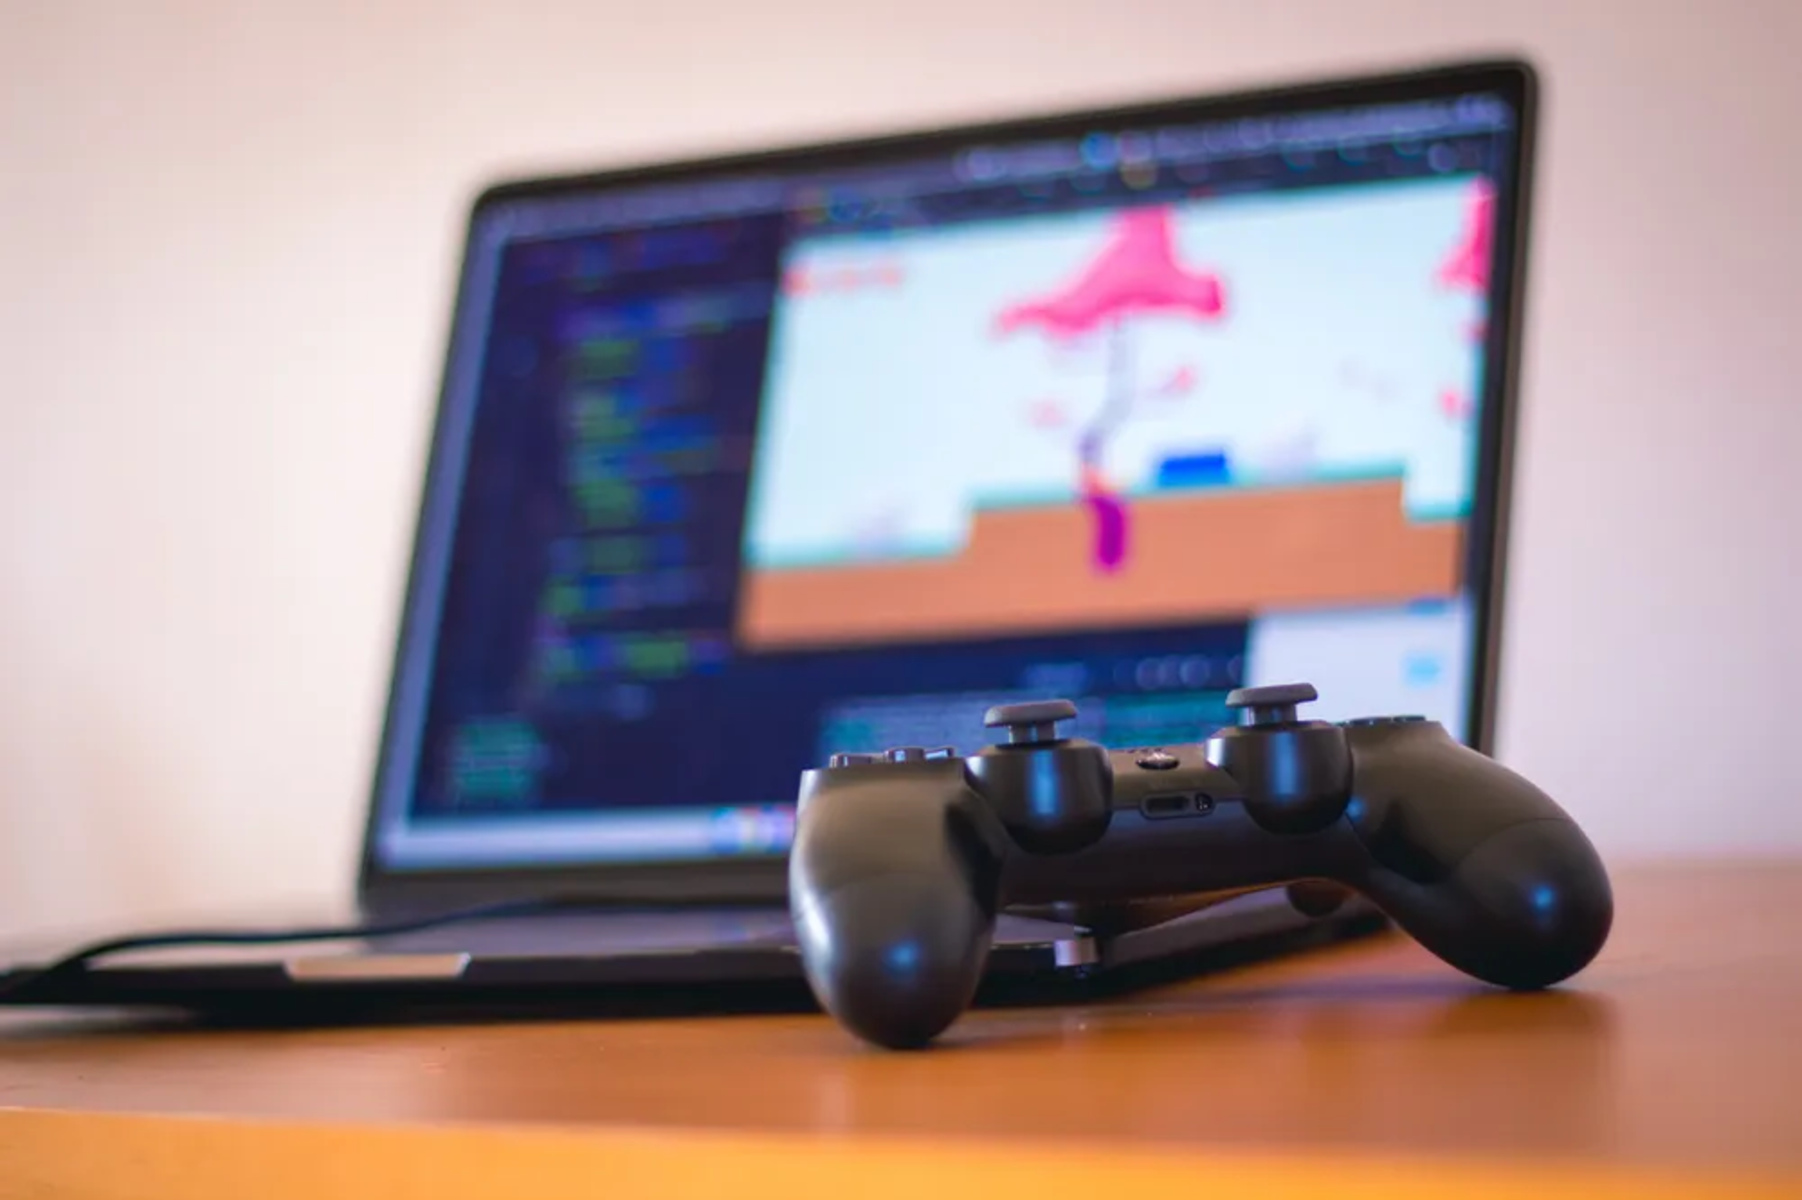
One popular gaming console that has captured the hearts of millions is the PlayStation 4 (PS4).
However, the general concept remains the same, making it easily adaptable to most laptops.
Additionally, the HDMI version supported by your devices might affect the quality or resolution of the displayed content.
Heres what you should probably check:
1.
Locate the HDMI port labeled HDMI OUT or simply HDMI.
HDMI Cable: verify you have an HDMI cable thats long enough to connect your PS4 and laptop comfortably.
Lets continue to the next step.
Step 2: Connect the HDMI Cable to PS4 and Laptop
1.
Turn off both your laptop and PS4.
Locate the HDMI port on your PS4 console, labeled HDMI Out.
Insert one end of the HDMI cable into the port, making sure it is securely connected.
Plug the other end of the HDMI cable into the HDMI port on your laptop.
Once the HDMI cable is securely connected to both devices, power on your laptop and PS4.
Now, switch the display input on your laptop to the HDMI input.
If everything is connected properly, you should see the PS4 screen displayed on your laptops monitor.
At this point, you have successfully established the connection between your PS4 and laptop using the HDMI cable.
Step 3: Configure the Laptop Display configs
1.
Right-select your desktop and select Display tweaks from the context menu.
snag the external display to select it.
Adjust the screen resolution to your preference.
Its best to choose the native resolution of your laptops display to ensure optimal clarity and sharpness.
Set the display orientation according to your preference.
The laptop will then apply the new display controls to the PS4 input.
Step 4: Adjust PS4 Video configs
1.
On your PS4, go to the main menu and navigate to the tweaks option using the controller.
Within the controls menu, select Sound and Screen or Display and Sound.
In the Sound and Screen or Display and Sound menu, select Video Output controls.
Select HDMI as the preferred connection punch in.
Now, you will have the option to adjust the resolution and display area.
you’re able to also adjust the display area to fit the laptops screen.
Here are a few troubleshooting tips to help you resolve them:
1.
Check the HDMI cable: Ensure that the HDMI cable is securely connected to both your PS4 and laptop.
Sometimes, a loose connection can result in a lack of signal or a poor-quality display.
ensure that both devices are using HDMI input/output, as incompatible ports may cause connection issues.
Restart the devices: Try restarting both your laptop and PS4.
Sometimes, a simple reboot can resolve connectivity problems and refresh the connection between the devices.
Update drivers and firmware: Ensure that your laptops graphics drivers and PS4s firmware are up to date.
Outdated drivers or firmware can cause compatibility issues and impact the quality of the connection.
This can help determine if the problem lies with the cable or port.
Ensure that the resolution and aspect ratio are set correctly to match your laptops screen.
HDCP can sometimes interfere with capturing or displaying the PS4 content on your laptop.
They can provide specific guidance based on your equipment and assist in resolving any technical difficulties.
We started by checking the ports on both devices, ensuring that they have HDMI compatibility.
Then, we connected the HDMI cable, establishing a physical link between the PS4 and laptop.
Afterwards, we delved into configuring the display configs on your laptop to optimize your gaming experience.
Additionally, we adjusted the video parameters on your PS4 to ensure compatibility with your laptops display.
Its always a good idea to consult the user manual or manufacturers website for specific instructions.
