Introduction
Welcome to this guide on how to connect the Propel drone to the controller.
The Propel drone is a popular choice among drone enthusiasts, known for its durability and impressive flight capabilities.
In this guide, we will cover all the necessary steps to connect your Propel drone to the controller.
So, lets dive into the step-by-step instructions and get your drone ready for an exhilarating flight!
Checking the package contents will help you ensure that everything is included and in good condition.
This thorough examination also allows you to promptly address any issues or concerns before attempting to connect the drone.
Refer to the user manual for accurate information on the charging duration.
check that to monitor the charging process and disconnect the devices once they are fully charged.
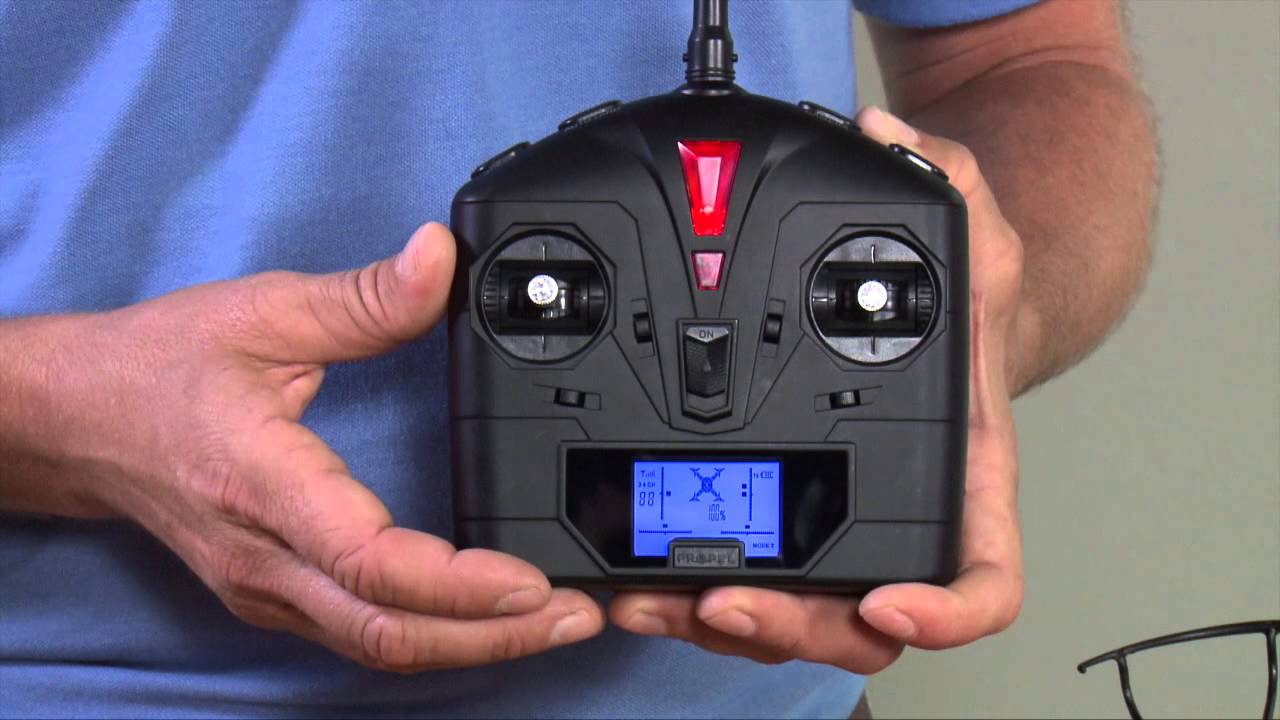
Step 3: Pairing Your Drone and Controller
Congratulations!
You havesuccessfully paired your Propel drone with the controller.
Sometimes, performing a reset on both the drone and the controller can resolve any pairing issues.
With the drone and controller successfully paired, youre almost ready to take flight!
The next step involves testing the connection to ensure everything is working smoothly.
This step is crucial in ensuring the safe and enjoyable operation of your drone.
This ensures a smooth connection process and helps identify any potential issues upfront.
Next, we discussed the importance of charging both your drone and controller fully.
Adequate charging ensures that you have ample battery power for your flight and maximizes the flight time.
In step three, we explained the process of pairing the drone and the controller.
Lastly, we emphasized the need to test the connection and drone functionality before embarking on a full-fledged flight.
Remember to always consult the user manual for specific instructions related to your Propel drone model.
