This high-quality microphone is perfect for podcasting, voiceovers, gaming, and music recording.
Don’t worry; it’s a straightforward process that we’ll walk you through step by step.
In this guide, we’ll cover everything you gotta know to connect your NeewerCondenser Microphoneto your PC.
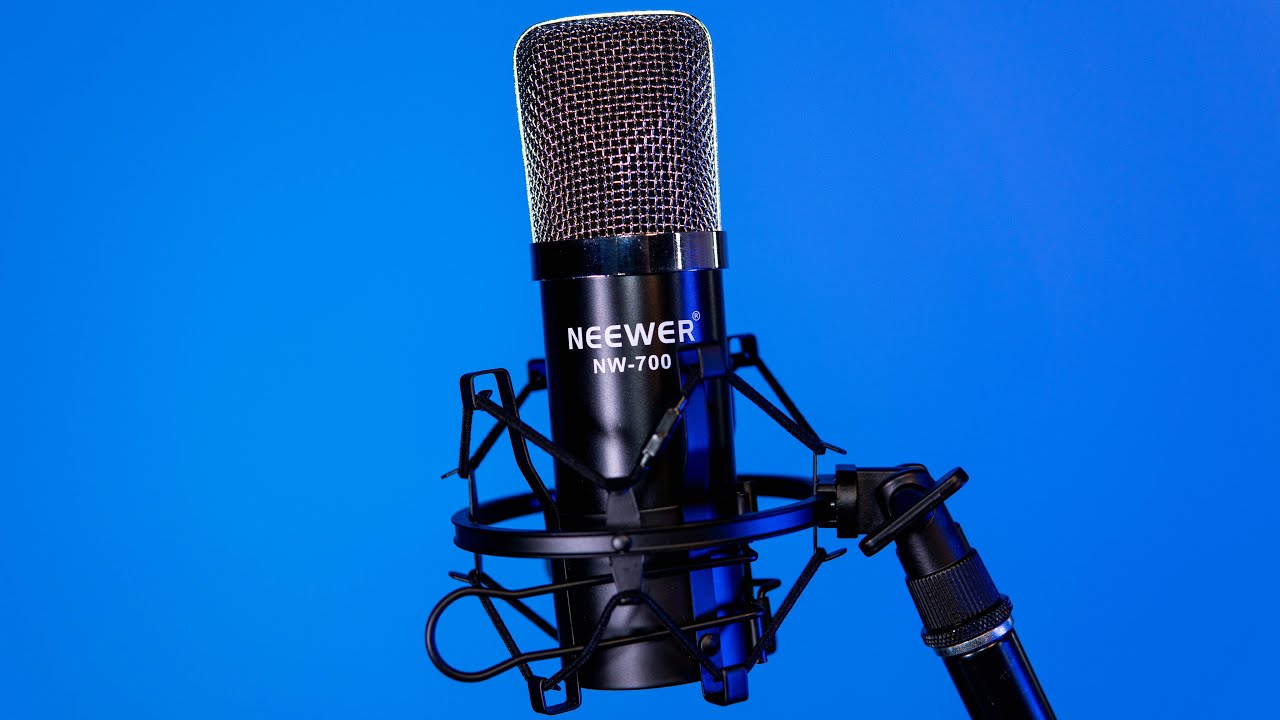
We’ll start by unboxing the microphone and familiarizing ourselves with its components.
Finally, we’ll test the microphone to ensure that it’s working as expected.
So, let’s dive in and get started with unboxing the Neewer Condenser Microphone!
Lets dive into the process of making this connection to unleash the full potential of your new microphone.
The process is relatively straightforward, but its essential to follow the steps carefully to ensure a proper connection.
First, locate the 3.5mm to XLR cable that came with your microphone.
This cable is designed to connect the microphone directly to your PCs sound card or audio interface.
Before making the physical connection, ensure that your PC is powered off.
This precaution will prevent any potential electrical issues during the setup process.
Once the PC is powered off, locate the microphone input on your PC.
This is typically a pink-colored 3.5mm jack labeled mic in or microphone.
Next, plug the 3.5mm end of the cable into the Neewer Condenser Microphone.
The plug should securely fit into the microphones output jack.
Ensure that the connection is secure but avoid using excessive force, as this could damage the connectors.
Lets proceed to the next step and fine-tune the parameters on your PC for seamless integration with the microphone.
This ensures that your recordings are of high quality and free from any technical issues.
Conclusion
Congratulations!
