Introduction
Welcome to the guide on how to connect your Roku TV to your soundbar.
Roku TVs typically come with multiple input and output options to accommodate various devices.
Look at the back or side of your Roku TV for the available ports.
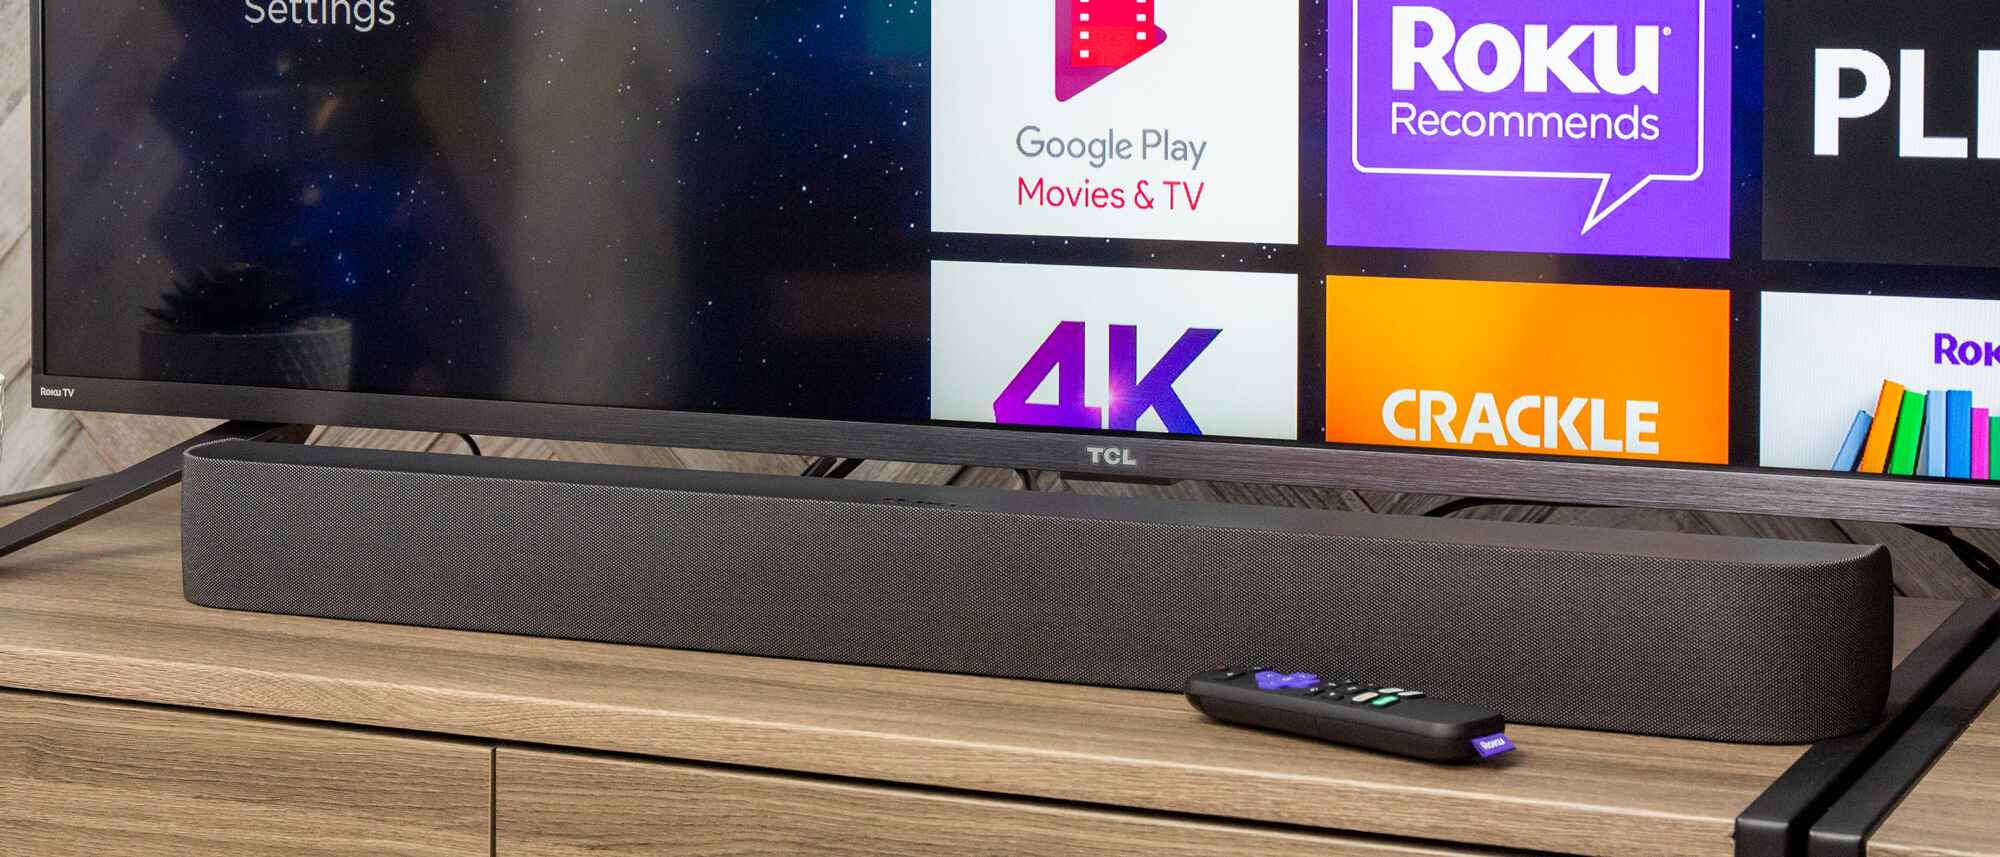
The most common audio output ports you will find are HDMI, Optical, and 3.5mm AUX.
HDMI and Optical ports are usually preferred for connecting soundbars due to their ability to transmit high-quality audio signals.
In addition to audio output ports, its also worth checking if there are any HDMI input ports available.
This eliminates the need for additional HDMI ports on your TV.
If your Roku TV and soundbar have HDMI-ARC ports, using anHDMI cableis the most convenient option.
An HDMI cable not only transmits high-quality audio signals but also allows for two-way communication between the devices.
An Optical cable is capable of transmitting high-quality digital audio signals from your TV to the soundbar.
This bang out of cable is suitable for analog audio connections and is straightforward to set up.
However, keep in mind that the audio quality may not be as high as HDMI or Optical connections.
Its also a good idea to opt for high-quality cables to ensure optimal audio performance.
Remember to power off your Roku TV before making any connections.
If you are using an HDMI cable, locate the HDMI-ARC or HDMI input port on your Roku TV.
Insert one end of the HDMI cable into the corresponding port on your TV, ensuring a secure connection.
Take note of theHDMI portnumber if there are multiple HDMI inputs available.
For those using a 3.5mm AUX cable, locate the 3.5mm AUX port on your Roku TV.
Insert one end of the cable into the AUX output port on your TV, ensuring a snug fit.
This will be covered in the next step.
Ensure that both your Roku TV and soundbar are powered off before proceeding.
If you are using an HDMI cable, locate the HDMI-ARC or HDMI input port on your soundbar.
For those using an Optical cable, locate the Optical (TOSLINK) input port on your soundbar.
If you have chosen a 3.5mm AUX cable, locate the 3.5mm AUX input port on your soundbar.
Ensure that your soundbar is plugged into a power source using the appropriate power cable.
Start by powering on your Roku TV.
Use your TV remote or press the power button on the TV itself to turn it on.
Wait for your TV to fully boot up.
Next, power on your soundbar.
This will be covered in the next step.
Using your Roku TV remote, navigate to the home screen and go for the tweaks option.
From the tweaks menu, find and go for the Audio option.
The location and naming of these options may vary slightly depending on your Roku TV model.
Within the Audio options, look for the Output mode or Sound mode option.
This will ensure that the audio signals are being transmitted through the Optical connection.
Some Roku TV models also offer additional audio parameters, such as surround sound or equalizer options.
you’re able to explore these prefs and adjust them according to your preferences.
Remember to refer to your TVs user manual for specific instructions on navigating and adjusting the audio prefs.
see to it the volume on both your Roku TV and soundbar is set to an audible level.
Listen carefully to the audio.
If the audio is coming from the soundbar, pay attention to the sound quality.
Adjust the volume and try different audio content to see how well the soundbar performs.
Sit back, relax, and enjoy the enhanced audio experience while watching your favorite content.
Conclusion
Congratulations!
You have successfully connected your Roku TV to your soundbar, elevating your audio experience to new heights.
So go ahead, sit back, relax, and immerse yourself in a world of enhanced sound!
