Additionally, adjusting the audio and video parameters might be necessary to optimize the output on your TV.
Heres a list of items you will need:
1.
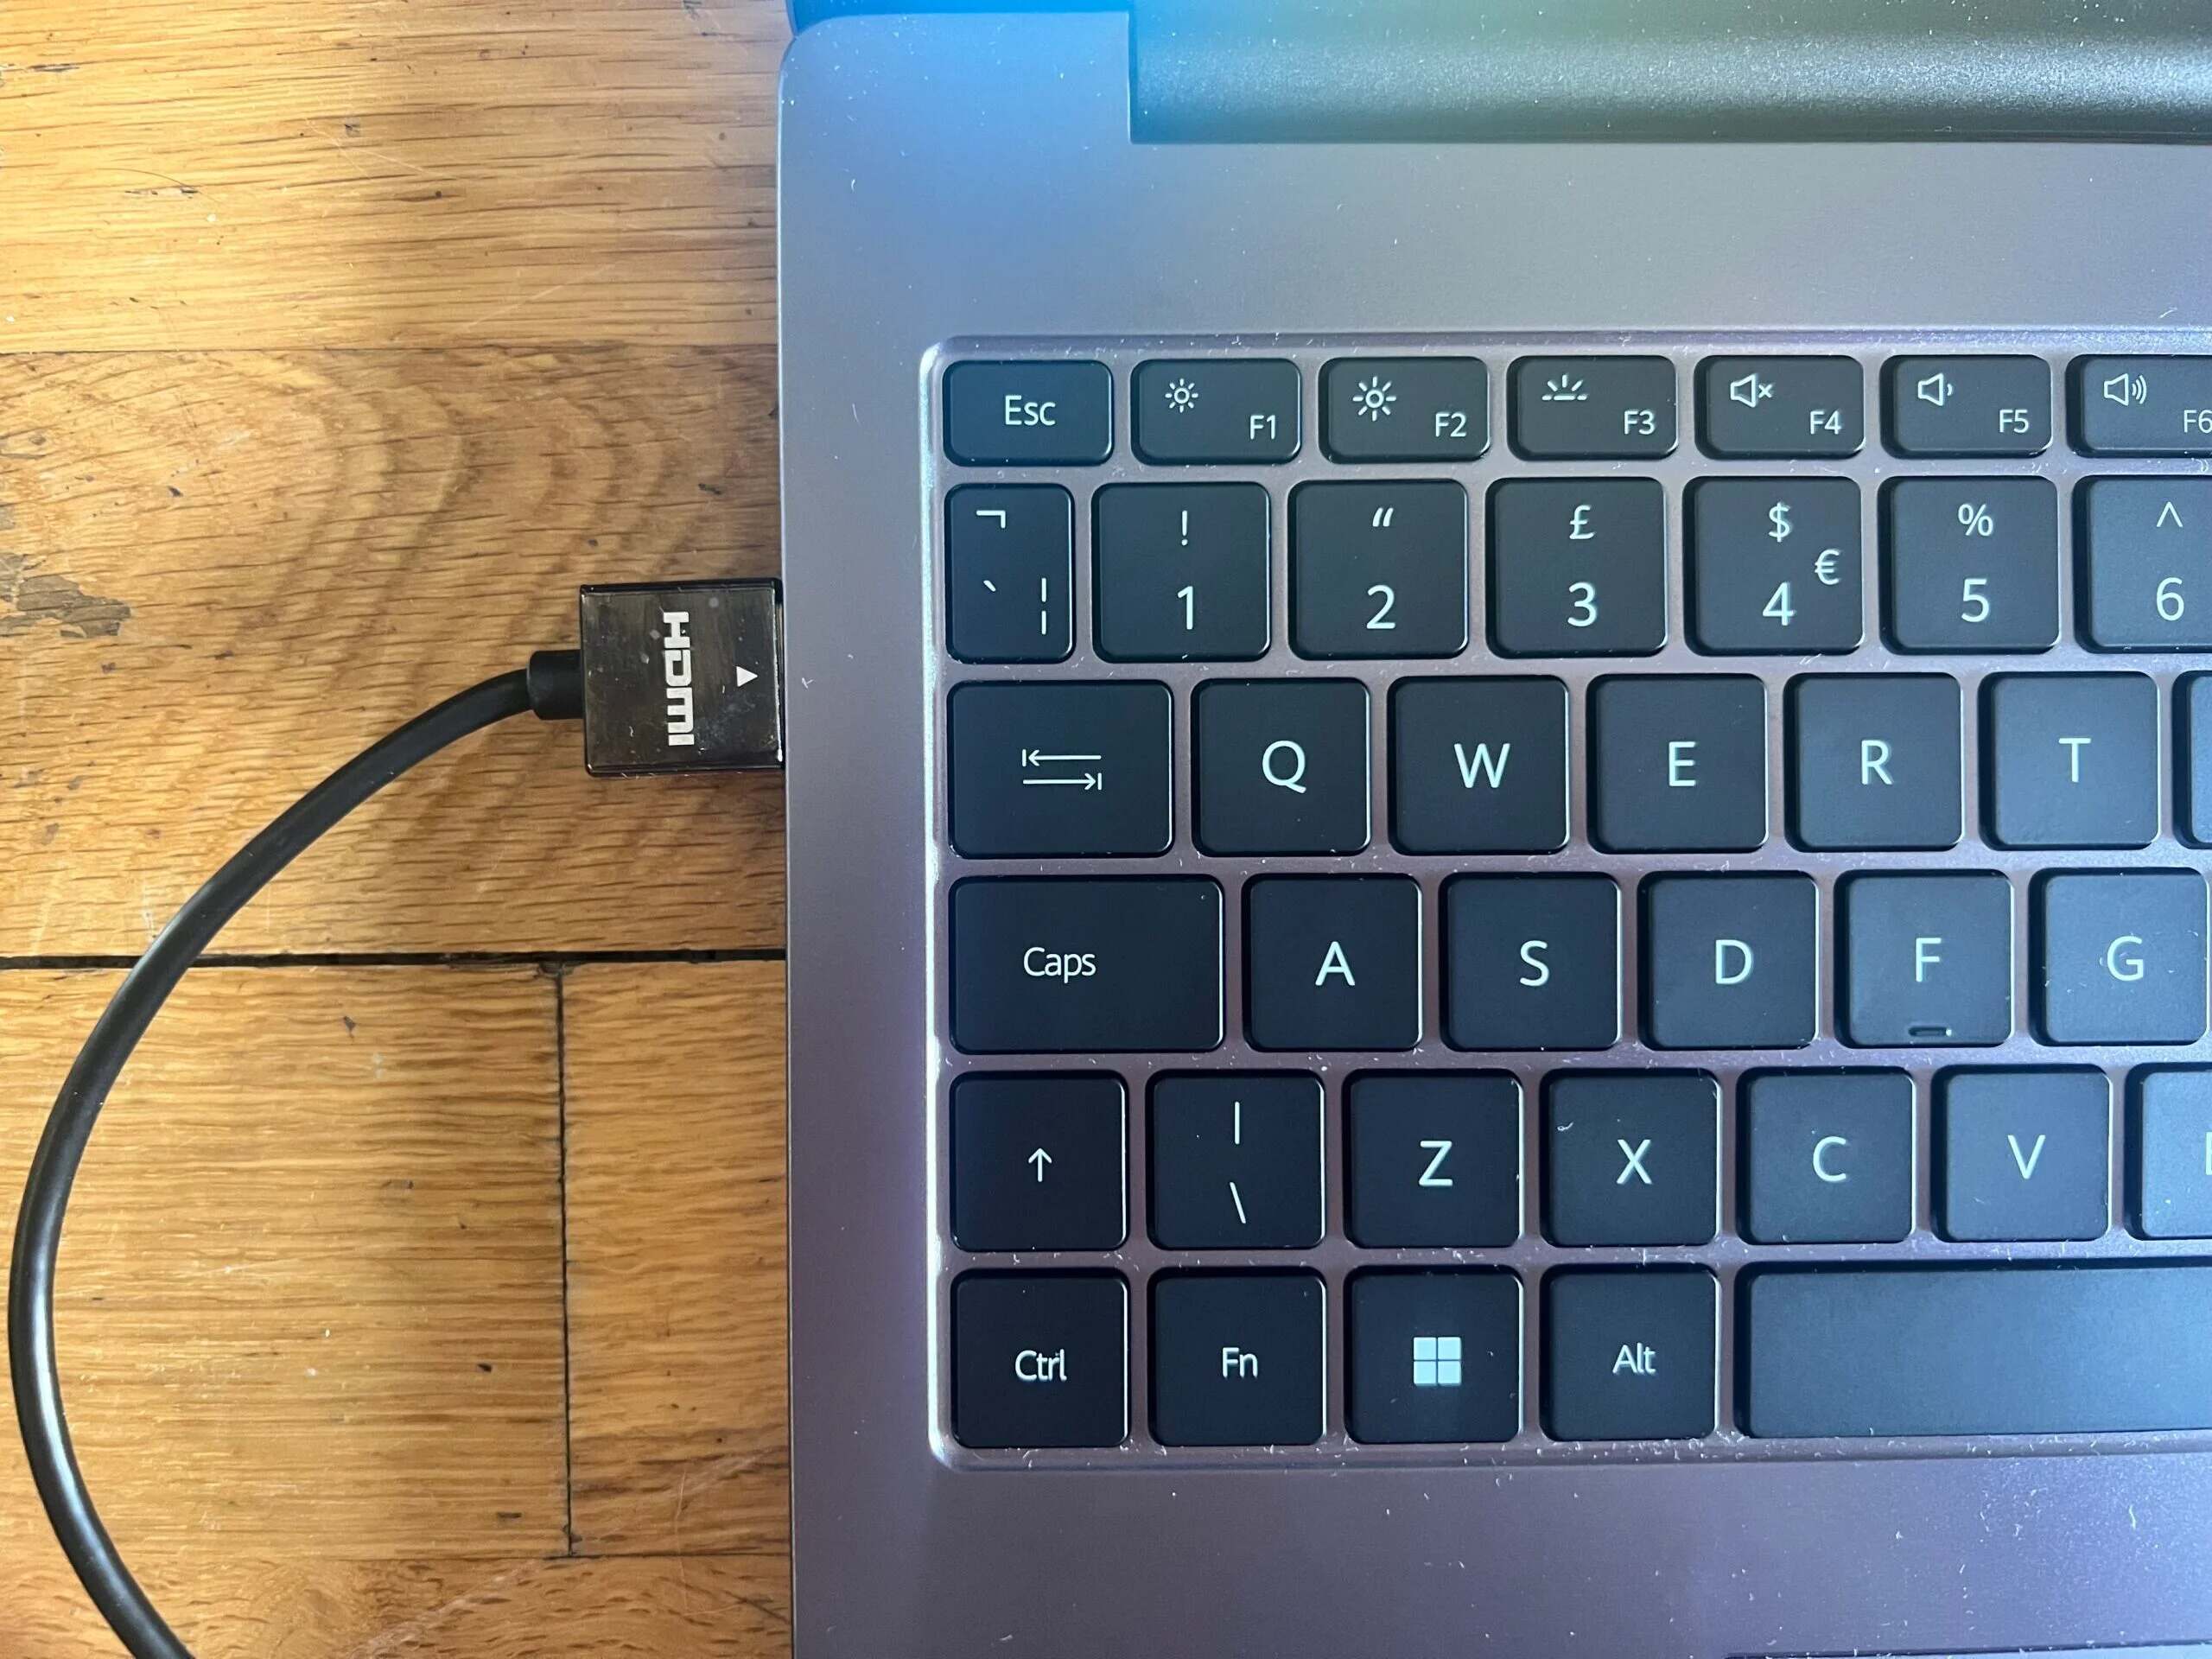
Laptop: verify you have a laptop with an HDMI output port.
TV: You will need a TV with an HDMI input port.
Again, most modern TVs have this feature, but its worth confirming.
Look for multiple HDMI ports on the back or side of your TV.
HDMI Cable: The HDMI cable is the essential component that will connect your laptop to the TV.
You will need a standard HDMI cable with compatible connectors on both ends.
Optional: Depending on your specific laptop or TV model, you may need additional adapters.
Its worth noting that HDMI cables come in different versions, such asHDMI 1.4or HDMI 2.0.
The version you choose will depend on your specific requirements.
HDMI 2.0 supports higher resolutions and refresh rates, making it ideal for gaming or watching ultra-high-definition content.
However, for most standard applications, HDMI 1.4 should suffice.
Here are the steps to check compatibility:
1.
Check Laptops HDMI Output: First, locate your laptops HDMI output port.
It is usually a small rectangular port labeled HDMI.
Ensure that your laptop has this port before proceeding with the connection process.
If your laptop doesnt have an HDMI port, you may need an adapter to establish the connection.
Check TVs HDMI Input: Next, check your TV for HDMI input ports.
Most modern TVs have multiple HDMI ports located on the back or side.
Look for HDMI ports labeled as HDMI 1, HDMI 2, etc.
If you have multiple ports, its important to remember which one you are using for the connection.
It is important to ensure compatibility between the versions of your laptops HDMI output and the TVs HDMI input.
Most newer devices are backward compatible, meaning that they can work with older versions.
Check Audio Support: HDMI cables transmit both audio and video signals.
Verify that both your laptop and TV support audio over HDMI.
Heres what you should probably do:
1.
Choose the Right HDMI Version: As mentioned earlier, HDMI cables come in different versions.
Purchase the HDMI Cable: Look for reputable electronics stores or online retailers that sell HDMI cables.
Ensure that you are buying a genuine, high-quality cable to ensure optimal performance and longevity.
Pay attention to customer reviews and recommendations before making a purchase.
Consider Cable Durability: HDMI cables vary in terms of durability and build quality.
If you plan to use this feature, check that the HDMI cable you choose has Ethernet compatibility.
Compare Prices: Compare prices from different sellers to ensure that you are getting a good deal.
Step 3: Connect the HDMI Cable to the Laptop
1.
Locate the HDMI Port: Identify the HDMI output port on your laptop.
It is usually a small rectangular port labeled HDMI.
Take note of its location for easy access.
This precautionary step helps prevent any electrical damage or signal interference during the connection process.
Ensure that it is securely connected and fits snugly into the port.
Be careful not to force the connection or misalign the cable.
Wait for them to fully initialize and reach their respective home screens before proceeding.
Look for the HDMI input that corresponds to the port you connected the HDMI cable to.
Select that input to ensure that the TV displays the content from your laptop.
when you land completed these steps, you have successfully connected the HDMI cable to your laptop.
Step 4: Connect the HDMI Cable to the TV
1.
Look for HDMI ports labeled as HDMI 1, HDMI 2, etc.
Take note of which port you are using for the connection.
double-check it is securely connected and fits snugly into the port.
Avoid forcing the connection or misaligning the cable to prevent any damage.
Power On TV: After connecting the HDMI cable to your TV, turn on the power.
Wait for your TV to initialize and display its home screen.
This allows your TV to receive the signal from your laptop.
If everything is working correctly, you should see your laptops screen mirrored or extended on your TV.
Ensure that the cable is securely connected to both the laptop and the TV.
With the HDMI cable connected to both your laptop and TV, you have successfully established a physical connection.
We will cover this in the next step.
Step 5: Configure Audio and Video prefs
1.
Select Playback Devices or Sound Preferences to jump into the audio controls.
Choose the HDMI or TV option as the default audio output equipment.
Ensure that the audio output is set to the HDMI input you used for the connection.
Adjust the volume to your preferred level.
On Windows, right-hit the desktop and select Display parameters or Graphics Options to get into the display parameters.
On macOS, go to System Preferences and select Displays.
Adjust the screen resolution and other display preferences to optimize the output on the TV.
Refer to your TVs user manual for specific instructions on accessing and adjusting video options.
Also, verify that the video is displayed correctly on the TV screen.
Make any necessary adjustments to the prefs if the audio or video output is not satisfactory.
Remember to adjust the controls based on your personal preferences and the capabilities of your laptop and TV.
Step 6: Test the Connection
1.
This confirms that the audio signal is being transmitted successfully through the HDMI cable.
Check Video Playback: Verify that the video content is displayed on the TV screen without any issues.
Ensure that the picture quality is clear, and there are no visual artifacts or distortions.
If necessary, make adjustments to the video tweaks on your laptop or TV to improve the display quality.
Adjust the display options on your laptop or TV if necessary to achieve the desired full-screen experience.
This allows you to ensure that the connection is not limited to specific software or media players.
Check Audio and Video Sync: Pay attention to any synchronization issues between audio and video playback.
Look for options such as audio delay compensation or lip-sync adjustment in the controls menu.
This helps you identify any potential issues specific to certain types of content.
We then discussed the step-by-step process of connecting the HDMI cable to both the laptop and the TV.
Through thorough testing, you might confirm a successful connection and address any potential issues that may arise.
