We will cover everything from gathering the necessary cables and equipment to adjusting the display parameters on your setup.
Before we delve into the specifics, its important to ensure that you have the right cables and equipment.
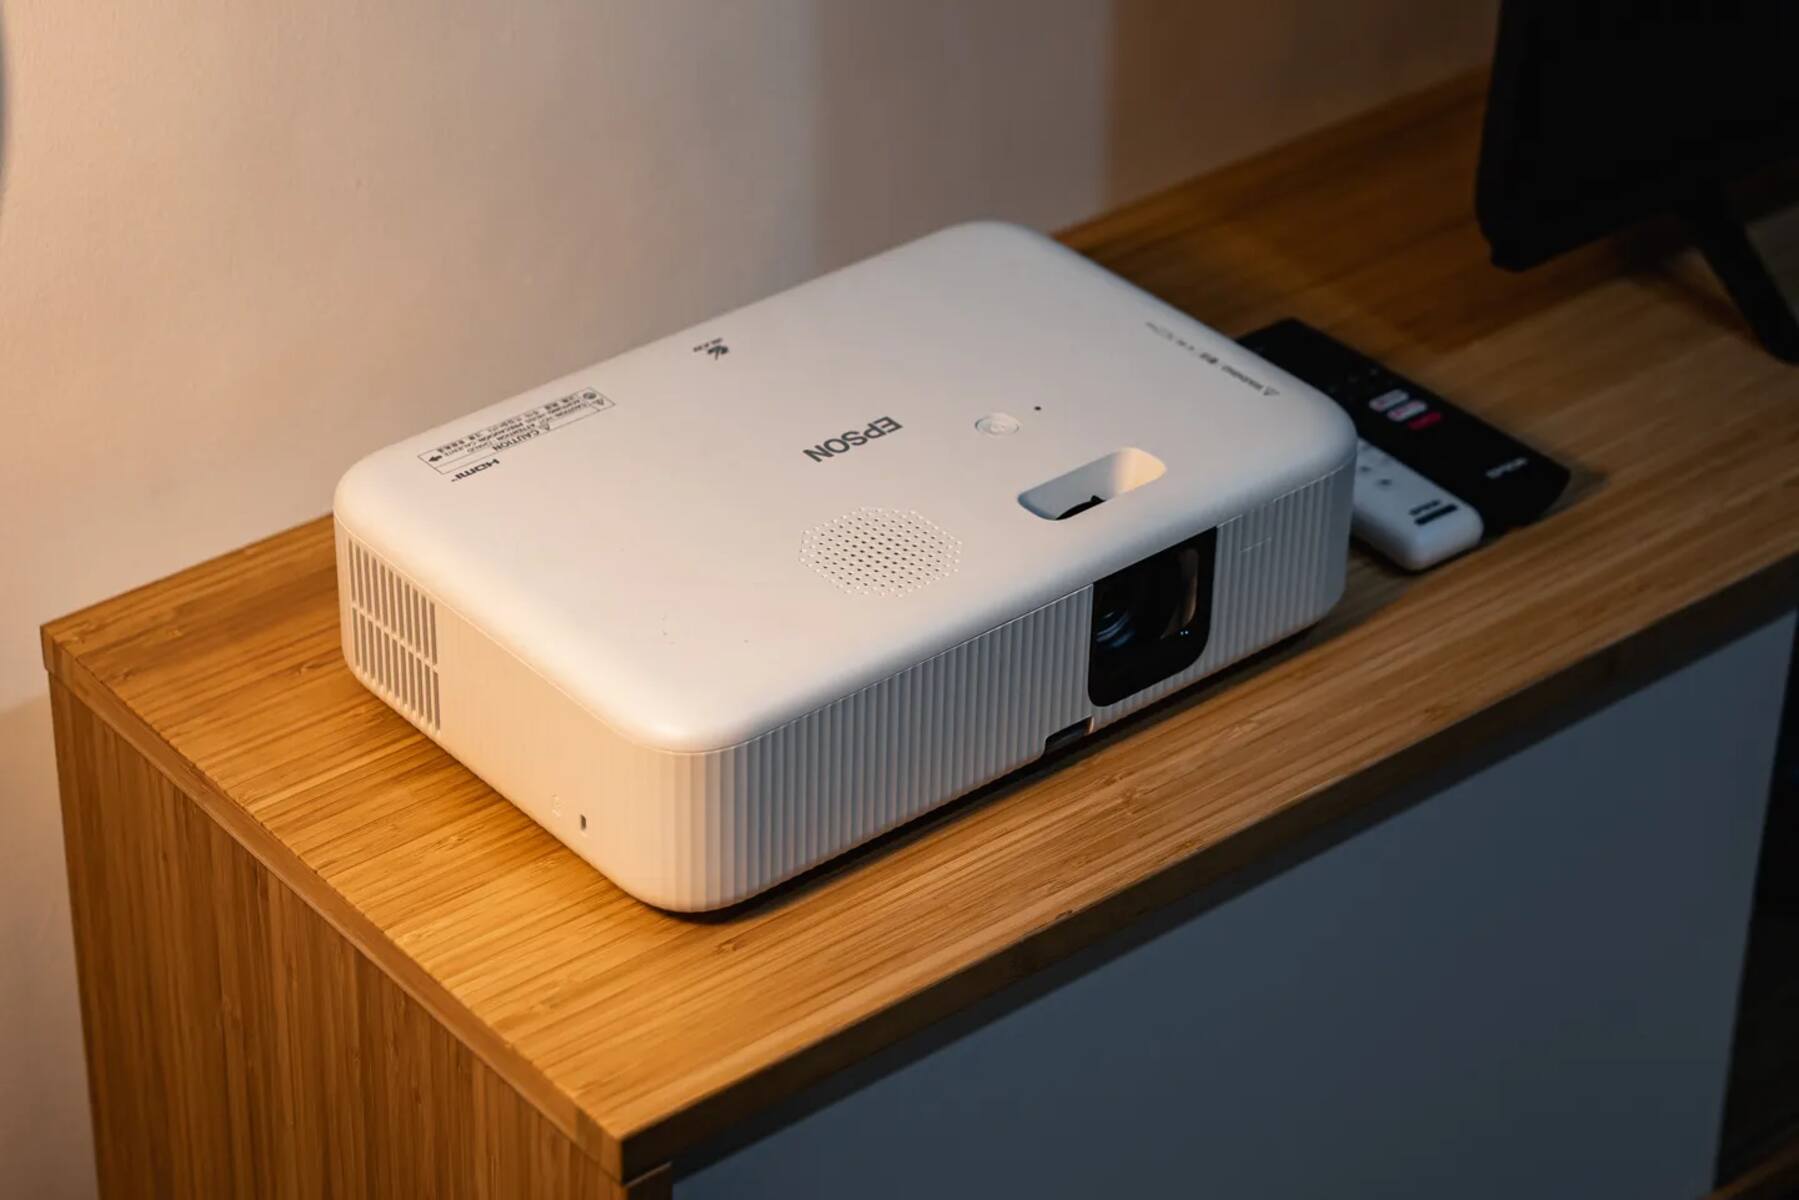
The most common cables used to connect anEpson projectorto a computer are VGA and HDMI cables.
VGA cables are commonly found on older computers, while HDMI cables are more prevalent in modern devices.
This step will ensure a smooth and hassle-free setup process.
In addition to the cables, you may also need a power cord for the projector.
Ensure that the projector is plugged into a power source before attempting to connect it to the computer.
Its crucial to verify that all the necessary adapters are compatible with your devices to ensure proper connectivity.
Lastly, ensure that both your machine and projector are turned off before proceeding to the next step.
Start by finding a suitable location to place the projector.
Also, ensure that there is enough space for proper ventilation to prevent the projector from overheating.
Next, connect the power cord of the Epson projector to a power outlet and turn it on.
Most projectors have a power button located on the control panel or the remote control.
Once the projector is powered on, give it a few moments to warm up and initialize.
While the projector is powering up, position your setup nearby and check that its also powered off.
Place it within reach of the projectors cable connections for easier access.
Now, its time to connect the cables.
If you are using a VGA cable, locate the VGA port on both the projector and your box.
If youre using an HDMI cable, locate the HDMI port on both the projector and your gear.
you’re able to now enjoy your content on the larger projected screen.
This can be done using the projectors audio output or by connecting external speakers to your gear.
you’re free to now enjoy your content on the larger projected screen with high-quality video and audio.
This means you might enjoy sound through the projectors built-in speakers or connect external speakers for enhanced audio quality.
Always remember to pick the appropriate input source on both the projector and computer to ensure proper signal transmission.
By tweaking these controls, it’s possible for you to customize the display according to your preferences.
Start by turning on both the Epson projector and your setup.
Allow them a moment to initialize and establish the connection.
Once both the projector and computer are powered on, check the projected image on the screen or wall.
Pay attention to the clarity, color accuracy, and alignment of the image.
Take note of any issues like distorted or misaligned images, flickering, or audio problems.
This may involve repositioning the projector, adjusting the display options, or replacing faulty cables.
Its also a good idea to test the audio output if applicable.
After establishing the physical connection, we focused on adjusting the display configs on the computer.
To ensure that everything was working correctly, we tested the connection and made any necessary adjustments.
