Introduction
Welcome to this tutorial on how to connect the DJI Mini 2 to the controller.
The DJI Mini 2 is a compact and powerful drone that offers an immersive flying experience.
This will ensure that you have enough power to complete the setup process and enjoy an uninterrupted flight experience.
Once youve done that, youre ready to begin the connection process.
So lets get started and connect your DJI Mini 2 to the controller!
This is a fundamental step that establishes the foundation for a successful connection.
To power on the DJI Mini 2, locate the power button on the drones body.
It is usually located on the side or underneath the drone.
Press and hold the power button until the indicator lights on the drone begin to blink.
This indicates that the drone is now powering on.
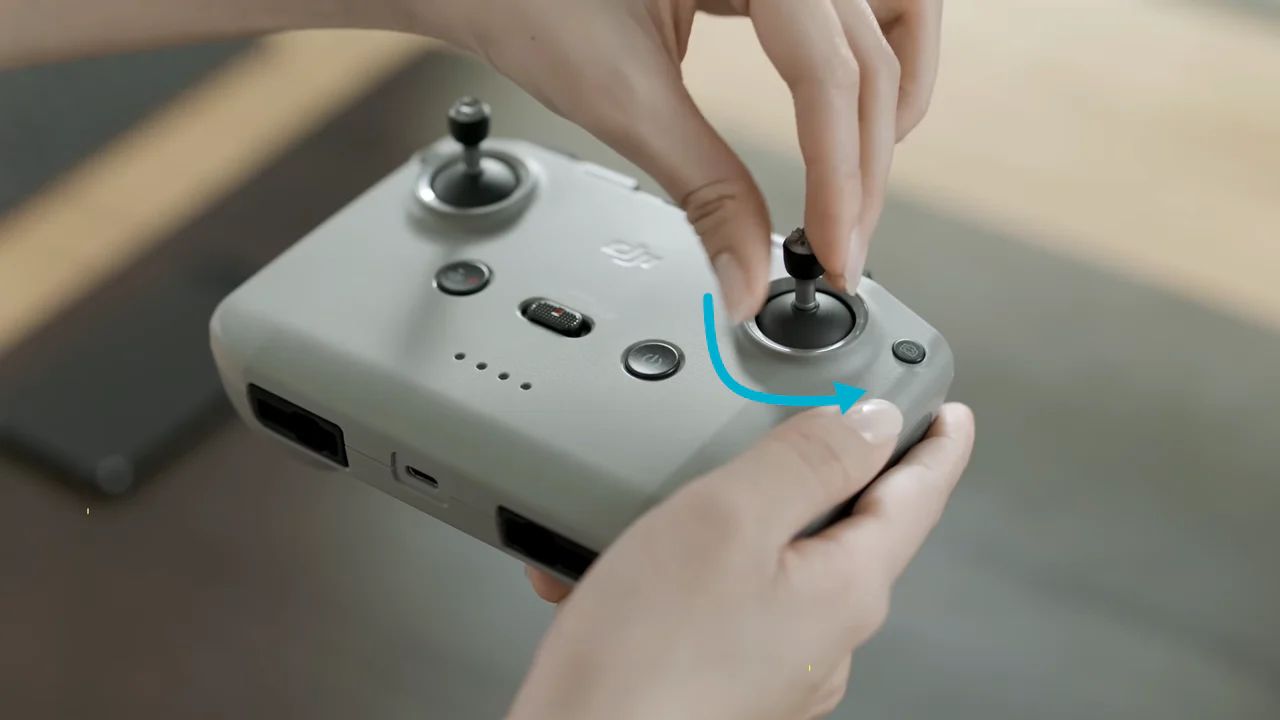
Next, you better power on the controller.
Locate the power button on the controller, usually located on the left side or top of the rig.
Press and hold the power button until you see the LED indicators on the controller start to light up.
Ensure that the controller and the DJI Mini 2 are in close proximity to each other.
This is important for a stable connection and to avoid any interference during the setup process.
check that there are no obstacles between the controller and the drone that could interfere with the signal.
Begin by unlocking your mobile unit and navigating to the tweaks menu.
Look for the Wi-Fi configs and verify it is turned on.
Locate the Wi-Fi online grid name that corresponds to your DJI controller.
Once your mobile gear is connected to the DJI controllers internet, launch the DJI Fly app.
This is where you could customize various aspects of the drones behavior and performance.
Launch the DJI Fly app on your mobile unit, and youll be greeted with the home screen.
Look for the gear icon or the options option, usually located in the top-right corner of the screen.
Tap on it to launch the options menu.
This includes options for flight control, camera configs, battery management, and much more.
Take some time to explore the different tweaks and familiarize yourself with the options available.
In the controls menu of the DJI Fly app, look for the Remote Controller or Controller controls option.
It is typically located towards the top of the controls menu.
Tap on it to enter the remote controller tweaks.
Tap on this option, and the app will begin searching for the DJI Mini 2 drone.
Ensure that the DJI Mini 2 is powered on and in close proximity to the controller.
The app should detect the drone and establish a connection automatically.
Once the connection is established, you will see an indicator or a confirmation message on the app.
Be patient and allow the app to establish a stable connection with the DJI Mini 2.
Once the connection is successful, you have now successfully connected the DJI Mini 2 to the controller.
This means you are now ready to take flight and explore the capabilities of your drone.
This step ensures that the controller can communicate with the drone and allows you to control its movements.
On the DJI Mini 2, locate the included USB cable.
Connect the USB end of the cable to the USB port on the bottom of the controller.
Then, connect the other end of the cable to the USB port on the DJI Mini 2 drone.
check that the connections are secure and properly aligned.
see to it to keep the cable securely connected throughout your flight to maintain a stable connection.
Calibration helps to fine-tune the controllers sensors and ensure accurate control over the drones movements.
To begin the calibration process, pop crack open the DJI Fly app on your mobile equipment.
Ensure that the DJI Mini 2 is powered on and connected to the controller.
In the app, navigate to the configs menu and locate the Controller Calibration or Calibrate Controller option.
This option is usually found within the remote controller prefs.
Tap on the calibration option, and the app will guide you through the calibration process.
Once the calibration is complete, the app will confirm the successful calibration of the controller.
This indicates that the controller is now optimized and ready for flight.
Calibrating the controller is an essential step to ensure accurate control and stability during flight.
It helps to eliminate any drift or inaccuracies that may occur due to variations in the controllers sensors.
Regular calibration helps maintain optimal performance and responsiveness.
Additionally, you have discovered the importance of calibrating the controller for optimal performance.
