We will also provide troubleshooting tips to help you overcome common issues that may arise during the setup process.
Before you begin, its important to ensure that you have all the necessary equipment.
ensure you have your dish receiver, HDMI or AV cables, and a power source.
You should also have yourSamsung Smart TV remotehandy, as it will be essential throughout the setup process.
Now, lets get started with step one: checking the dish setup.
This involves verifying that your dish is properly installed, aligned, and in good working condition.
Start by physically examining the dish.
Look for any signs of damage or misalignment.
Next, check the cables connected to the dish.
see to it they are securely plugged in and free from any damage or wear.
Inspect the connectors for any signs of corrosion or loose connections, as these can affect the signal quality.
You should also take a look at the dish receiver.
Ensure that it is powered on and receiving power.
Check the indicator lights on the receiver to confirm that it is functioning correctly.
Additionally, its important to verify that you have a valid subscription for the satellite service.
If you are unsure about your subscription status, contact your service provider for further clarification.
If the problem persists, refer to the troubleshooting section or consult the user manual for further assistance.
it’s possible for you to also reach out to Samsung support for assistance.
They will be able to provide specific troubleshooting guidance based on your equipment and setup.
We started by checking the dish setup to ensure that the dish was properly installed and aligned.
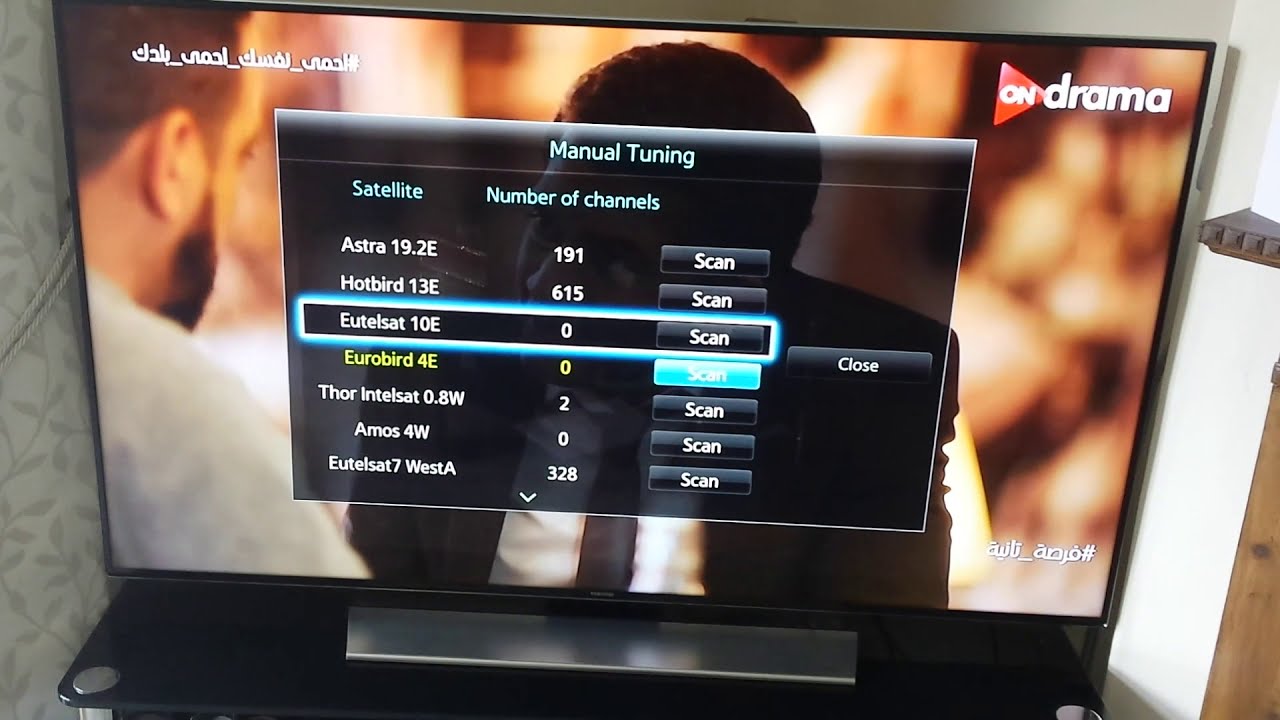
After that, we configured the dish configs by selecting the satellite provider and scanning for available channels.
you could also reach out to Samsung support for specific guidance related to your Smart TV model.
