We will also address common issues and provide troubleshooting tips to ensure a successful connection.
verify to check the specifications of your laptop and monitor to ensure compatibility.
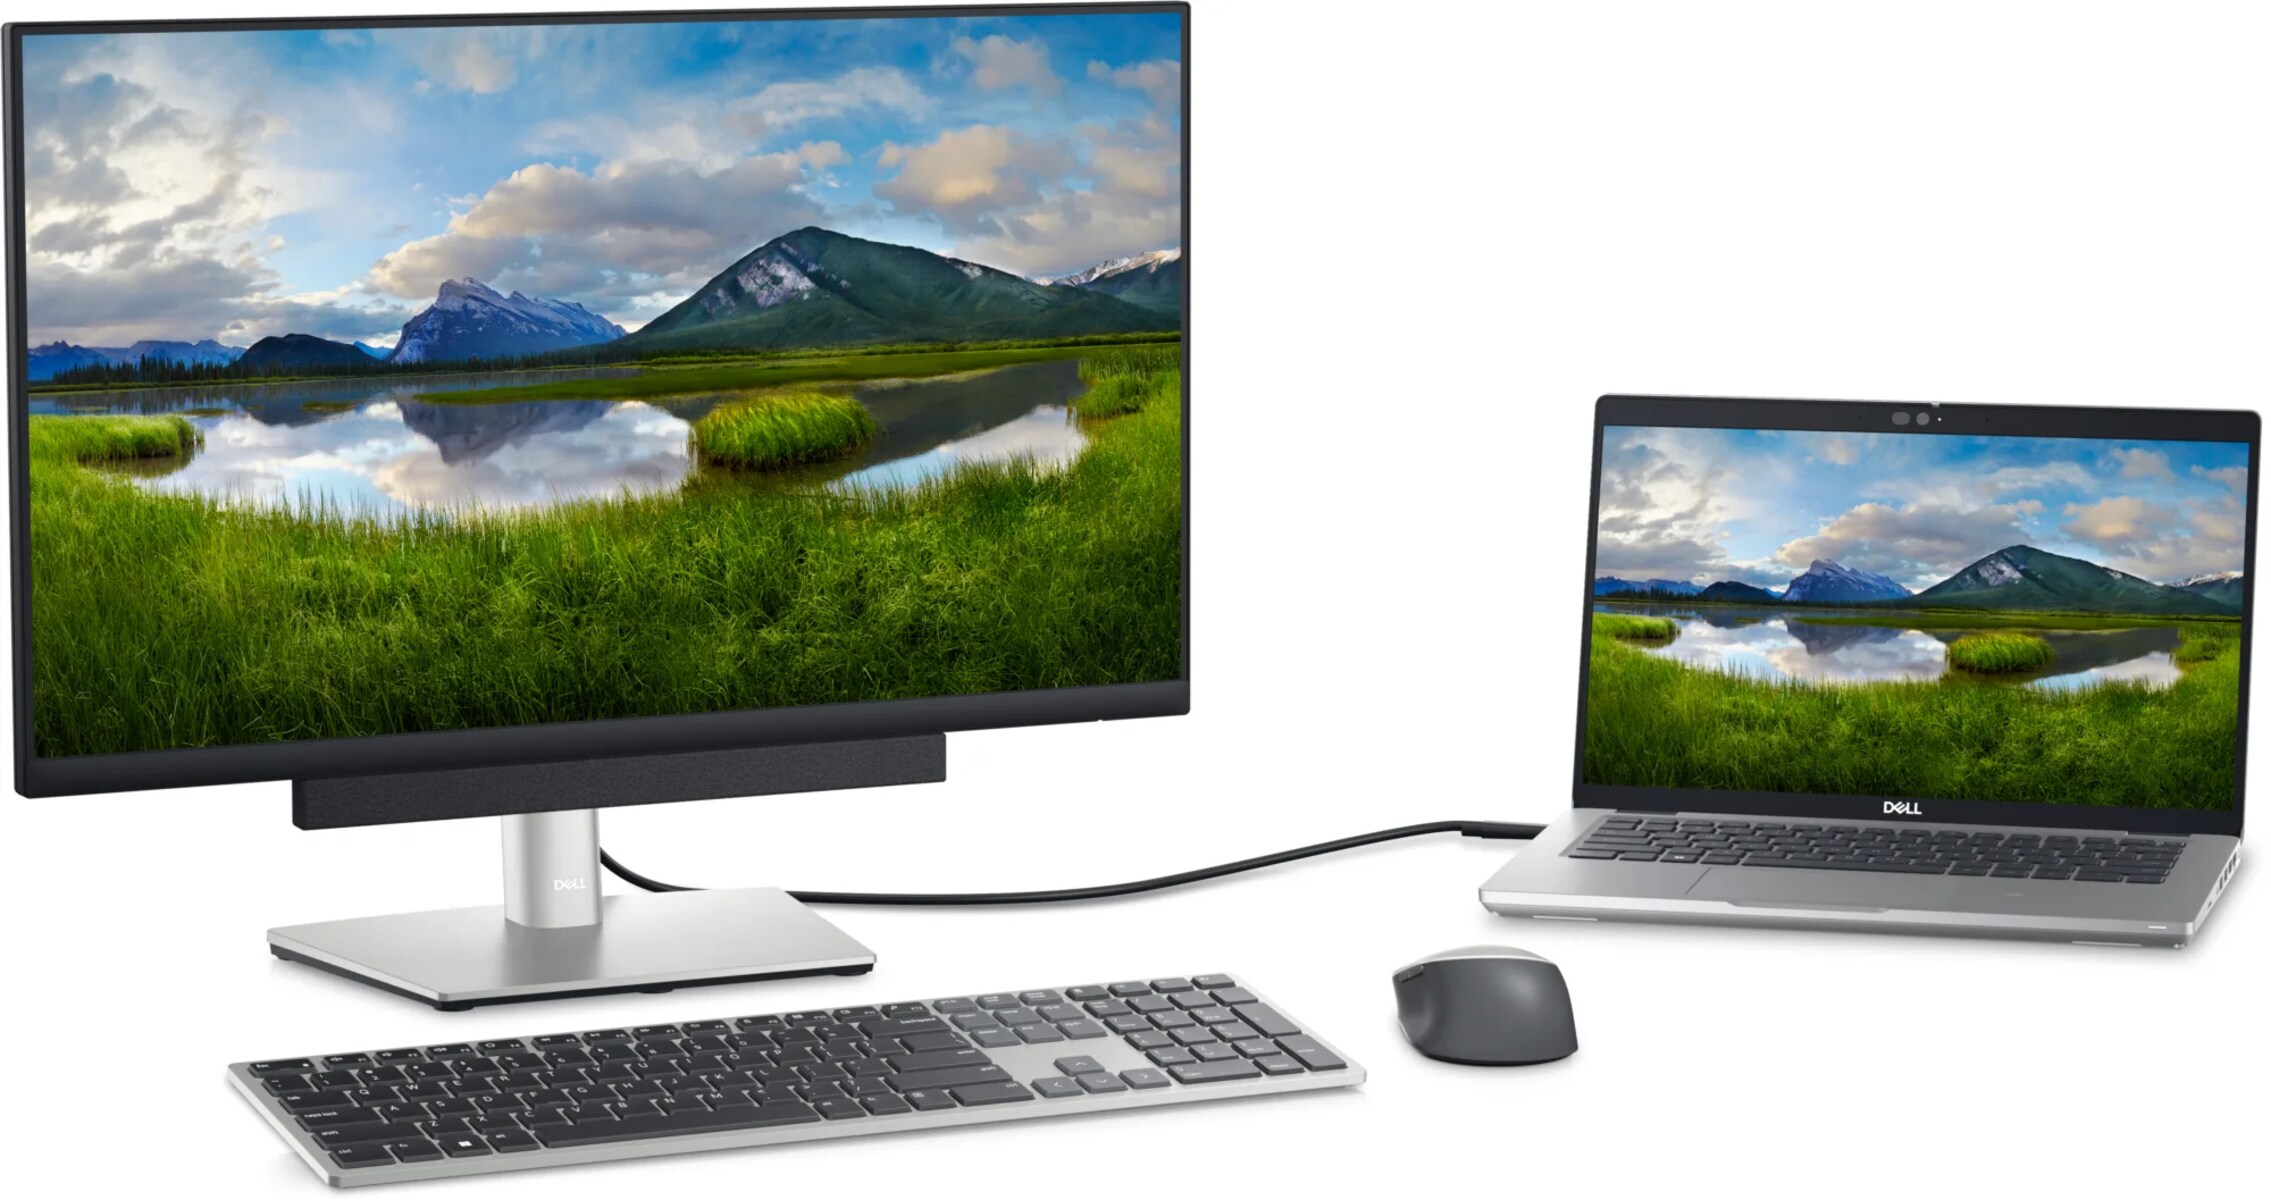
Now, lets get started and learn how toconnect your Dell laptop to a monitor using HDMI!
This will determine whether they are compatible for a seamless connection.
First, lets check your laptop.
Next, lets turn our attention to your monitor.
If you are unsure, consult your monitors user manual or research the specifications online.
If your laptop and monitor both have HDMI ports, congratulations!
They are compatible for an HDMI connection.
This ensures a safe and successful connection without the risk of damaging the ports or experiencing any technical issues.
Begin by shutting down your laptop.
From there, select Shut down to power off your laptop completely.
Wait for a few moments to ensure that your laptop has shut down entirely.
Next, you gotta power off your monitor.
If your monitor doesnt have a power button, simply unplug it from the power source.
It is important to note that some monitors may have a standby mode instead of completely powering off.
This step sets the foundation for a safe and smooth connection experience.
Before moving on to the next step, double-check that both devices are powered off completely.
Remember to leave the devices powered off until instructed to power them back on in later steps.
This port is where you will plug in one end of the HDMI cable to establish the connection.
The HDMI port on your Dell laptop is typically located on the side or back of the unit.
It is a small rectangular slot labeled HDMI, and it might be accompanied by the HDMI logo.
The exact location of the HDMI port may vary depending on the model of your Dell laptop.
If necessary, use a soft cloth or compressed air to gently clean the port before proceeding.
This will help maintain a secure and reliable connection.
double-check to keep your laptop powered off until instructed to power it back on later in the process.
Take the HDMI cable and insert one end of it into the HDMI port on your Dell laptop.
double-check the connector is aligned properly with the port and gently push it in until it is securely connected.
The HDMI cable should fit snugly into the port without any forceful pushing or wiggling.
This will help you easily identify which HDMI port is being used on your laptop.
This is where you will plug in the other end of the HDMI cable.
The HDMI port on your monitor is typically located on the back or side of the rig.
Look for a small rectangular slot labeled HDMI IN, which is where the HDMI cable will be inserted.
The HDMI port may also have the HDMI logo or be color-coded for easier identification.
Use a soft cloth or compressed air to gently clean the port if necessary.
A clean port will help establish a secure and reliable connection.
Before proceeding to connect the HDMI cable, verify your monitor is powered off.
This will prevent any potential issues or damage when plugging in the cable.
Continue to the next step for instructions on how to do so.
Take the HDMI cable and insert the other end into the HDMI port on your monitor.
The HDMI cable should fit snugly into the port without any forceful pushing or wiggling.
This will help you easily identify which HDMI port is being used on your monitor.
Note: Some monitors may have multiple HDMI ports.
Refer to your monitors user manual for specific instructions.
This allows the laptop and monitor to recognize and establish a connection using the HDMI interface.
Start by powering on your Dell laptop.
Press the power button to turn it on and wait for the operating system to load.
Depending on your laptops controls, you may need to drop your username and password to enter the desktop.
Next, power on your monitor.
Your laptops screen may momentarily flicker or go black as it configures the display options.
If not, dont worry.
Proceed to the next step to configure display prefs on your laptop.
Note: In some cases, you may need to manually switch the display output to the connected monitor.
On your laptop, right-hit the desktop and select Display options from the drop-down menu.
In the display options window, you will see two displays labeled as 1 and 2.
The 1 denotes your laptops built-in display, while the 2 represents theexternal monitoryou just connected via HDMI.
Now, the external monitor should display the content from your laptop according to the selected display prefs.
Adjust the angle or position of the monitor if needed for a comfortable viewing experience.
double-check the audio is coming from the monitors speakers or connected audio devices instead of your laptops speakers.
Now, you could make the most out of your dual-monitor setup and enhance your computing experience.
Here, we will discuss these issues and provide potential solutions to help you troubleshoot and resolve them.
Try restarting both devices and double-checking the display options on your laptop.
Right-snag the speaker icon in the taskbar and select Playback devices.
Ensure that the monitors speakers are set as the default playback unit.
Additionally, confirm that the volume on the monitor itself is turned up and not muted.
Right-tap on the desktop and select Display parameters.
From there, you might adjust the display mode to extend or mirror as desired.
Set them to the recommended values for your monitor.
Adjust these options in the display options menu to achieve the desired image quality.
Additionally, verify that your HDMI cable is of good quality and capable of transmitting high-definition signals.
They will be able to provide specific guidance tailored to your devices.
Keep in mind that the specific steps and configurations may vary depending on your Dell laptop and monitor models.
Always refer to the user manuals and manufacturers instructions for accurate and tailored guidance.
