By following these steps, youll be online in no time.
Also, ensure that your Dell laptop is powered on and ready to be connected to the internet.
Now, lets get started with the first step: checking the available ports on your Dell laptop.
Remember, each Dell laptop model may have slight variations in port placement.
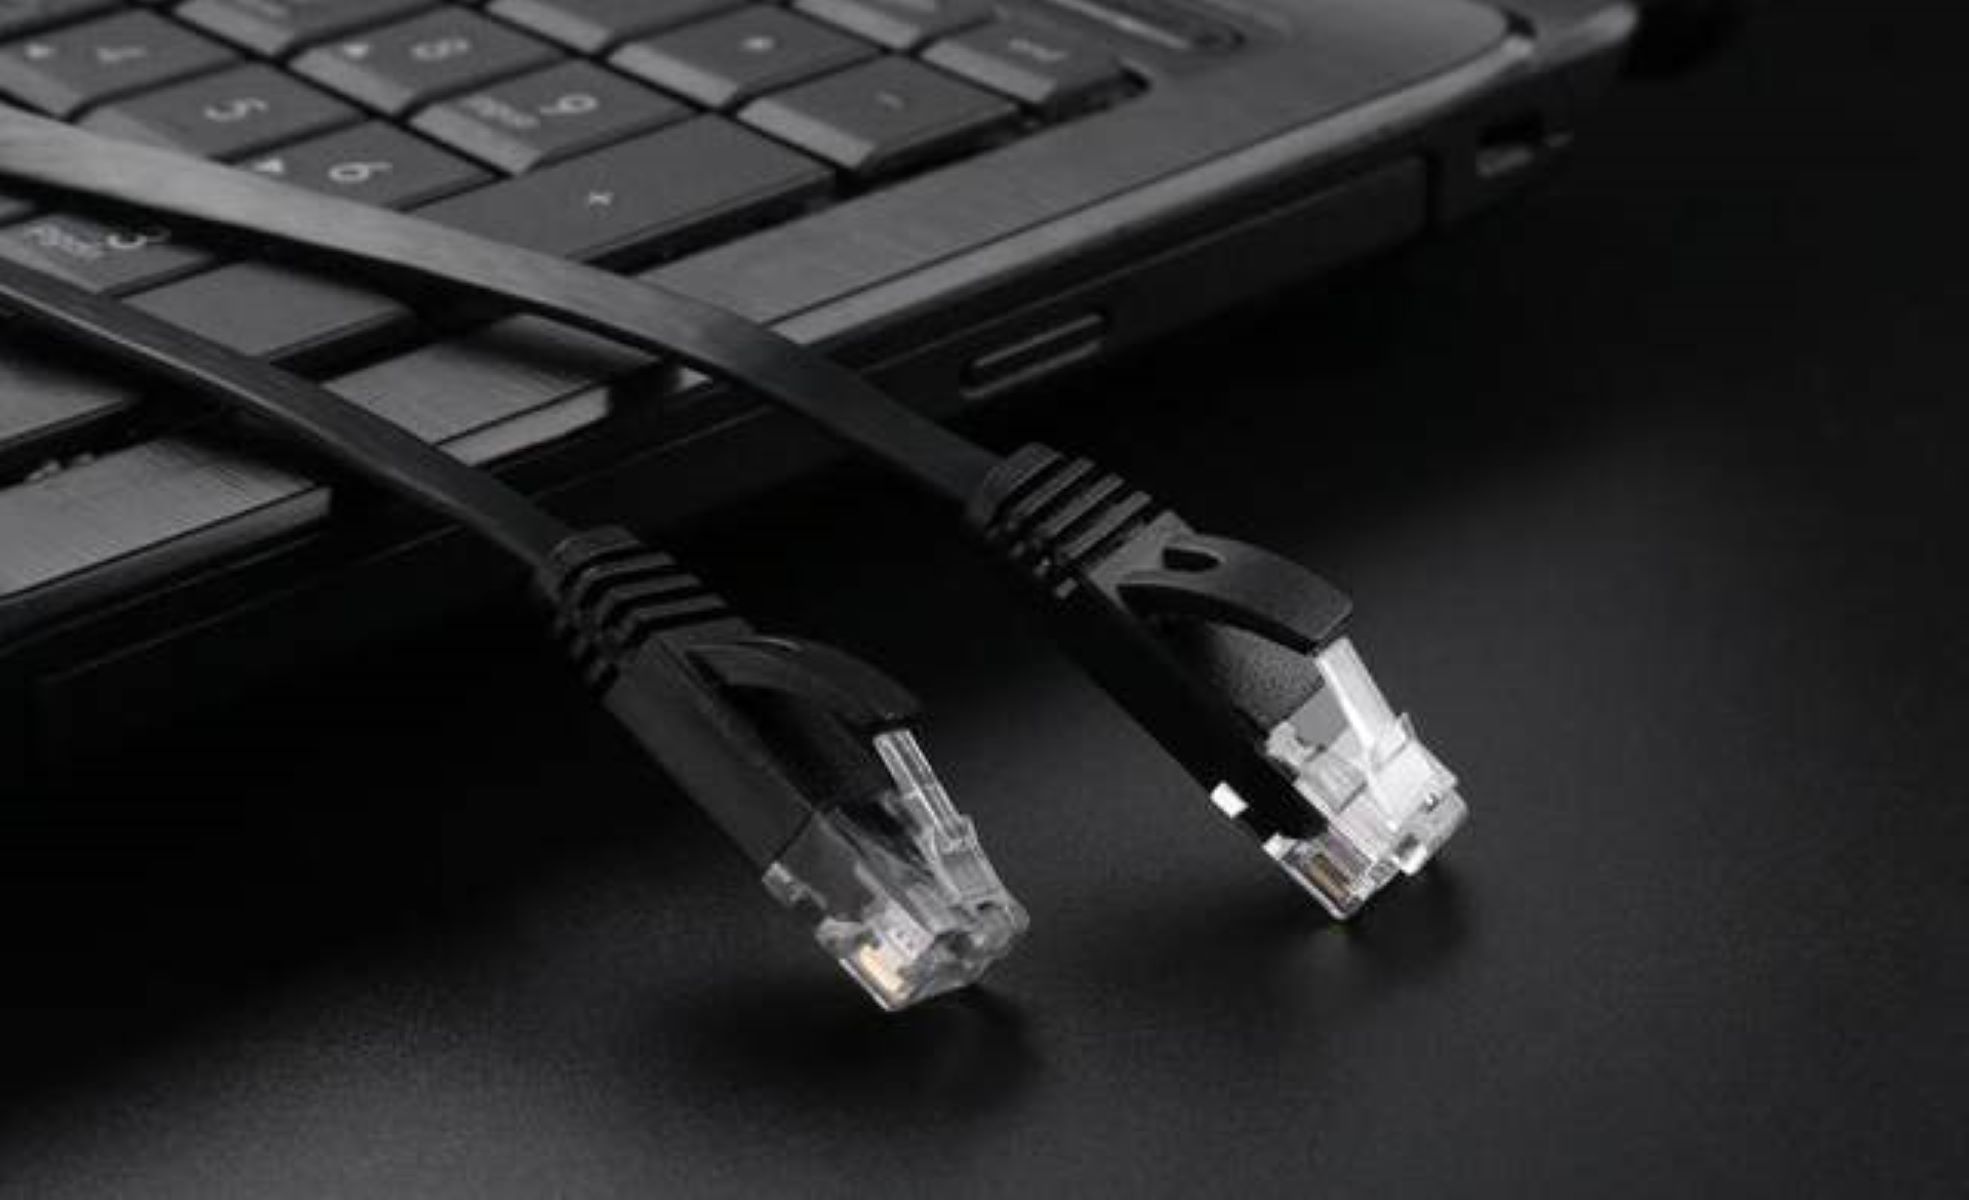
Its important to ensure a snug and secure connection to establish a reliable internet connection.
By following these steps, you have successfully connected one end of the Ethernet cable to your Dell laptop.
Check that the connectors are fully inserted into their respective ports and that the cable is not loose.
Now you are ready to proceed to the next step: turning on your Dell laptop.
Depending on your laptops options, you may be prompted to input your login credentials before accessing the desktop.
This process may vary slightly depending on the version of Windows you are using.
In the next step, we will test the Ethernet connection to ensure it is functioning correctly.
You have successfully connected your Dell laptop to the internet using an Ethernet cable.
Enjoy the benefits of a fast and reliable wired connection without the interference often experienced with wireless connections.
Next, we located the Ethernet port on your laptop, making it easier to connect the cable.
