Connecting a cable wire to a projector is a fundamental step in setting up your audiovisual system.
This enables you to enjoy a more immersive and visually captivating experience.
However, the general principles outlined in this guide should apply to most projectors.
Having the right tools at hand will ensure a smooth and hassle-free setup process.
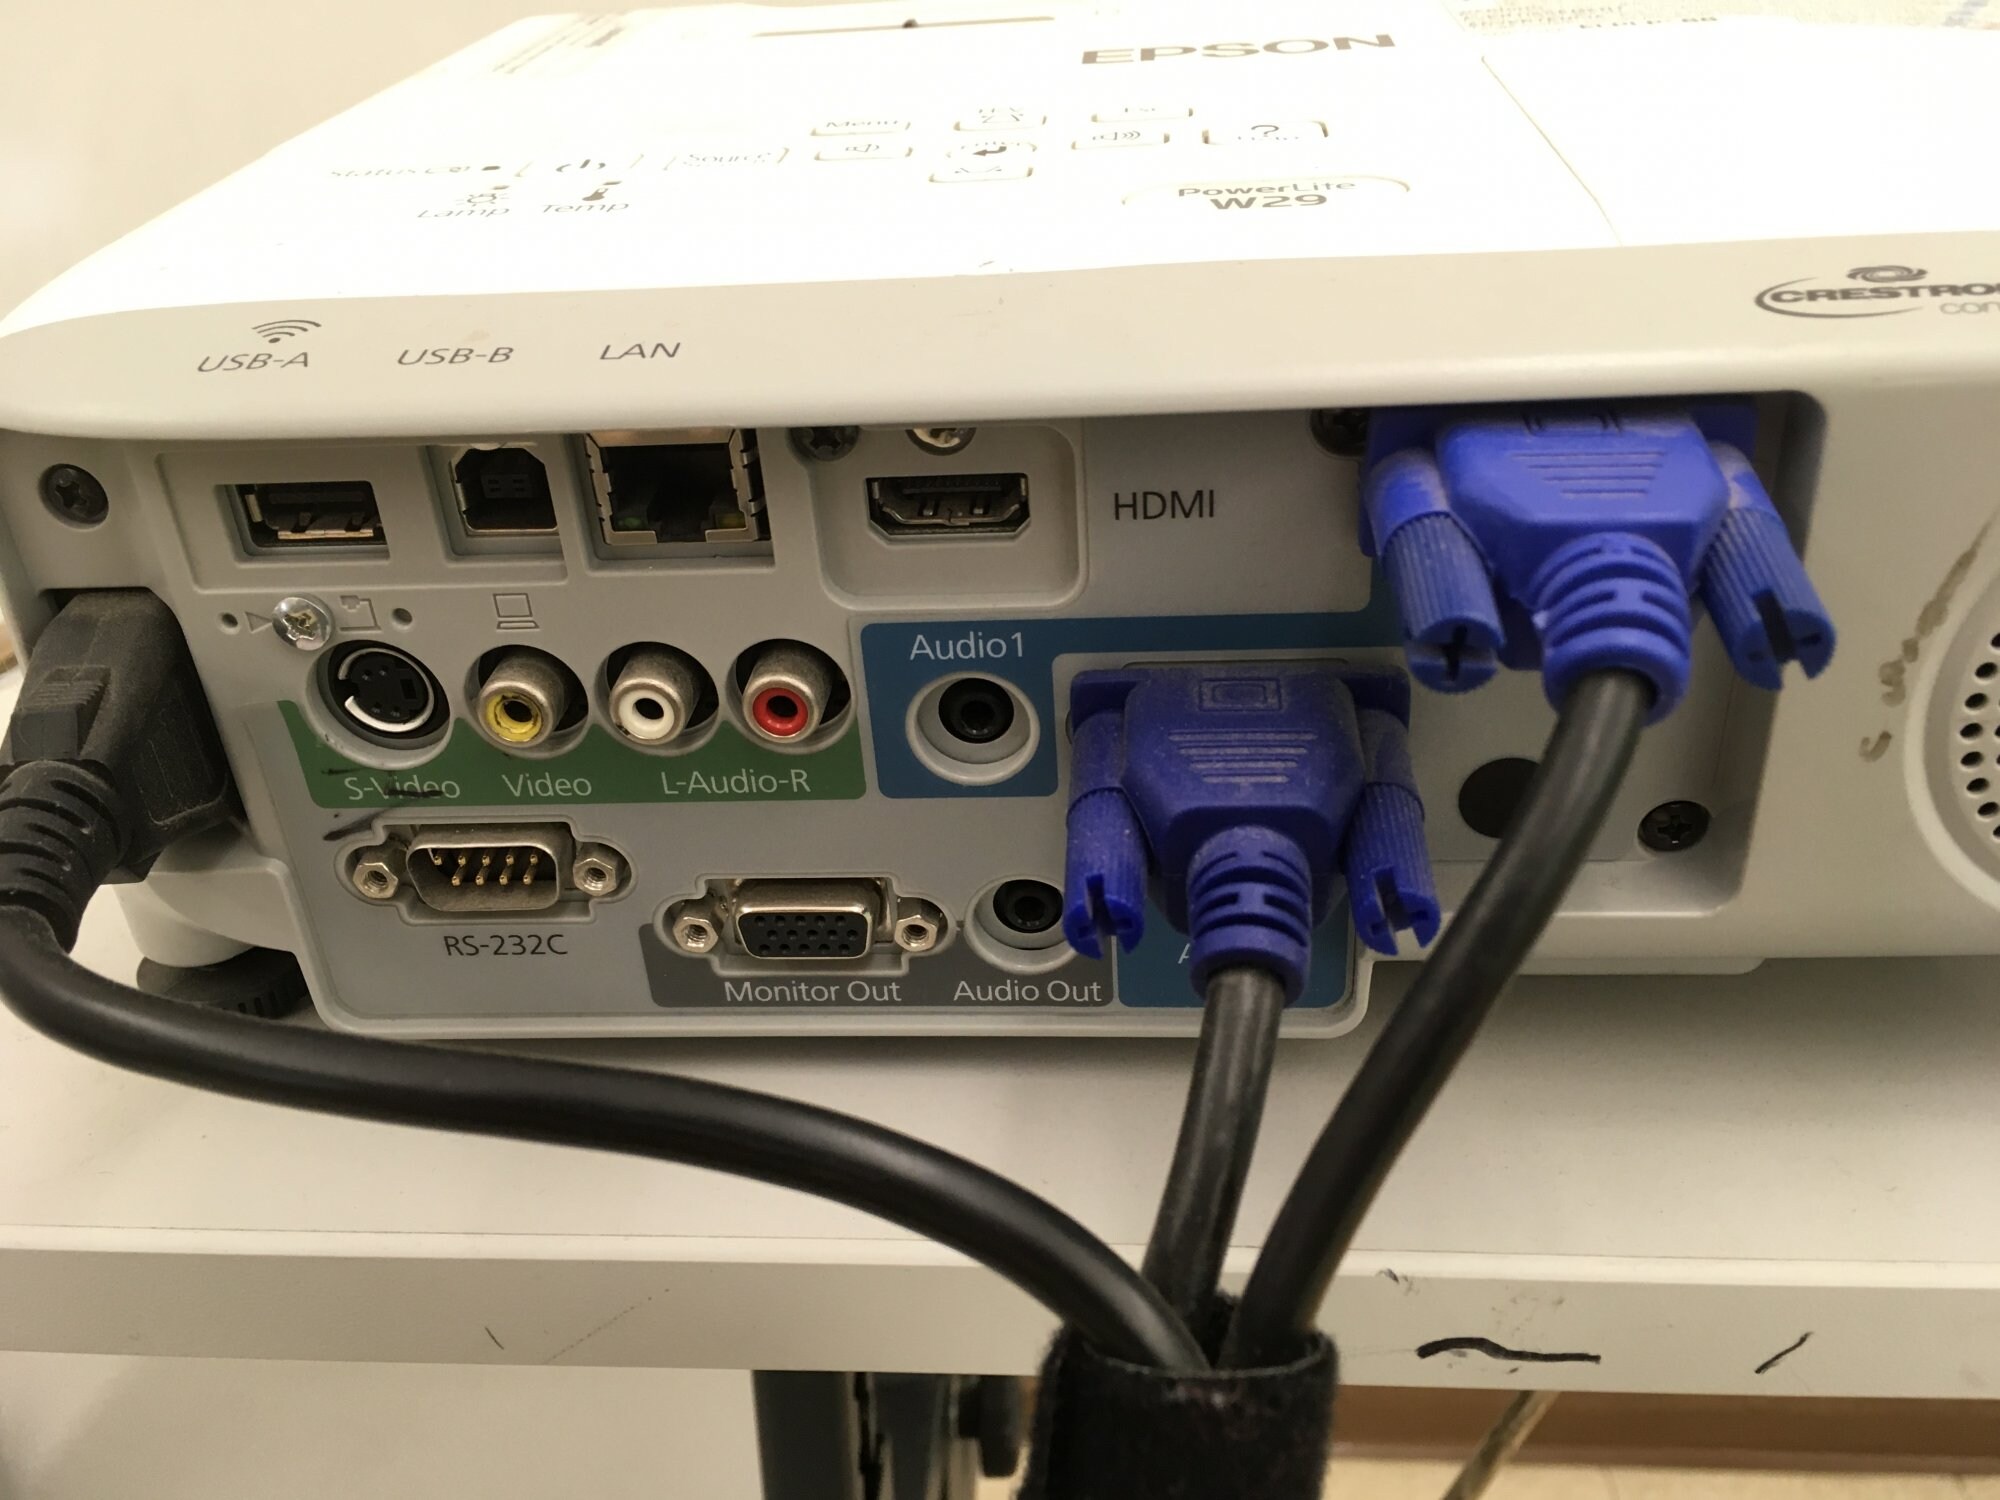
These input ports are where you will plug in the cable wire to establish the connection.
Depending on the throw in of cable you are using (HDMI, VGA, etc.
Loose connections can result in poor video quality or a complete loss of signal.
Consult your projectors user manual or on-screen menu options for precise instructions on these configuration adjustments.
This will allow the audio and video signals to be transmitted to the projector and displayed on the screen.
Before that, however, its vital to test the connection and ensure everything is functioning correctly.
This leads us to the final step testing the connection.
Step 6: Test the connection
If everything is working as desired, congratulations!
You have successfully connected and tested the cable wire connection to your projector.
Enjoy your favorite movies, presentations, or gaming sessions on the big screen.
Remember to keep your cables and equipment in good condition.
Through this connection, you gain access to a whole new level of audio and visual immersion.
Remember, the specific steps may vary depending on your projectors make and model.
Always consult the user manual for precise instructions and features specific to your machine.
With a high-quality connection, you could explore the possibilities and unlock the full potential of your projector.
Enjoy the stunning visuals, crystal-clear audio, and unforgettable moments that your projector brings to life.
