Solid State Drives offer faster speeds, improved performance, and enhanced reliability compared to traditional hard disk drives.
If youre looking to boost your PCs speed and storage capacity, connecting an SSD is a great solution.
In this step-by-step tutorial, we will walk you through the process of connecting an SSD to your PC.
Whether youre a seasoned tech enthusiast or a beginner, dont worry weve got you covered.
With that said, lets get started!
This will ensure a smooth and hassle-free installation process.
These items can be easily purchased from any computer hardware store or online retailer.
see to it you have the correct punch in of SSD for your PC.
Additionally, its always a good idea to have your PCs user manual on hand.
While this guide will provide you with general steps, your PCs specific setup may vary.
Remember to turn off your PC and unplug it from the power source before proceeding.
Before touching any internal components, ground yourself by touching a metal surface or wearing an anti-static wristband.
This will help prevent any damage to the sensitive electronic components inside your PC.
With the PC case open, you now have access to the motherboard and other components.
Take a moment to familiarize yourself with the layout of your PCs internals.
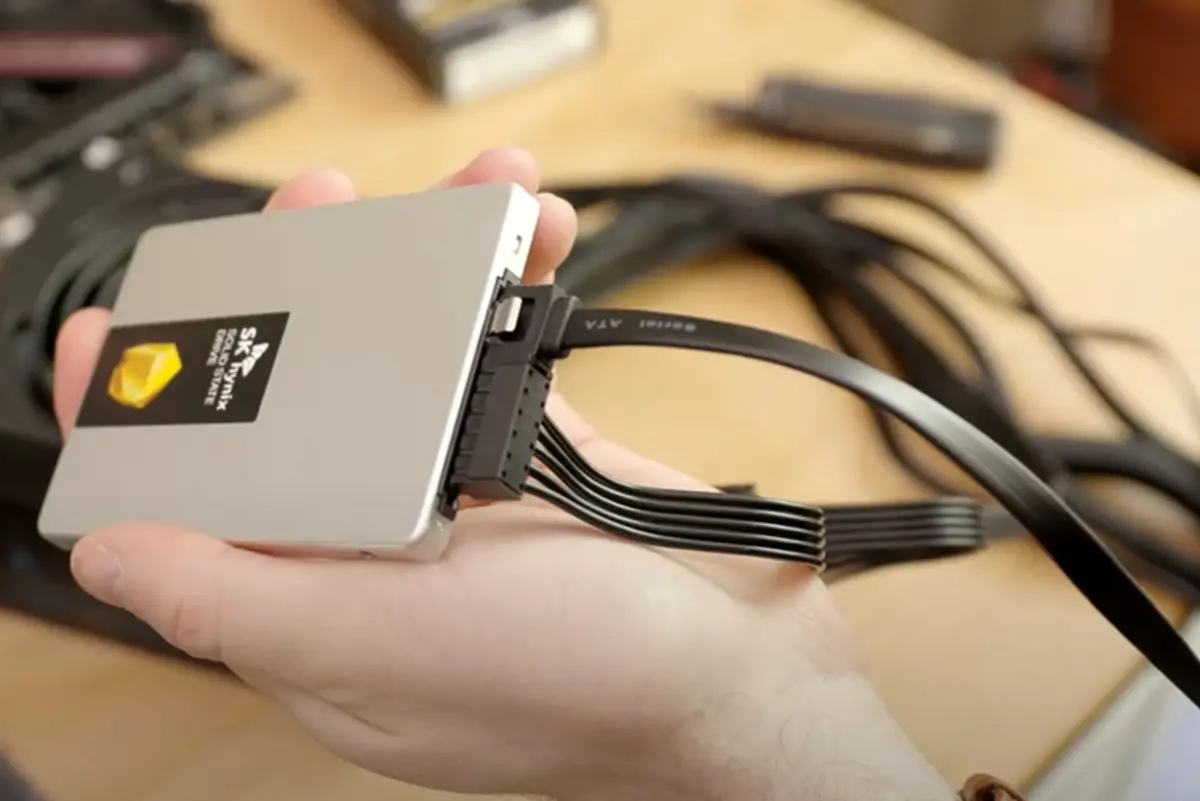
Look for the SATA connectors on the motherboard, as this is where you will connect the SSD.
In the next step, we will identify the appropriate SATA connector on your motherboard.
Using an older or slower SATA port may result in reduced speed and performance of your SSD.
If youre using an M.2 SSD, it will connect directly to the M.2 slot on your motherboard.
Locate the M.2 slot, which is typically located near the center of the motherboard.
Refer to your motherboards user manual for the specific location and installation instructions for your M.2 SSD.
We will cover this in detail in the following step.
This will prevent any accidental disconnection or unstable performance.
Double-check that the SSD is firmly attached and does not move when lightly nudged.
Align the notches on the M.2 SSD with the slot and apply gentle pressure to push it in.
Secure it in place using the screw provided on the motherboard.
This will provide the necessary power for your SSD to function.
Just verify to place the SSD in a position that wont obstruct any other components or hinder airflow.
Securing the SSD ensures that it remains in place even if your PC is moved or bumped.
This is particularly important if you frequently transport or move your PC.
This will provide the necessary power for your SSD to function properly.
It should not come loose or disconnected when lightly nudged.
This will enable you to take full advantage of the fast and reliable storage capabilities of your SSD.
Lets proceed to the next step.
Once your operating system loads, you should see the SSD appear as a new storage machine.
You have successfullyconnected and installed your SSD to your PC.
you could now enjoy the benefits of faster speeds and improved performance that an SSD brings to your gear.
Enjoy the enhanced storage capabilities and improved overall performance that your new SSD provides!
Conclusion
Congratulations on successfully connecting your SSD to your PC!
Each step was crucial in ensuring a proper and successful installation.
Remember, the speed and performance advantages of an SSD are truly remarkable compared to traditional hard disk drives.
They can provide guidance and solutions tailored to your specific setup.
Enjoy the improved speed and storage performance that your newly connected SSD brings to your PC.
Its time to take your computing experience to the next level!
