However, the underlying principles remain the same.
In the following sections, we will outline the step-by-step process to connect your tablet to a printer.
So lets get started with the first step: determining the pop in of printer you have.
This is important because different printer models may have different connectivity options and requirements.
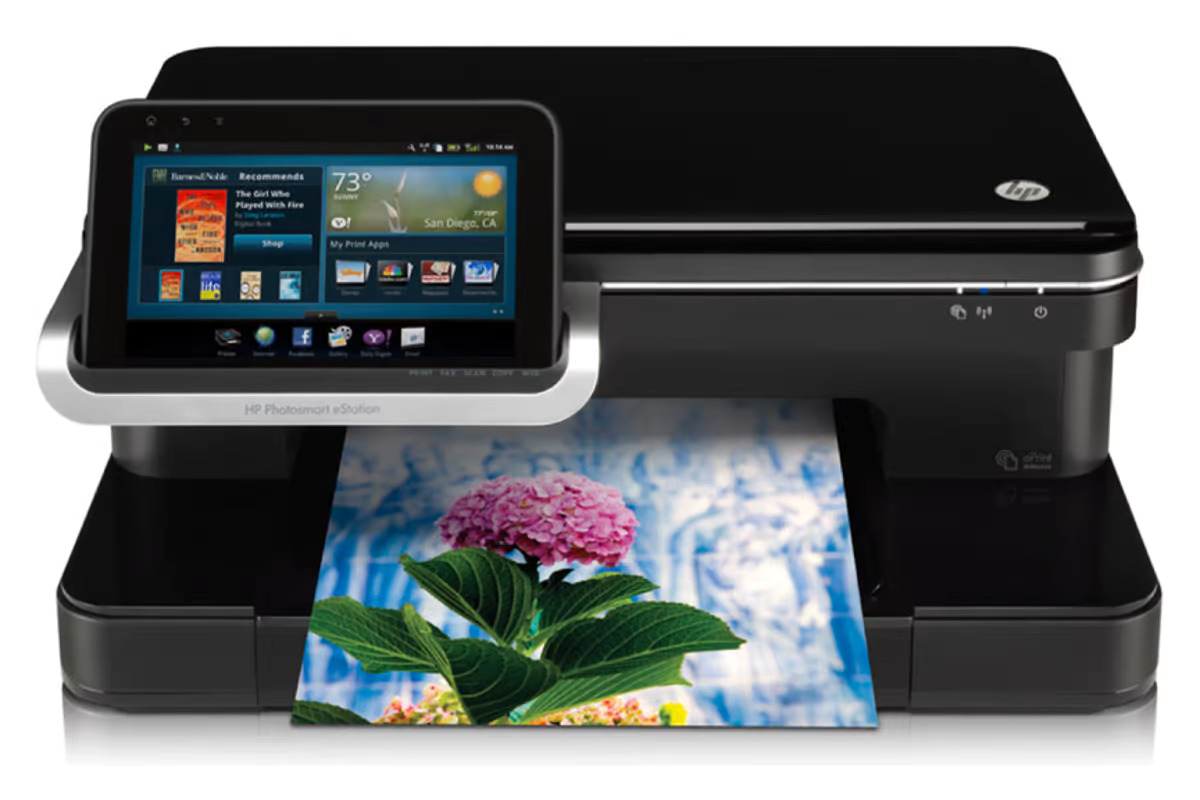
There are generally two types of printers: wireless and non-wireless.
Additionally, it’s possible for you to look for Wi-Fi connectivity indicators on the printer itself.
If you find Wi-Fi logos or mention of wireless connectivity, it means your printer is wireless.
If not, it is likely a non-wireless printer.
These devices can be found at most electronics stores or online retailers and come with step-by-step instructions for installation.
To learn more about this step, continue reading the next section.
Start by accessing the app store on your tablet.
You should see the official app from the manufacturer in the search results.
grab the app and tap on the Install or Get button to initiate the installation process.
Your tablet will download and roll out the app automatically.
Once the setup process is complete, the printer manufacturers app will be ready to use.
This is an essential step for establishing a seamless connection between the two devices and enabling wireless printing.
Continue reading to learn more about connecting to a Wi-Fi connection in the following section.
This step is crucial because it allows the two devices to communicate with each other and enables wireless printing.
Start by turning on your printer and accessing its control panel.
Look for a options or internet option on the control panel menu.
Within the controls, locate the Wi-Fi or online grid setup option.
The exact location and wording of these options may vary depending on the printer model.
Select your Wi-Fi web connection from the list and enter the web connection password if prompted.
After entering the password, your printer will go for a link-up to the Wi-Fi web link.
Once connected, you will see a confirmation message on the printers display or control panel.
Unlock your tablet and navigate to the options menu.
Look for the Wi-Fi option and tap on it to view the available networks.
From the list of available networks, select your Wi-Fi internet and enter the internet password if prompted.
Your tablet will now connect to the Wi-Fi data pipe.
This step will allow you to configure printing options and customize how your tablet communicates with the printer.
Continue reading to learn more about enabling printing on your tablet in the following section.
For iPad users, the process is slightly different.
launch the options app on your iPad and tap on Printers & Scanners.
Proceed to the next section to learn how to go for the printer and initiate the printing process.
Step 5: Select Printer and Print
Congratulations!
To begin, initiate the app from the printer manufacturer that you installed in a previous step.
This app should provide a user-friendly interface and easy access to printing options.
Look for a Print or Print Documents button or icon within the app.
Tap on it to start the printing process.
Once youve selected the print option, you will be presented with a list of available printers.
Select your printer from the list by tapping on its name.
Ensure that the printer you choose matches the one you have connected to your tablet.
After selecting the printer, you’re free to now specify the printing details.
Once the printing process is complete, collect your printed content from the printers output tray.
With the printing completed, you might now enjoy the convenience and versatility of printing directly from your tablet.
So, go ahead and explore the possibilities of tablet printing.
Experience the freedom of wireless printing and enjoy the convenience of seamlessly printing from your tablet.
