Electric skateboards have gained popularity due to their convenience, speed, and eco-friendly nature.
However, fear not!
However, the general principles remain the same.
Typically, turning on the remote involves locating the power button.
It is usually positioned on the side or top of the remote.
Some remotes may also have an additional toggle switch for turning on the remote.
In this case, locate the switch and slide it to the ON position.
The next step is to activate the skateboard and prepare it for connection.
This involves ensuring that the skateboard is in pairing mode and ready to establish a connection with the remote.
The activation process may vary depending on the specific electric skateboard model you have.
Start by locating the power button on your electric skateboard.
This button is usually positioned near the battery or motor compartment.
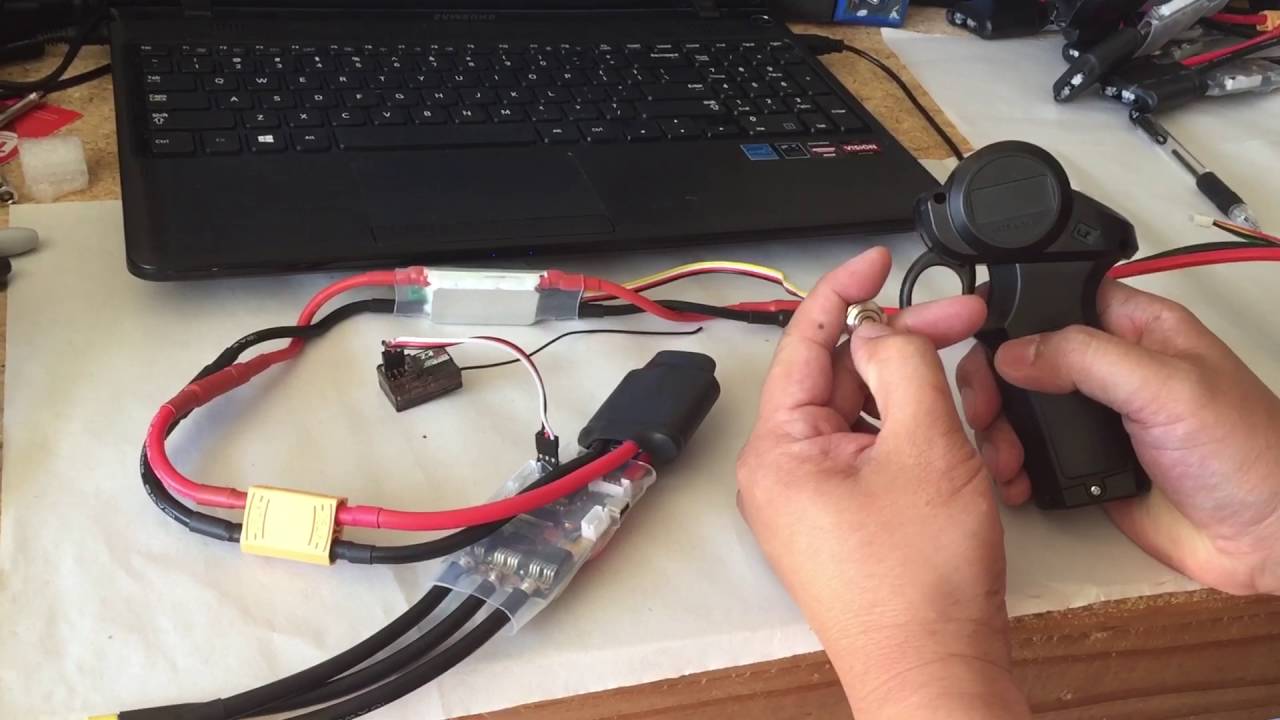
This receiver is usually a small rig that plugs into a designated port on the skateboard.
Pairing allows the remote control to communicate and control the skateboards speed and direction effectively.
The pairing process may differ depending on the brand and model of your electric skateboard.
It may take a few seconds for the devices to recognize and establish a connection.
During this time, be patient and keep the devices within close proximity to ensure a successful pairing.
This indicates that the remote is now properly paired with the electric skateboard.
Proceed to Step 4 to learn how to test the connection and ensure that everything is working as expected.
Remember to always follow safety guidelines and local regulations while riding your electric skateboard.
Finally, we emphasized the importance of testing the connection to ensure a smooth and safe riding experience.
Always prioritize safety while riding and adhere to local regulations and guidelines.
So, grab your helmet, hop on your board, and let the fun begin!
