Introduction
Welcome to this guide on how to connect a Monoprice MP Select Mini 3D Printer.
It offers a range of features and functionalities that make it ideal for beginners and enthusiasts alike.
By following this guide, youll be able to get your printer up and running in no time.
So, lets dive in and get started on setting up your 3D printer!
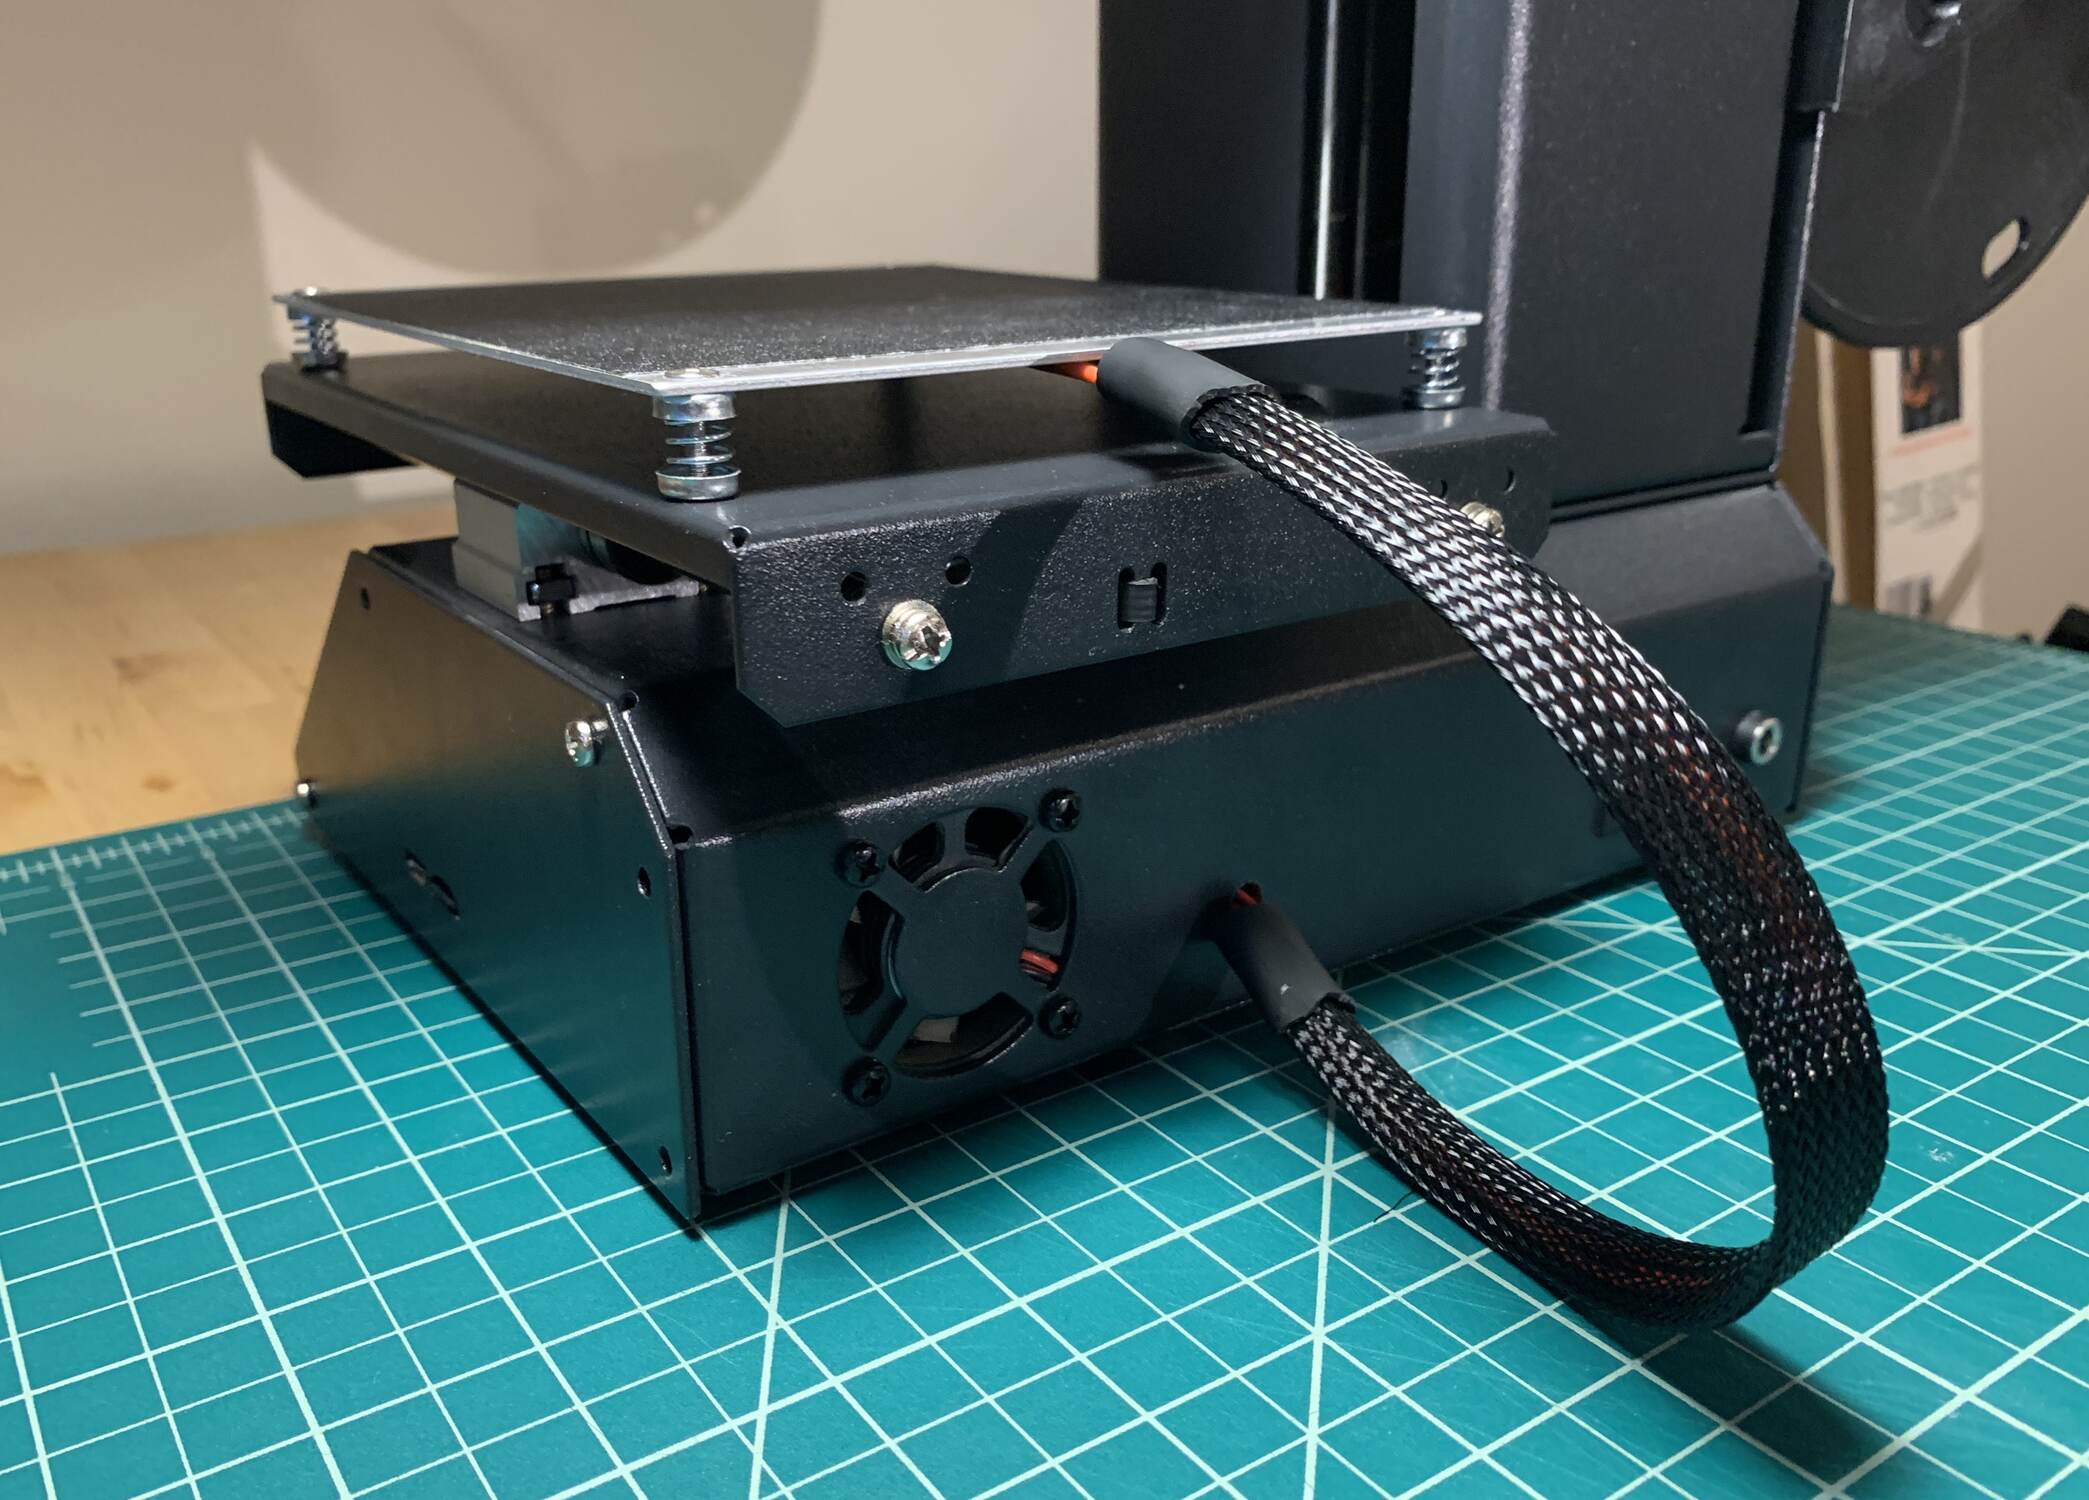
When you receive your printer, carefully unpack it and check that you have all the necessary components.
when you land everything ready, find a suitable location for your printer.
Its important to place it on a stable surface thats easily accessible.
Keep in mind that the printer will require some space around it for ventilation and movement during operation.
Next, remove any packaging materials and protective covers from the printer.
Take a moment to inspect the printer for any visible damage or loose parts.
You should see the display light up, indicating that the printer has successfully powered on.
Properly connecting the power supply is essential for the printer to function correctly.
To connect the power, locate the power cord that came with your printer.
It typically has a three-pronged plug that fits into a standard power outlet.
check that the connection is secure.
Once the power cord is connected, plug the other end into a nearby power outlet.
Ensure that the outlet is easily accessible and can provide a stable flow of electricity to the printer.
With the power connected, locate the power switch on the printer.
Press the power button to turn on the printer.
You may see the Monoprice logo or a welcome message displayed on the screen.
Wait for the printer to initialize and perform its startup sequence.
This process may take a few moments.
During this time, the printer will calibrate its systems and prepare for operation.
Be patient and avoid interrupting the startup process.
This will allow you to control the printer and send print jobs to it.
Overall, connecting the power and turning on your Monoprice MP Select Mini 3D Printer is a straightforward process.
This will allow you to control the printer and send print commands from your machine.
To connect the printer to your system, you will need a USB cable.
Locate the USB port on the back or side of your printer.
Take one end of the USB cable and insert it firmly into the USB port on the printer.
Ensure that the connection is secure.
Next, find an available USB port on your box.
Take the other end of the USB cable and insert it into the USB port on your box.
Again, verify the connection is secure.
After the installation is complete, open the3D printer softwareon your box.
Familiarize yourself with the softwares features and options to optimize your printing experience.
In the next step, we will discuss how to level the print bed to ensure high-quality prints.
Connecting your Monoprice MP Select Mini 3D Printer to your gear is a vital step in the setup process.
The printer software is essential for controlling and managing your 3D printing workflow.
Take some time to explore the softwares features, options, and capabilities.
Understand how to import and manipulate 3D models, adjust print options, and monitor the printing process.
Its also a good idea to check for software updates regularly.
The software will provide you with the necessary controls to adjust the print bed.
Start by selecting the Level or Home option in the software.
This will move the print head to its home position, allowing you to enter the print bed easily.
Next, locate the bed leveling adjustment screws or knobs.
These are typically found underneath or on the sides of the print bed.
They are used to raise or lower specific corners or sections of the bed.
Place a sheet of paper, typically A4 or letter-sized, on top of the bed under the nozzle.
Adjust the leveling screws or knobs until the nozzle is just barely touching the paper.
Repeat this process for all four corners of the print bed.
This will ensure that the print bed is uniformly leveled.
While leveling the print bed, its important to make small and gradual adjustments.
The goal is to achieve a consistent gap between the nozzle and the bed across the entire surface.
Avoid making drastic changes, as this can lead to an imbalanced bed and affect your print quality.
Observe the first layer closely and verify if it adheres properly to the print bed.
If adjustments are required, it’s possible for you to fine-tune the leveling as needed.
This step is essential for achieving accurate and successful prints with clean and well-adhered layers.
Filament is the materialused for 3D printingand comes on a spool.
Begin by ensuring that your printer is turned on and the print bed is adequately leveled.
Locate the filament holder on the printer, usually located at the back or side.
Place the filament spool on the holder, ensuring that it rotates freely and is positioned correctly.
Next, locate the filament feed port or filament guide tube on the printer.
This is where the filament will enter the extruder and ultimately be melted and deposited during the printing process.
If your printer has a filament guide tube, insert one end of the filament into the tube.
double-check it goes all the way through and comes out on the other side.
This helps to guide the filament smoothly into the extruder.
Now, in the printer control software or on the printers control panel, initiate the filament loading process.
This will heat up the extruder to the appropriate temperature for the filament you are using.
Keep pushing until you feel resistance and the filament starts to feed into the extruder.
Continue pushing until you see the filament come out of the nozzle.
This will prevent any obstructions and ensure smooth printing.
Monitor the printer to verify that the filament is feeding consistently and the print quality is satisfactory.
Calibration ensures that the printer is properly tuned and aligned, resulting in accurate and high-quality prints.
First, calibrate the extruder temperature.
In your printer software or on the printer control panel, navigate to the temperature prefs.
Set the extruder temperature to the recommended value for the filament you are using.
Allow the extruder to reach the desired temperature and stabilize before proceeding.
Next, calibrate the print bed temperature.
Set the temperature to the recommended value for the specific filament you are using.
Again, wait for the print bed to reach the target temperature before moving on.
Once the temperatures have been calibrated, its time to focus on the print speed.
In the printer software or control panel, locate the print speed options.
Adjust the speed to a value that suits the complexity and detail of your desired print.
These controls can greatly impact the final print quality and structural integrity of your models.
Observe the print quality, layer adhesion, and overall accuracy of the printed object.
Make note of any issues or inconsistencies that you may encounter during this process.
If you notice any problems with the prints, take the time to troubleshoot and fine-tune the calibration controls.
It may require further adjustments and experimentation to achieve the desired results.
Remember, calibration is an ongoing process, especially when using different filaments or working on complex designs.
Regularly monitor and evaluate your prints, and make necessary adjustments to your calibration prefs as needed.
Testing and troubleshooting are essential for ensuring smooth and successful 3D printing experiences.
after you grab calibrated your printer and adjusted the necessary prefs, its time to run test prints.
Choose simple models or calibration files to evaluate the print quality and accuracy of your printer.
Pay attention to details, layer adhesion, and overall print consistency.
During the test prints, monitor the printer closely to identify any potential issues.
Take note of the specific issues you observe.
in case you find any problems with the prints, its essential to troubleshoot and address the issues promptly.
Start by checking the filament for any tangles or obstructions.
Inspect the print bed and ensure it is clean and free from debris.
Continue troubleshooting by rechecking the leveling of the print bed.
A poorly leveled bed can lead to print issues, so ensure that it is properly leveled and balanced.
Additionally, review your slicer software parameters.
Check the layer height, print speed, and temperature prefs.
double-check they align with the requirements of the filament youre using and the complexity of the print.
Adjust the tweaks as needed to achieve optimal results.
Online communities and forums dedicated to 3D printing can also provide valuable insights and solutions to common issues.
Patience and persistence are key in refining and optimizing your printers performance.
Conclusion
Congratulations!
You have successfully connected and set up your Monoprice MP Select Mini 3D Printer.
The more you practice, the better you will become at achieving high-quality prints.
Lastly, stay engaged with the 3D printing community.
Enjoy the journey of exploration and creativity that 3D printing offers.
