These keyboards offer flexibility and freedom of movement, allowing you to punch in comfortably from a distance.
However, there may be situations where you oughta connect your Logitech wireless keyboard to a different receiver.
Compatibility is key to establishing a successful connection and avoiding any potential issues down the line.
We will also cover how to reset the keyboard and connect the new receiver.
Start by identifying the model number of your Logitech keyboard.
Logitech provides comprehensive compatibility details on their website, including a list of supported receivers and devices.
If you are purchasing a newLogitech receiver, ensure it is designed to work with your keyboard model.
It is always recommended to use Logitech-approved receivers to guarantee a seamless and reliable wireless connection.
The process of resetting the keyboard may vary depending on the model.
However, most Logitech keyboards have a reset button located on the back or bottom of the gadget.
This action will reset the keyboard and prepare it for the connection process.
Keep in mind that resetting the keyboard will remove any customizations or personalized tweaks you have made.
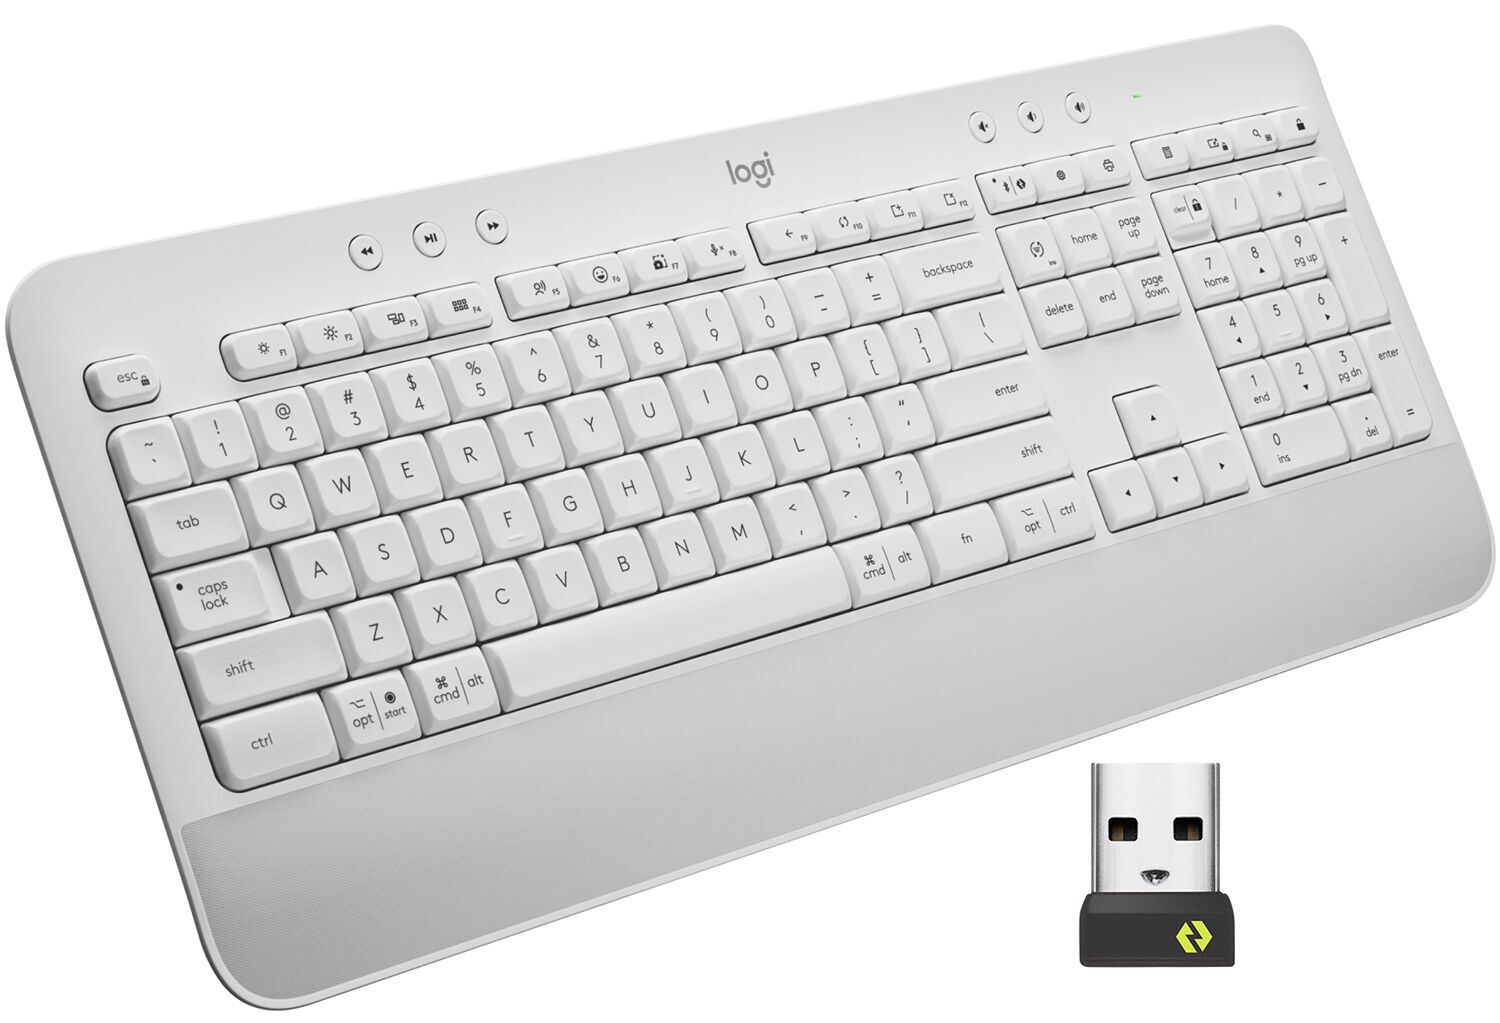
The receiver is the gadget that allows your keyboard to communicate wirelessly with your box or other compatible devices.
Start by plugging the new receiver into an available USB port on your rig or rig.
Ensure that the receiver is securely inserted to establish a reliable connection.
If you are using a Unifying receiver, you oughta follow an additional step.
This software allows you to manage and pair multiple Logitech devices conveniently.
This process may involve pressing specific buttons on both the receiver and the keyboard to establish the connection.
This software allows you to manage and pair multiple Logitech devices, including your keyboard and the new receiver.
Start by visiting the Logitech website and navigate to the support section.
Look for the Logitech Unifying Software download page and choose the appropriate version for your operating system.
The installation process is typically straightforward and doesnt require any advanced technical expertise.
After the installation is complete, launch the Logitech Unifying Software.
If the new receiver is already plugged into your setup, the Logitech Unifying Software should detect it automatically.
you could end the software and proceed to the final step: pairing your keyboard with the receiver.
This final step establishes a secure and reliable connection between the two devices.
Start by ensuring that your keyboard is turned on and within range of the receiver.
Most Logitech wireless keyboards have an on/off switch located on the bottom or back of the unit.
Slide the switch to the on position to power on your keyboard.
Once the pairing process is complete, your Logitech wireless keyboard should be connected to the new receiver.
Test the keyboard by typing or using the keys to ensure that it is functioning correctly.
If necessary, repeat the steps from the beginning to ensure a proper connection.
You have successfully connected your Logitech wireless keyboard to a different receiver.
Enjoy the convenience of a wireless workspace without any interruptions.
Remember to ensure the compatibility between the keyboard and the receiver to avoid any potential issues.
Resetting the keyboard clears any existing configurations and prepares it for the connection process.
Installing the Logitech Unifying Software allows you to manage and pair multiple Logitech devices effortlessly.
Finally, pairing the keyboard with the receiver establishes a secure and reliable connection.
Say goodbye to tangled wires and hello to seamless typing.
