Introduction
Welcome to this guide on how to clone Mac OS to an SSD.
Before we dive into the cloning process, there are a few things to consider.
Now, lets get started on upgrading your Mac to an SSD by cloning your existing Mac OS!
Firstly, its essential to check the compatibility of the SSD with your Mac model.
Consult the official documentation or the manufacturers website to verify the compatibility.
Next, evaluate the capacity of the SSD based on your storage needs.
Consider the amount of data you currently have on your Mac and any future storage requirements.
Finally, pay attention to the performance specifications of the SSD.
Remember, choosing the right SSD is crucial to ensure a smooth cloning process and optimal performance afterward.
Here are some essential steps to follow:
1.
Update macOS:ensure your Mac is running the latest version of macOS.
This will ensure compatibility with the SSD and provide the latest features and security patches.
Disable FileVault:If you have FileVault enabled, its recommended to disable it before starting the cloning process.
FileVault encrypts the data on your Mac, which can complicate the cloning process.
Disable FileVault by going to System Preferences, selecting Security & Privacy, and clicking on the FileVault tab.
Turn off FileVault if it is enabled.
Go to System Preferences, select Time Machine, and turn off the Back Up Automatically option.
Check the softwares official website or drop a line to the developer for compatibility information.
This will help create a stable environment for the cloning process.
By following these steps, you will prepare your Mac for a seamless and successful cloning process.
Here are some steps to follow to ensure your data is safely backed up:
1.
Verify Backup:Once the backup is complete, its essential to verify the integrity of the backup.
Double-check that all your important files and data are successfully backed up and accessible.
This extra step ensures that you have a reliable backup in case anything goes wrong during the cloning process.
Remember, backing up your data is a crucial step before cloning your Mac OS to the new SSD.
It provides peace of mind and safeguards your important files and documents.
Dont skip this step, as it can save you from potential data loss and frustration.
This will allow you to boot your Mac from the drive and initiate the cloning process.
Heres how it’s possible for you to create a bootable installation drive:
1.
Prepare a USB drive:Get a USB drive with sufficient storage capacity.
Its recommended to use a USB 3.0 drive for faster data transfer speeds.
Download macOS:Download the macOS installer from the App Store.
confirm you are downloading the correct version that matches your current macOS version.
Format the USB drive:Connect the USB drive to your Mac and open Disk Utility.
choose the USB drive from the list of available drives and choose the Erase button.
Choose the format as Mac OS Extended (Journaled) and give it a name.
Press Enter and wait for the process to complete.
Verify the bootable installer:Once the process is finished, close Terminal and eject the USB drive.
To verify the bootable installer, power cycle your Mac while holding down the Option (Alt) key.
The bootable installer should appear as an option to boot from.
Protect it from physical damage and ensure it is easily accessible when needed.
Creating a bootable installation drive is a crucial step in the cloning process.
It allows you to boot your Mac from the USB drive and initiate the OS cloning process.
Take your time to follow the steps carefully to ensure a successful creation of the bootable installation drive.
Cloning Mac OS to SSD
1.
Shut down your Mac:confirm your Mac is turned off before proceeding with the cloning process.
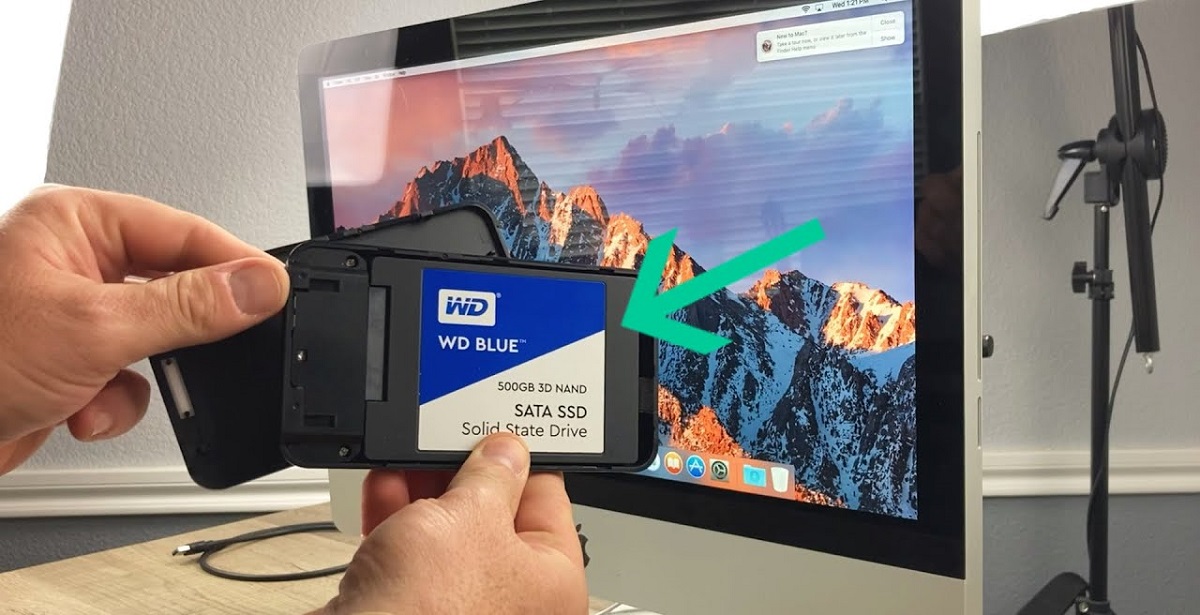
Connect the SSD:Connect the new SSD to your Mac using an external enclosure or adapter.
see to it it is properly connected and recognized by your Mac.
Boot from the installation drive:Insert the bootable installation drive you created earlier into a USB port.
Start your Mac and hold down the Option (Alt) key.
opt for bootable installer from the menu.
Open Disk Utility:Once the macOS Utilities window appears, select Disk Utility and click Continue.
It should be listed under Internal.
- pick the destination drive:pick the new SSD as the destination drive.
It should be listed under External or under the name you gave it in Disk Utility.
Start the cloning process:punch the Restore tab in Disk Utility.
Drag the source drive to the Source field and the destination drive to the Destination field.
Confirm that the drives are correct, as the cloning process will erase all data on the destination drive.
pick the Restore button to start the cloning process.
ensure not to interrupt the process and let it complete.
The new SSD should now contain an exact copy of your Mac OS.
By following these steps, you might successfully clone your Mac OS to the new SSD.
Boot from the cloned drive:Hold down the Option (Alt) key while your Mac is restarting.
Open documents, photos, videos, and other files to verify their integrity and accessibility.
Run Disk Utility:Open Disk Utility from the Utilities folder in the Applications folder.
snag the cloned drive and tap on the First Aid button to run a verification process on the drive.
This will check for any errors or issues that may have occurred during the cloning process.
This will confirm that the restored data is intact and can be accessed without any issues.
This will provide an extra layer of security for your data moving forward.
Installing the Cloned SSD
1.
Shut down your Mac:Ensure your Mac is turned off before proceeding with the installation.
Refer to your Macs user manual or search online for instructions on how to open your particular model.
Locate the old drive:Locate the current Mac OS drive in your Mac.
Disconnect the old drive:Carefully disconnect the cables or remove the connector securing the old drive.
Make a note of the connector throw in and orientation to ensure proper connection of the new SSD.
Connect the cloned SSD:Attach the cloned SSD in the same manner as you removed the old drive.
Ensure a secure connection and properly align the connectors or cables.
Fasten any screws or locks that hold the case together.
Check for any errors, crashes, or missing files that may indicate an issue with the new SSD.
Hold down the Option (Alt) key while your Mac is restarting.
Set the new SSD as the boot unit:Locate the boot unit priority or boot order configs.
Set the cloned SSD as the primary boot machine, ensuring that it is prioritized over any other drives.
Save and exit:after you snag made the necessary changes, save the prefs and exit the BIOS.
Your Mac will then restart with the new BIOS configuration.
Ensure that your system recognizes the new SSD as the main boot gadget.
Check for any errors or issues that may have arisen due to the new BIOS configuration.
Consult the documentation for your specific Mac model or seek guidance from Apple Support for any additional configuration steps.
Configuring the BIOS correctly is essential to ensure that your Mac recognizes and effectively utilizes the new cloned SSD.
Incompatible SSD:Ensure that the SSD you have chosen is compatible with your Mac.
Check the specifications and compatibility guidelines provided by the manufacturer.
If the issue persists, try resetting the System Management Controller (SMC) on your Mac.
Refer to Apple Support for the specific steps to reset the SMC for your Mac model.
TRIM helpsmaintain SSDperformance over time.
Open Terminal and enter the command sudo trimforce enable to enable TRIM support.
power cycle your Mac and monitor the performance to see if it improves.
Double-check the boot order and make any necessary adjustments in the BIOS options.
Conclusion
Congratulations!
You have successfully completed the process of cloning Mac OS to an SSD.
Throughout this guide, we discussed crucial steps to ensure a smooth and successful cloning process.
Additionally, seeking professional assistance is always an option if you are unsure or encounter persistent issues.
Enjoy the speed and performance that your newly upgraded Mac now offers!
