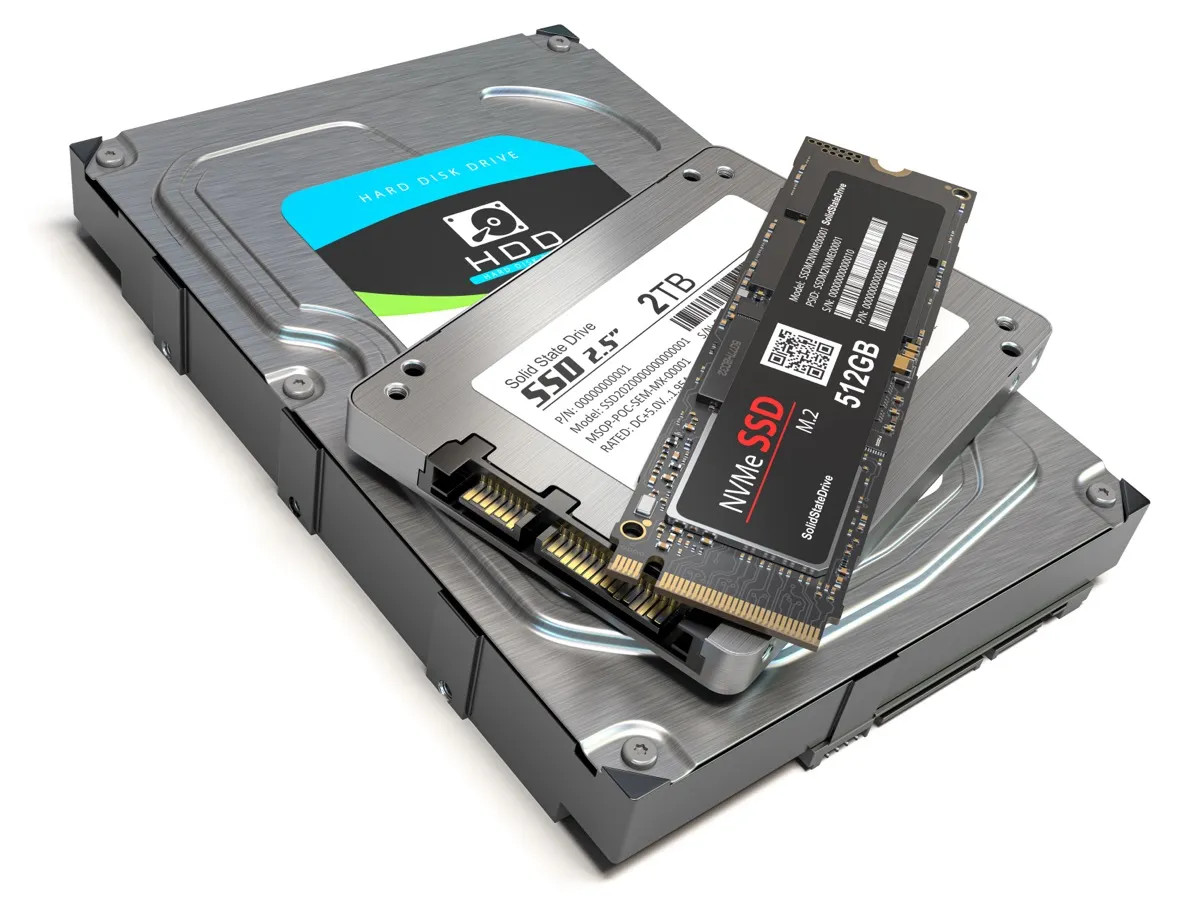
SSDs offer faster read and write speeds, lower power consumption, and greater reliability compared to HDDs.
Macrium Reflect is a powerful and user-friendly solution that allows you to easily clone your HDD to an SSD.
To download Macrium Reflect, visit the official website athttps://www.macrium.com/.
Navigate to the Downloads section and look for the version that matches your operating system.
pick the download link and save the installer file to your computers local storage.
After the installation is complete, launch Macrium Reflect from the desktop icon or the Start menu.
You may need to grant administrative privileges to execute the program.
It is important to ensure that you have a stable internet connection during the installation and registration process.
Macrium Reflect may require an internet connection to validate your license and access certain features.
Before proceeding, verify your system is turned off and disconnected from any power source.
Locate an available SATA port on your motherboard.
Most computers have multiple SATA ports, so ensure you choose an open one.
If you are unsure which port to use, consult your computers manual or the manufacturers website for guidance.
after you grab identified the SATA port, take your SSD and carefully connect it to the port.
Insert the SATA cable into the corresponding port on the SSD, ensuring a secure connection.
Again, ensure the connection is secure to avoid any issues during the cloning process.
If you are using a laptop or an external SSD enclosure, the process may vary slightly.
For laptops, check the user manual or manufacturers website for instructions on how to properly connect an SSD.
Once the SSD is properly connected to your gear, double-check all the connections to ensure they are secure.
confirm there are no loose cables or connectors that may cause intermittent connectivity issues during the cloning process.
After confirming the connections, you might proceed to the next step of the cloning process.
This will prevent any potential conflicts and ensure that Macrium Reflect correctly identifies the source and destination drives.
Locate the Macrium Reflect icon on your desktop or in the Start menu and double-click to launch the app.
If prompted, grant administrative privileges to launch the program.
Once Macrium Reflect opens, you will be greeted with the main interface.
In the main window, you will see a list of available drives and partitions on your setup.
These include your HDD, SSD, and any other connected storage devices.
Take a moment to double-check that the drives are correctly displayed and identified by Macrium Reflect.
This ensures that you choose the correct source and destination drives for the cloning process.
This will trigger a manual refresh of the drive list and may resolve any potential detection problems.
Before proceeding to the next step, wise to close any unnecessary applications and processes running in the background.
This helps to free up system resources and minimizes the chances of any conflicts during the cloning process.
At this stage, you are ready to move on to the actual cloning process.
Macrium Reflect will create an exact copy of the contents of this disk and transfer it to the SSD.
Be cautious and double-check your selection before proceeding to the next step.
Its worth mentioning that Macrium Reflect gives you the flexibility to clone individual partitions instead of the entire disk.
It is crucial to double-check your selection to prevent any accidental data loss or incorrect cloning.
Macrium Reflect allows you to clone the source disk to any available SSD or external storage gadget.
Review the available options carefully and pick the ones that align with your requirements.
Its important to note that the default options in Macrium Reflect usually work well for most cloning scenarios.
Before proceeding to the next step, double-check the configured options to ensure they are aligned with your expectations.
Macrium Reflect provides a progress bar or status indicator to show the current status of the cloning process.
you’ve got the option to monitor the progress and estimated time remaining to completion.
It is important to be patient and let the process complete without interruption.
Interrupting the cloning process may result in incomplete data transfer or system instability.
Once the cloning process is complete, Macrium Reflect will notify you of its status.
Ensure that the cloning process finished successfully without any errors or warnings.
If any issues arise, refer to the Macrium Reflect documentation or seek assistance from their support team.
You have successfully initiated the cloning process using Macrium Reflect.
It is essential to be patient and let the process run its course without interruption.
wise to leave the computer undisturbed during this time to ensure a smooth and successful cloning process.
This is normal and should not be a cause for concern.
Once the cloning process is complete, Macrium Reflect will notify you of its status.
Step 9: Disconnect the HDD and boot from the SSD
Congratulations!
You have now successfully disconnected the HDD and set the SSD as the primary boot drive.
Ensure that you have properly stored the HDD to prevent any physical damage or data loss.
Throughout this guide, we have walked you through each step of the cloning process using Macrium Reflect.
It is also recommended to keep your operating system and software up to date to ensure compatibility and security.
They are dedicated to helping users like you make a smooth transition to a new storage drive.
Embrace the benefits of improved performance and enjoy the seamless computing experience that an SSD offers.
