This requires careful consideration of the available space and efficient data management.
Before diving into the cloning process, its important to ensure that you are fully prepared.
Familiarize yourself with the requirements and gather all the necessary equipment and software.
This will help you avoid any unnecessary complications or errors during the process.
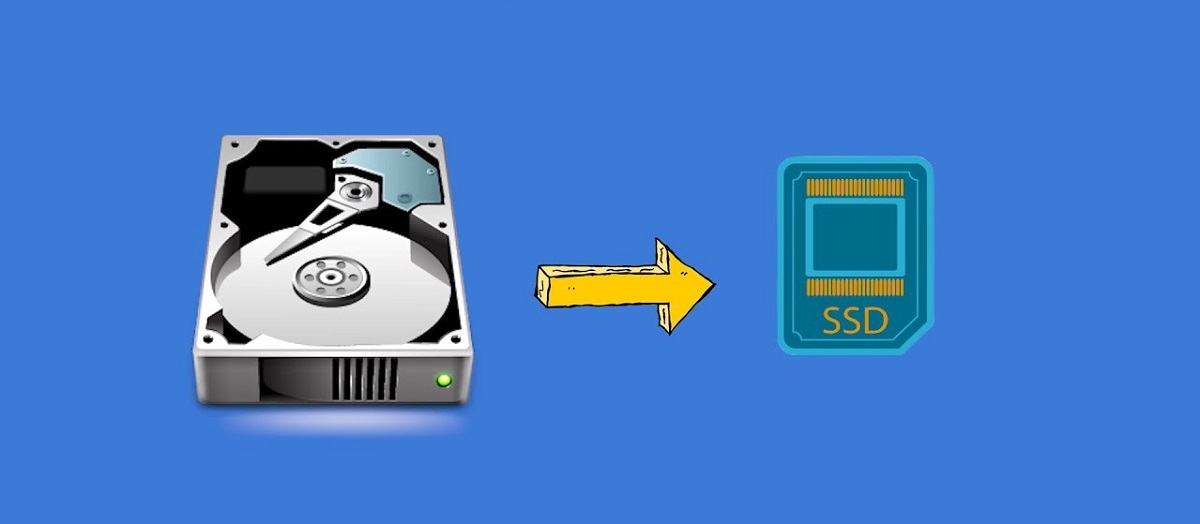
Lets get started on this exciting journey of cloning a bigger hard drive to a smaller SSD!
Here are some key considerations:
1.
Back up your data:Its crucial to create a backup of your data before attempting any disk cloning.
This ensures that if something goes wrong during the process, you wont lose your important files.
Its recommended to have at least 20% free space on the destination drive to ensure smooth operation.
Evaluate the data size:Assess the size of the data on your current hard drive.
Identify system requirements:Each cloning software has its own set of system requirements.
Before proceeding, ensure that your gear meets these requirements to avoid any compatibility issues.
Gather necessary tools:To clone your hard drive to an SSD, youll need the appropriate cloning software.
There are several reliable options available, such as EaseUS Todo Backup, Clonezilla, and Macrium Reflect.
Research and grab the one that suits your needs best.
Be sure to check the instructions provided by the software vendor and create the bootable media if necessary.
This includes external hard drives, printers, and USB devices.
By following these preparation steps, youll ensure that you have a smooth and successful cloning process.
There are several factors to consider when making this decision:
1.
Compatibility:Ensure that the cloning software you choose is compatible with your operating system.
Whether youre using Windows or macOS, ensure that the software supports your specific OS version.
User-friendly interface:Look for cloning software that has a user-friendly interface and provides clear instructions.
This will make the process more intuitive and easier to navigate, especially if youre new to disk cloning.
Look for software that consistently delivers accurate and error-free cloning processes.
Cloning options:Consider the cloning options that the software offers.
Evaluate your needs and choose the software that best suits your requirements.
Customer support:verify if the cloning software offers comprehensive customer support, including technical assistance and troubleshooting guidance.
Having access to reliable customer support can be invaluable if you catch any issues during the cloning process.
Price:Evaluate the cost of the cloning software and determine if it fits within your budget.
Based on these factors, research and compare different cloning software options to make an informed decision.
Here are the steps to do so:
1.
Power off your rig:Start by shutting down your rig completely.
This will ensure that no data is being read or written during the connection process.
Consult the user manual or online resources for specific instructions on how to open your rig case.
Locate the bigger hard drive:Identify the location of the bigger hard drive inside your machine.
It is typically connected to the motherboard via SATA or IDE cables.
Next, connect the other end of the SATA data cable to the SSD.
Ensure that the connection is secure.
Power connections:Connect the power cable from your power supply unit to the smaller SSD.
Again, confirm the connection is secure.
Disconnect the bigger hard drive:Carefully disconnect the SATA or IDE cables from the bigger hard drive.
Ensure that the connections are secure.
This will serve as a safety net in case anything goes wrong during the cloning process.
Here are the steps to make a backup:
1.
Alternatively, you could use third-party backup software, which often provides more advanced features and customization options.
Select a backup destination:Determine where you want to store your backup.
verify you have enough storage space to accommodate the data on the bigger hard drive.
Start the backup:when you land configured the backup tweaks, initiate the backup process.
This can protect it from physical damage, theft, or data loss due to unforeseen events.
By following these steps, you will have a secure backup of your data from the bigger hard drive.
Depending on the software you are using, you may need to run it as an administrator.
Grant the necessary permissions to the software when prompted.
Ensure that you are selecting the correct drive to avoid any unintended data loss.
ensure that you are selecting the correct drive and verify the available space on the SSD.
Depending on the size of your data, this process may take some time.
Be patient and allow the software to complete the cloning process without interruptions.
The software will now start copying the data from the bigger hard drive to the smaller SSD.
Selecting the Bigger Hard Drive as the Source Drive
1.
Launch the cloning software:pop crack open the cloning software that you have installed on your rig.
Ensure that you have administrative privileges if required.
This option might be labelled as Disk Clone, Drive Clone, or something similar.
Identify the bigger hard drive by its name, drive letter, or size.
Double-check to ensure that you are selecting the correct drive.
It may be necessary to check a box or highlight the drive to indicate your selection.
Ensure that it matches the details of the bigger hard drive you wish to clone.
Confirming the accurate source drive selection is crucial to prevent any unintended data loss.
This will allow you to choose the smaller SSD as the destination drive for the cloning process.
This ensures that the cloning process will copy the data from the correct drive.
In the next section, we will discuss how to grab the smaller SSD as the destination drive.
Selecting the Smaller SSD as the Destination Drive
1.
This will allow you to go for the destination drive.
Identify the SSD by its name, drive letter, or size.
Double-check to double-check that you are selecting the correct drive.
You may need to check a box or highlight the drive to indicate your selection.
Ensure that it corresponds to the smaller SSD to which you want to clone the data.
This could include resizing partitions, excluding specific files or folders, or adjusting other cloning tweaks.
If available, customize these options according to your needs.
This will begin copying the data from the source drive to the destination SSD.
This ensures that the data from the source drive will be accurately copied to the intended destination.
In the subsequent steps, we will explore how to adjust cloning options and initiate the cloning process efficiently.
Here are some key considerations when adjusting the cloning options:
1.
Evaluate your needs and choose the appropriate partition resizing option.
Sector-by-sector cloning:Depending on the cloning software, you may have the option to perform sector-by-sector cloning.
Sector-by-sector cloning ensures an exact replica of the source drive, including hidden files and operating system files.
Selecting this option helps to save time and storage space on the destination drive.
Double-check that the tweaks correspond to your specific requirements and ensure that you havent missed any critical adjustments.
This ensures that the software will use the selected options when initiating the cloning process.
After adjusting the options, you are ready to initiate the cloning process.
We will explore how to initiate the process in the next section.
Initiating the Cloning Process
1.
Ensure that they match the correct drives and that you havent inadvertently selected the wrong drives.
The cloning software will now begin copying the data from the source drive to the destination drive.
Depending on the size of the data being transferred, the process may take some time.
Avoid interrupting the process or shutting down your setup to ensure a smooth and uninterrupted cloning process.
Wait for the cloning process to complete:Be patient and wait for the cloning process to complete.
Take a moment to ensure that the process completed successfully without any errors or interruptions.
Verifying the Cloned Data
1.
Look for any missing files or discrepancies in the folder hierarchy.
Verify that the file sizes and properties match between the two drives.
The cloning software may provide a summary or log file with this information.
Address any reported errors or issues promptly, and consider re-cloning if necessary.
Ensure that all your applications are fully operational without any compatibility or functionality issues.
kickstart your box and ensure that it successfully boots from the cloned drive without any issues.
Its crucial to address any potential errors or inconsistencies to avoid future complications.
Removing the Bigger Hard Drive and Connecting the Smaller SSD
1.
Power off your rig:Start by shutting down your rig completely.
This is an essential step to prevent any damage to the drives or data during the removal process.
Refer to your computers user manual or online resources for specific instructions on how to launch the case.
Locate the bigger hard drive:Identify the location of the bigger hard drive inside your gear.
It is often attached to the drive bay using screws or mounting brackets.
Keep these brackets or screws safely for future use or storage.
Be mindful of any surrounding components and cables to avoid accidental damage.
Ensure that the connections are secure.
Use the appropriate screws or brackets to secure the smaller SSD in place.
confirm that all screws or latches are tightened to prevent any loose components.
Booting from the Cloned Smaller SSD
1.
Power on your box:Start by turning on your box and wait for the boot process to begin.
The key to enter the BIOS/UEFI controls varies depending on your gear brand and model.
Common keys to try are F2, F8, F12, or the Delete key.
Refer to your computers documentation or the manufacturers website for the specific key to reach the BIOS/UEFI prefs.
This will give you access to the various configuration options.
Navigate to the Boot menu:Once inside the BIOS/UEFI controls, navigate to the Boot menu.
Adjust the boot order:In the Boot menu, look for the boot order or boot priority tweaks.
Change the boot order to prioritize the cloned smaller SSD as the primary boot rig.
Move the SSD to the top of the list or set it as the first boot option.
Ensure that you save the changes before exiting the BIOS/UEFI prefs.
- reset your gear:once you nail saved the changes in the BIOS/UEFI controls, reset your gear.
It will now boot from the cloned smaller SSD as the primary drive.
Check for any error messages or unusual behavior that may indicate an issue with the booting process.
Open applications, access files, and perform basic tasks to verify the performance of the cloned drive.
Compatibility issues may arise if the software or hardware is not supported.
you could manually transfer other non-essential files later.
Keep backups:Always create a backup of your data before attempting any disk cloning.
This ensures that you have a fallback option in case something goes wrong during the cloning process.
Outdated software may cause compatibility issues or interfere with the cloning process.
Optimize SSD controls:After cloning, ensure to optimize the SSD controls for better performance.
Use the TRIM command on Windows or enable TRIM on macOS tomaintain SSDlongevity and performance.
A computer technician or data recovery specialist can provide expert guidance and support.
Ensure that cables are securely connected and properly seated.
Use reliable cloning software:Opt for reputable and reliable cloning software to minimize errors and ensure successful results.
Check user reviews and ratings before selecting the software.
Be patient and allow the cloning process to complete without interruption.
Throughout the process, there are key considerations to keep in mind.
Lastly, configure your rig to boot from the cloned smaller SSD, ensuring a smooth and efficient startup.
Remember to follow troubleshooting steps, seek professional help if needed, and stay patient throughout the process.
