These prerequisites ensure that you have everything you’re gonna wanna successfully complete the cloning process.
3.Cloning software:You will need cloning software to facilitate the cloning process.
Choose a software that is compatible with your operating system and M.2 SSDs.
Ensure that the external storage has sufficient capacity to accommodate the data from the source SSD.
This can be a USB flash drive with a capacity of at least 8GB.
see to it to backup any important data on the USB drive before proceeding with the bootable creation process.
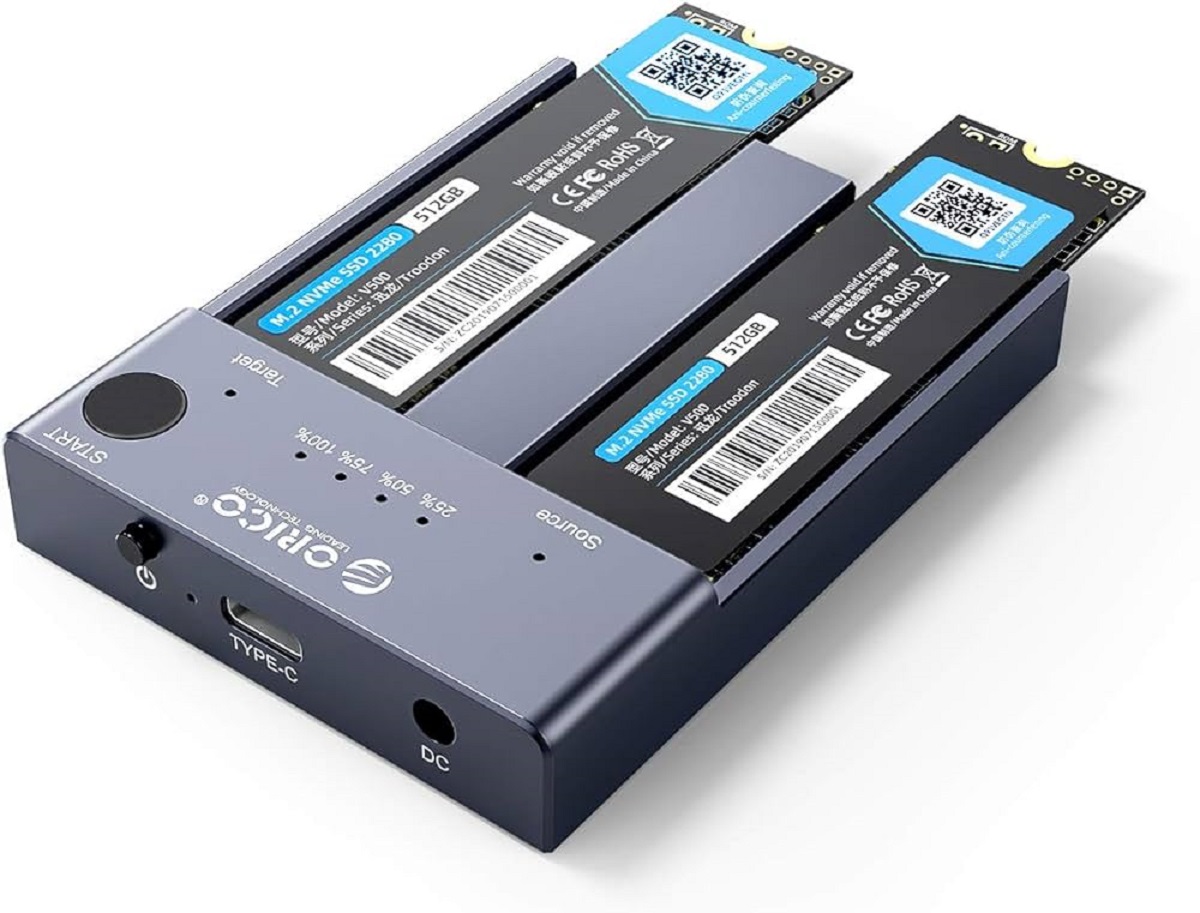
This might be M.2 SATA or M.2 NVMe, so its important to confirm compatibility before proceeding.
Having the right tools at hand will ensure a smooth and efficient cloning process.
Some popular options include Clonezilla, Macrium Reflect, and Acronis True Image.
verify to download and set up the software before proceeding.
Taking the time to back up your data ensures that you have a safeguard against any unforeseen issues.
1.Identify Critical Files:Determine which files or data are important to you and should be backed up.
2.Choose Backup Method:Select a suitable backup method based on your preferences and available resources.
Choose a method that aligns with your storage needs and available resources.
3.Transfer Data:Copy or transfer the identified important files to your chosen backup location.
Ensure that the backup process is complete and verify that all files have been successfully transferred.
4.Verify Backup:Once the data is backed up, verify that the backup files are accessible and intact.
Test a few random files to ensure they open correctly and check for any data corruption or errors.
This step will give you peace of mind knowing that your important data is safely stored.
This USB drive will enable you to boot into the cloning software and initiate the cloning process.
Ensure that the software is compatible with your operating system and M.2 SSDs.
Popular options include Clonezilla, Macrium Reflect, and Acronis True Image.
Backup any important data on the USB drive before proceeding, as formatting will erase all existing data.
3.Create Bootable USB:initiate the cloning software and follow the instructions to create a bootable USB drive.
4.Wait for Completion:Allow the software to complete the creation of the bootable USB drive.
This may take a few minutes depending on the speed of your machine and the size of the software.
Once completed, you will have a bootable USB drive ready for the cloning process.
ensure the USB drive is set as the first boot machine in the boot priority order.
This will ensure that your box boots from the USB drive when you restart it.
By creating a bootable USB drive, you will have the necessary tool to initiate the cloning process.
This will help avoid any potential electrical damage and ensure your safety during the process.
This may involve unscrewing panels or removing clips.
4.Locate the M.2 Slots:Once the computer case is open, locate the M.2 slots on the motherboard.
The slots are typically labeled and can be found near other storage connectors such as SATA ports.
Refer to your motherboards manual to identify the exact location and number of M.2 slots available.
check that to take note of their respective locations and orientations.
Take care not to apply excessive force or damage the SSD or the slot.
Gently align the SSD with the slot and insert it at a slight angle.
2.Confirm Proper Alignment:Ensure that the destination SSD is properly aligned with the M.2 slot.
It should be inserted in the correct orientation, following any markings or notches on the SSD and slot.
Double-check for any visible misalignment before proceeding.
Be cautious not to overtighten, as this could damage the SSD or strip the screw thread.
If not, check the physical connections and ensure the SSD is properly seated in the M.2 slot.
This can typically be done within the Disk Management utility in your operating system.
Consult the documentation or support resources provided by the SSD manufacturer for specific instructions.
This will prevent any potential electrical damage and ensure your safety during the process.
2.Locate the Destination SSD:Identify the M.2 slot where you installed the destination SSD during the previous step.
Take note of its location and orientation within the computer.
Ensure that all connections, such as power cables and data cables, are properly plugged back in.
6.Power On the Computer:After reassembly, reconnect the power source and power on your setup.
The system will recognize the newly connected destination SSD as an available storage gear.
Set the boot priority to boot from the USB drive that contains the cloning software.
Save the changes and exit the BIOS.
Double-check that you have selected the correct SSDs to avoid any accidental data loss.
5.Initiate the Cloning Process:when you obtain reviewed and confirmed the cloning tweaks, initiate the cloning process.
Sit back and let the software perform the cloning operation.
Once the process is complete, the software will usually display a notification or progress summary.
Ensure that the cloning process has been successfully completed before proceeding to the next step.
Verify that all folders, files, and directories have been replicated correctly on the destination SSD.
Check for any missing or corrupted data.
2.Check File Sizes:Randomly select a few files from different directories on both the source and destination SSDs.
Compare their file sizes to ensure they match.
If there are significant discrepancies, it might indicate an issue with the cloning process.
Run a few programs or applications installed on the destination SSD to confirm their functionality.
4.Validate Boot:kickstart your gear and test whether the system boots up properly from the destination SSD.
Ensure that the operating system, drivers, and tweaks are functioning as expected.
If any boot issues arise, it may indicate a problem with the cloning process.
These tools can help identify any underlying issues or errors that occurred during the cloning process.
Any significant performance differences could indicate a potential issue.
2.Locate the Source SSD:Identify the M.2 slot where the source SSD is installed.
Take note of its location and orientation within the computer.
Carefully lift the SSD at an angle to disconnect it from the slot.
Avoid applying excessive force or bending the SSD.
Apply even pressure until the SSD is fully seated in the slot.
Use the retention screw or clip to secure it in place if required.
Ensure that all connections, such as power cables and data cables, are properly plugged back in.
6.Power On and Verify:Reconnect the power source and power on your gear.
The system should recognize the destination SSD as the primary storage rig.
Ensure that the computer boots up properly and that all files and options are intact on the destination SSD.
With the destination SSD in place, we were ready to clone the source SSD using the chosen software.
Verifying the cloning process ensured that all data was accurately transferred, and the cloned SSD was fully functional.
Finally, we replaced the source SSD with the destination SSD, completing the cloning process.
Remember, cloning an SSD requires careful attention to detail, taking appropriate precautions, and choosing reliable software.
