Introduction
Welcome to our guide on how to clean your GPU!
Regularly cleaning your GPU is important to ensure optimal performance and maintain its longevity.
In this article, we will provide you with step-by-step instructions on how to properly clean your GPU.
So, lets get started!
This prevents any potential damage to your GPU or other computer components during the cleaning process.
Removing the GPU will allow you to have better access to clean the components thoroughly.
By following these steps, you’ve got the option to safely remove the GPU from your system.
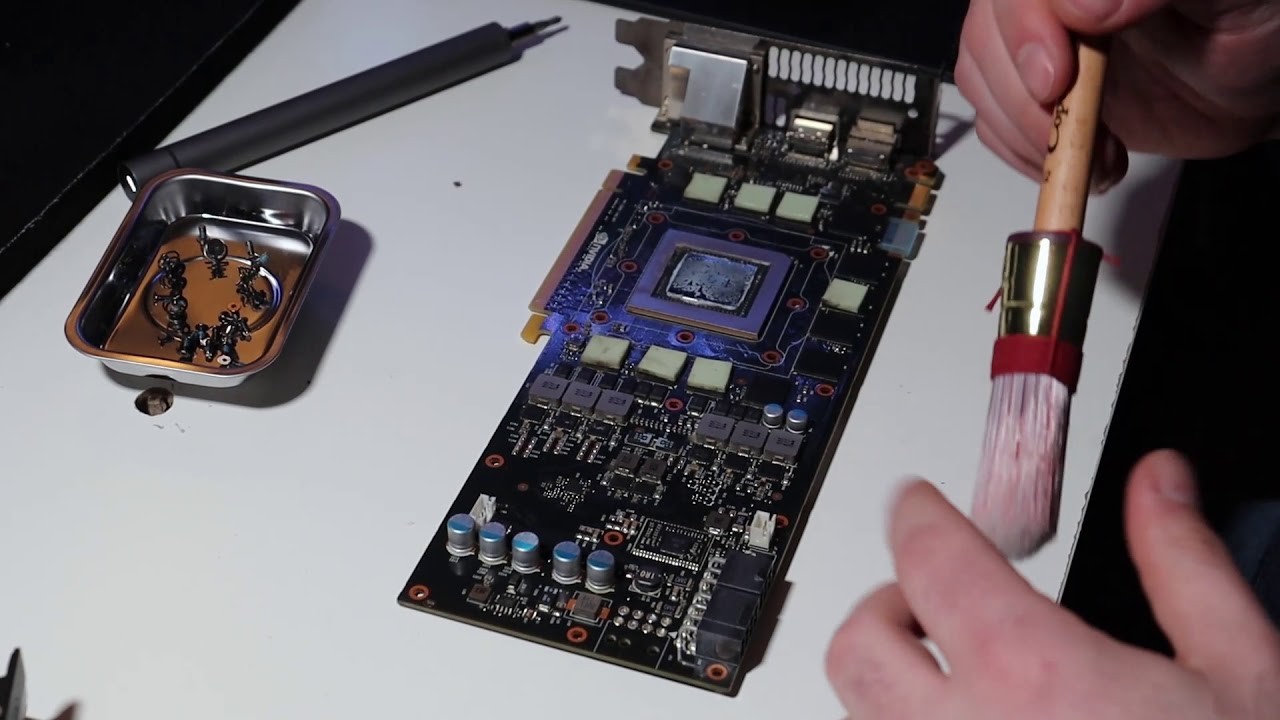
Dust can hinder the cooling performance of the GPU, leading to increased temperatures and potential performance issues.
Cleaning off the dust ensures that the GPU operates at its best.
Lets move on to step 4!
Over time, dust and debris can accumulate on the fan blades, hindering its performance and reducing airflow.
Cleaning the GPU fan is essential for maintaining optimal cooling and preventing overheating issues.
Lets move on to step 5!
Over time, dust and debris can accumulate on the heatsink fins, reducing its cooling efficiency.
Cleaning the GPU heatsink is essential for maintaining optimal heat dissipation and preventing overheating issues.
Once youve completed the cleaning process, youre ready to reassemble your GPU and enjoy its improved performance.
Lets move on to the next step!
Remember to observe proper handling and static precautions throughout the reinstallation process.
We highlighted the importance of caution, thoroughness, and attention to detail throughout the entire cleaning process.
After completing the cleaning process, we provided a step-by-step guide for reinstalling your GPU into your rig safely.
