Introduction
Welcome to the world of Razer keyboards!
Proper keyboard maintenance is essential to prevent key malfunction and optimize your typing or gaming experience.
Before diving into the cleaning process, its important to verify you have the necessary tools on hand.
Well cover that in our first step, so lets get started!
Having the necessary equipment at hand will ensure a smooth and efficient cleaning process.
This way, you wont have to interrupt the cleaning process to search for missing items.
This ensures your safety and prevents any accidental key presses or damage to your system.
Once youve completed this step, youre ready to move on to the next step: removing the keycaps.
Removing the keycaps allows you to clean the keyboard surface and the keycaps themselves more effectively.
This will allow you to clean them thoroughly in the next step.
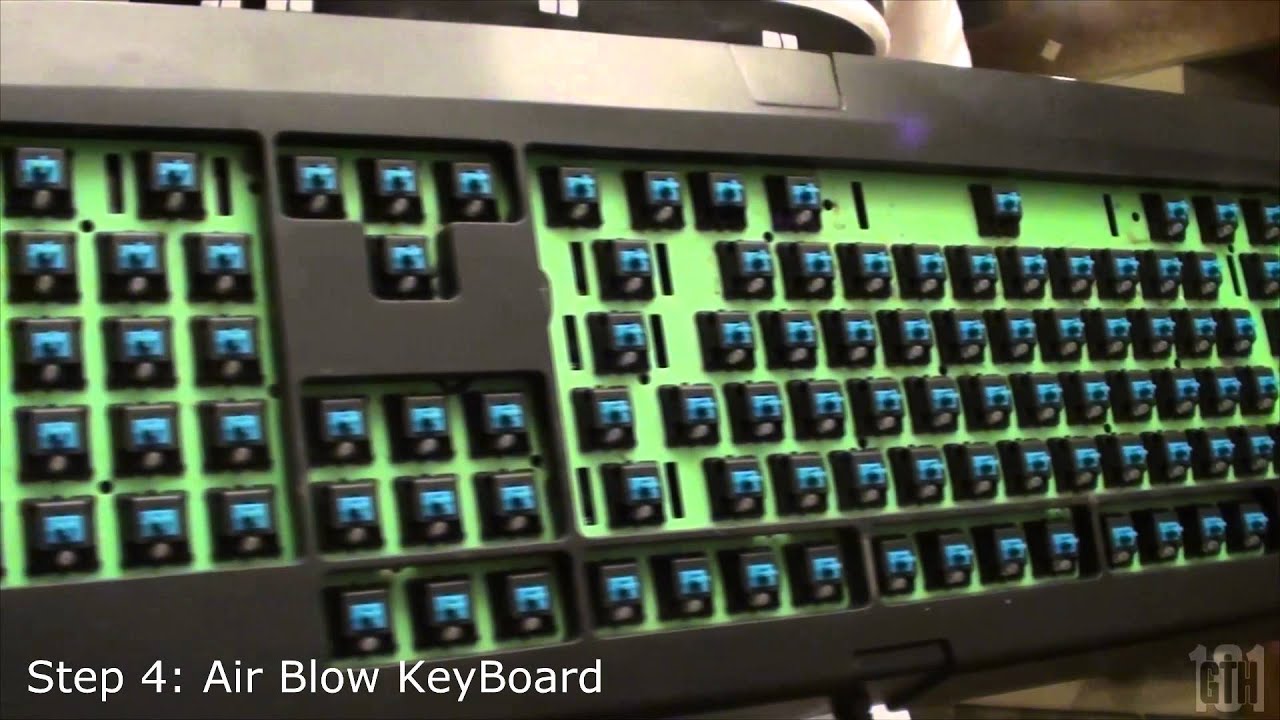
With the keycaps removed, youre now ready to move on to step 4: cleaning the keycaps.
Keycaps can accumulate dirt, oil, and debris over time, affecting their appearance and tactile feel.
Cleaning the keycaps separately ensures a safe and effective cleaning process.
Once the keycaps are completely dry, youre ready to proceed to step 5: cleaning the keyboard surface.
This step involves removing dust, crumbs, and fingerprints that may have accumulated on the keyboard surface.
This step is crucial to prevent any damage to the keyboard and to maintain its functionality.
Enjoytyping or gaming on your revitalized and clean keyboard!
Conclusion
Congratulations!
You have successfully cleaned your Razer keyboard and restored it to its pristine condition.
Regular maintenance and cleaning are essential to ensure the longevity and optimal performance of your keyboard.
A clean keyboard is less prone to sticky keys, malfunctions, and a buildup of bacteria or allergens.
Thank you for taking the time to learn how to clean your Razer keyboard.
Happy typing and gaming!
