Introduction
Welcome to our guide on how to clean your CPU cooler radiator.
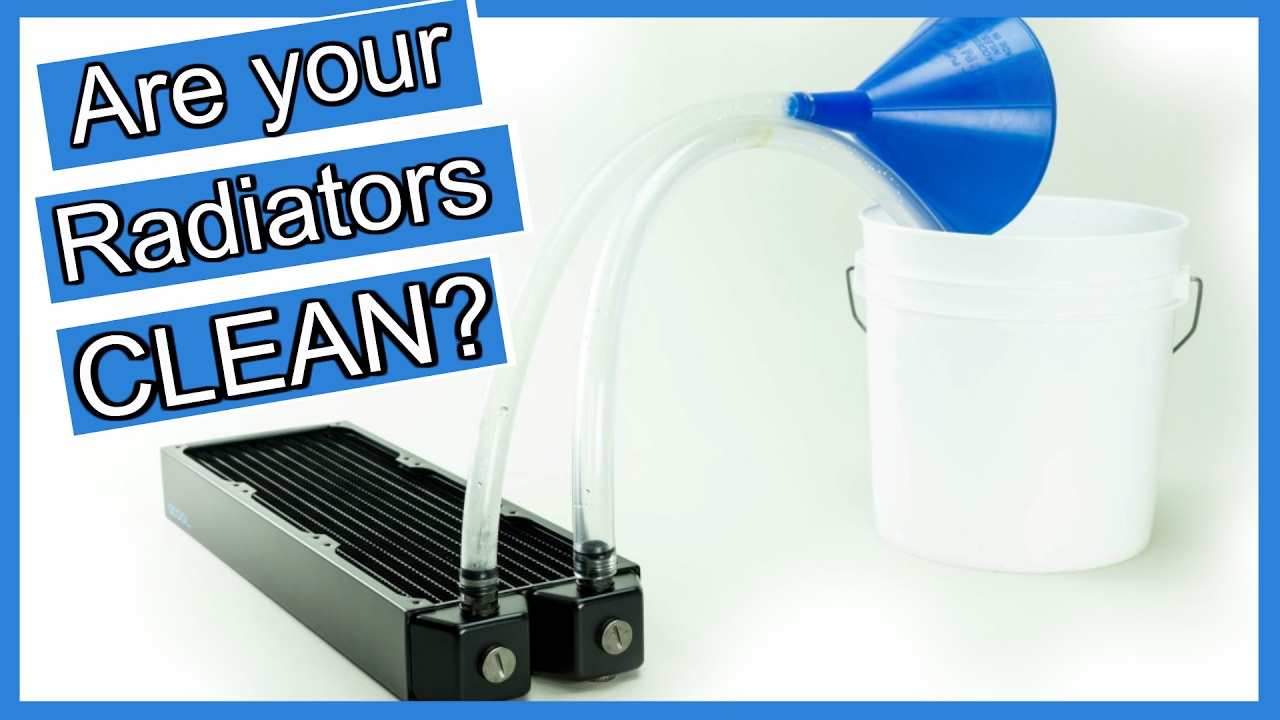
Regularly cleaning your CPU cooler radiator can help maintain its efficiency and prevent potential damage to your machine.
With these tools and supplies at hand, youll be fully equipped to tackle the cleaning process.
This step is crucial to ensure your safety and prevent any potential damage to your rig.
Start by saving all your work and closing any open programs or applications.
This will prevent any data loss or interruption during the cleaning process.
Next, shut down your machine completely.
Once your system is completely shut down, its important to unplug the power cord from the wall outlet.
This step will give you direct access to the radiator for a thorough cleaning.
Start bylocating the CPU cooler radiator inside your rig case.
It is usually attached to the CPU or mounted on the front or rear panel of the case.
Identify the screws or brackets holding the radiator in place.
Using the appropriate screwdriver, carefully remove the screws or unfasten the brackets.
Once the screws or brackets are removed, gently detach the radiator from the CPU or the case panel.
Be cautious not to apply too much force or pull on any cables attached to the radiator.
Once the radiator is completely detached, place it on a clean and flat surface.
verify to handle it with care to avoid any accidental damage.
This step is essential to ensure optimal airflow and cooling efficiency.
Start by using a compressed air canister to blow away loose dust and debris from the radiator.
Hold the canister upright and direct short bursts of air into the radiator fins.
Be cautious not to hold the canister too close to avoid damaging the fins or other delicate components.
As you blow the compressed air, you may notice clouds of dust dispersing.
Next, take a cotton swab and gently swipe it between the radiator fins.
This will help remove any remaining dust or debris that the compressed air might have missed.
Move the cotton swab in a horizontal motion, ensuring to clean between each fin thoroughly.
For stubborn dirt or debris, you may need to dampen the cotton swab with isopropyl alcohol.
This will help dissolve any grime and provide a deeper clean.
Ensure that the brush bristles are soft enough not to damage the fins while effectively dislodging the dirt.
Cleaning the fins will ensure better heat dissipation and prevent any airflow blockages.
Start by dampening a microfiber cloth with isopropyl alcohol.
Ensure that the cloth is not soaking wet, but damp enough to effectively clean the fins.
Pay close attention to any areas that appear particularly dirty or clogged.
As you clean the fins, periodically check the cloth for buildup of dust and debris.
Continue wiping and brushing until the radiator fins are visibly clean and free from any remaining dust or debris.
Take your time to ensure a thorough cleaning process, as this will significantly contribute to the radiators performance.
This will prevent any water or moisture from damaging the components when the radiator is reinstalled.
Start by using a compressed air canister to blow away loose dust and debris from the fan blades.
Hold the canister upright and direct short bursts of air towards the blades.
Be cautious not to hold the canister too close to avoid damaging the fans.
As you blow the compressed air, you may notice dust particles being dislodged from the blades.
Move the swab in a circular motion, ensuring to clean each blade thoroughly.
Continue blowing and wiping until the fan blades are visibly clean and free from any remaining dust or debris.
Once youve cleaned the fan blades, allow them to dry completely before moving on to the next step.
This will ensure that no moisture or liquid comes into contact with the components when the radiator is reinstalled.
Reinstalling the radiator will ensure that it is securely mounted and functioning properly to cool your CPU effectively.
Start by carefully aligning the radiator with its original position inside the computer case.
Take note of any screw holes or brackets that need to fit together for a secure attachment.
Once properly aligned, use the appropriate screws or brackets to fasten the radiator back into place.
Ensure that the cables are securely attached to avoid any loose connections or malfunctions.
Align the case panels and fasten the screws or clips to ensure a secure enclosure for your machine.
Power it on and monitor the temperatures to ensure proper cooling and performance.
If the problems persist, it may be necessary to seek professional assistance.
You have successfully cleaned and reinstalled your CPU cooler radiator, ensuring optimum cooling performance for your machine.
Remember, regular cleaning of your CPU cooler radiator is important to maintain its efficiency and prevent overheating.
With aclean CPUcooler radiator, your setup will run smoothly, with better heat dissipation and improved overall performance.
Conclusion
Congratulations on successfully cleaning your CPU cooler radiator!
We started by shutting down and unplugging the computer, ensuring safety during the cleaning process.
Next, we reinstalled the CPU cooler radiator, ensuring that it was securely mounted and properly connected.
Finally, we powered on the computer and monitored the temperatures to ensure optimal cooling performance.
Remember, maintaining aclean CPU coolerradiator is an ongoing process.
We hope this guide has been helpful in guiding you through the process of cleaning your CPU cooler radiator.
Remember to always follow safety precautions and consult your computers user manual or seek professional assistance if needed.
