Introduction
Cleaning your setup monitor regularly is essential to maintain its clarity and extend its longevity.
This guide will provide you with step-by-step instructions on how to clean your box monitor effectively.
Before you begin cleaning your setup monitor, its important to gather the necessary materials.
This will ensure that you have everything you should probably clean your monitor without causing any damage.
Taking a few minutes to prepare beforehand will save you time and potential frustration later on.
This step ensures your safety and prevents any accidental damage to the monitor or yourself during the cleaning process.
Press and hold the power button until the monitor shuts down completely.
Dust particles can accumulate on the screen, affecting its visibility and overall performance.
Dusting the monitor regularly will help maintain its clarity and ensure optimal viewing.
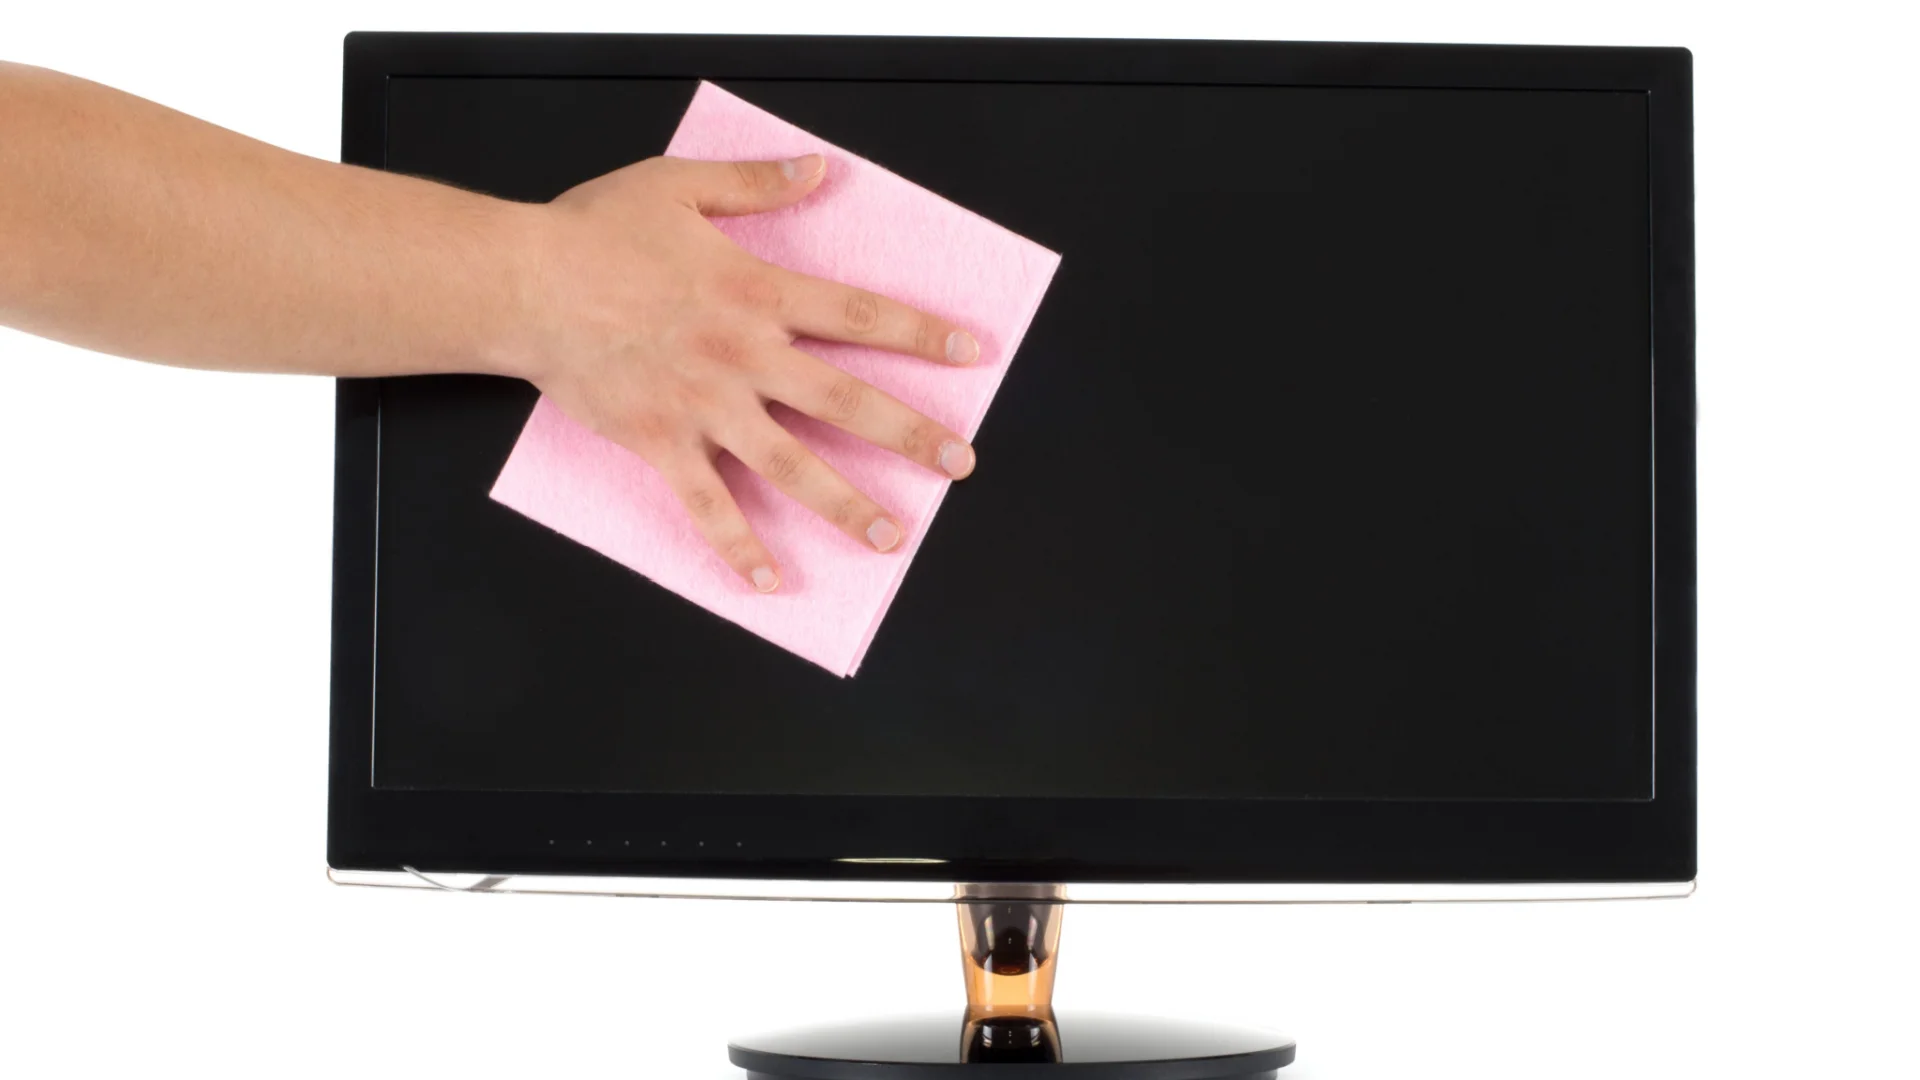
To dust the monitor, start by using a clean microfiber cloth.
Gently wipe the cloth over the screen in a circular motion, applying light pressure.
double-check to cover the entire surface area of the screen.
Avoid using excessive force or scrubbing, as this may damage the screen or leave scratches.
If you notice any stubborn dust particles, use a cotton swab to carefully remove them.
Be cautious not to apply too much pressure or push the dust further into the screen.
Its important to note that dusting should be done regularly to prevent excessive build-up.
Using the wrong cleaning agents can damage the screen or leave residue and streaks.
To avoid such issues, follow these guidelines when choosing a cleaning solution.
Firstly, avoid using harsh chemicals such as ammonia, bleach, or window cleaners.
These substances can harm the screens protective coating and cause discoloration or even permanent damage.
Instead, opt for a gentle cleaning solution that is specifically designed for electronic devices.
The most common and effective cleaning solution for computer monitors is a mixture of isopropyl alcohol and distilled water.
Mix one part isopropyl alcohol with three parts distilled water in a clean spray bottle.
This solution helps to remove fingerprints, smudges, and other stubborn stains effectively.
The alcohol also has disinfectant properties, ensuring that your monitor remains germ-free.
Remember to never spray the cleaning solution directly onto the monitor screen.
Instead, lightly mist the solution onto a clean microfiber cloth.
This prevents any excess liquid from dripping into the monitor or seeping into the edges.
The microfiber cloth helps distribute the solution evenly and minimize the risk of scratching the screen.
If you prefer to use pre-moistened cleaning wipes, ensure they are specifically designed for electronic screens.
Gently wipe the cloth across the screen in a horizontal or vertical motion, applying even pressure.
Avoid pressing too hard, as this could damage the screen or leave streaks.
Focus on areas that have noticeable smudges, fingerprints, or stains.
Use a gentle circular motion with the cloth to target these spots.
Take your time to ensure all marks are removed, but remember not to apply excessive force.
Gently rub the stubborn area until the stain lifts.
Be cautious not to press too hard or use excessive solution, as this may damage the screen.
Excess moisture can also leave streaks or water marks on the screen.
Remember that its better to use less liquid and make multiple passes until the screen is clean.
Ensure that the screen is completely dry before proceeding to the next step.
Use gentle strokes and ensure that you cover all areas, including the sides and corners of the frame.
Gently wipe the affected area, applying gentle pressure until the stain is lifted.
Take care not to use excessive moisture, as this can damage the frame or leave watermarks.
Be gentle and precise, so as not to damage any delicate parts of the monitor.
Ensure that the frame is completely dry before turning the monitor back on.
Pay attention to the corners and edges, as these areas tend to gather more moisture.
Allow the monitor to air dry for a few additional minutes to ensure that all remaining moisture evaporates.
Avoid rushing this step, as it is crucial to ensure a completely dry surface.
Lastly, visually inspect the monitor screen for any signs of moisture or streaks.
By thoroughly drying the monitor, you prevent streaks, smudges, or watermarks from marring your screen.
This step ensures a crystal-clear display when you turn the monitor back on.
Step 7: Turning on the Monitor
First, double-check that the monitor is completely dry.
see to it there are no visible moisture or streaks on the screen or frame.
Ensure that the connection is secure.
Press thepower button on the monitor to turn it on.
Wait a moment for the monitor to initialize and display an image on the screen.
You should see a crisp and vibrant image indicating that your monitor is ready for use.
While turning on the monitor, also pay attention to any unusual sounds or visuals.
These signs could indicate a potential issue that requires further attention.
This will enhance your overall computing experience and ensure optimal visibility.
Remember to regularly clean your rig monitor to maintain its clarity and prolong its lifespan.
Dusting the monitor regularly helps to maintain its clarity.
Remember to dry the monitor completely before turning it back on to avoid streaks or water damage.
So, take the time to keep your monitor clean and enjoy a visually appealing and optimal computing experience.
