Introduction
Welcome to our guide on how to clean a motherboard.
Maintaining a clean motherboard is crucial for the overall health and longevity of your rig.
Before we proceed with the cleaning process, its important to note that cleaning amotherboardrequires caution and care.
Improper handling can lead to damage and void warranties.
Therefore, its essential to follow the safety precautions and steps outlined in this guide.
Keep in mind that cleaning a motherboard should only be done if necessary.
Now, lets dive into the safety precautions you should take before starting the cleaning process.
Now lets move on to the tools youll need for the cleaning process.
Lets begin by powering off and unplugging your gear.
This is essential to minimize the risk of electrical accidents and to ensure your safety during the cleaning process.
In the next step, we will guide you through removing the motherboard from its casing.
In the next step, we will guide you through the process of removing dust from the motherboard.
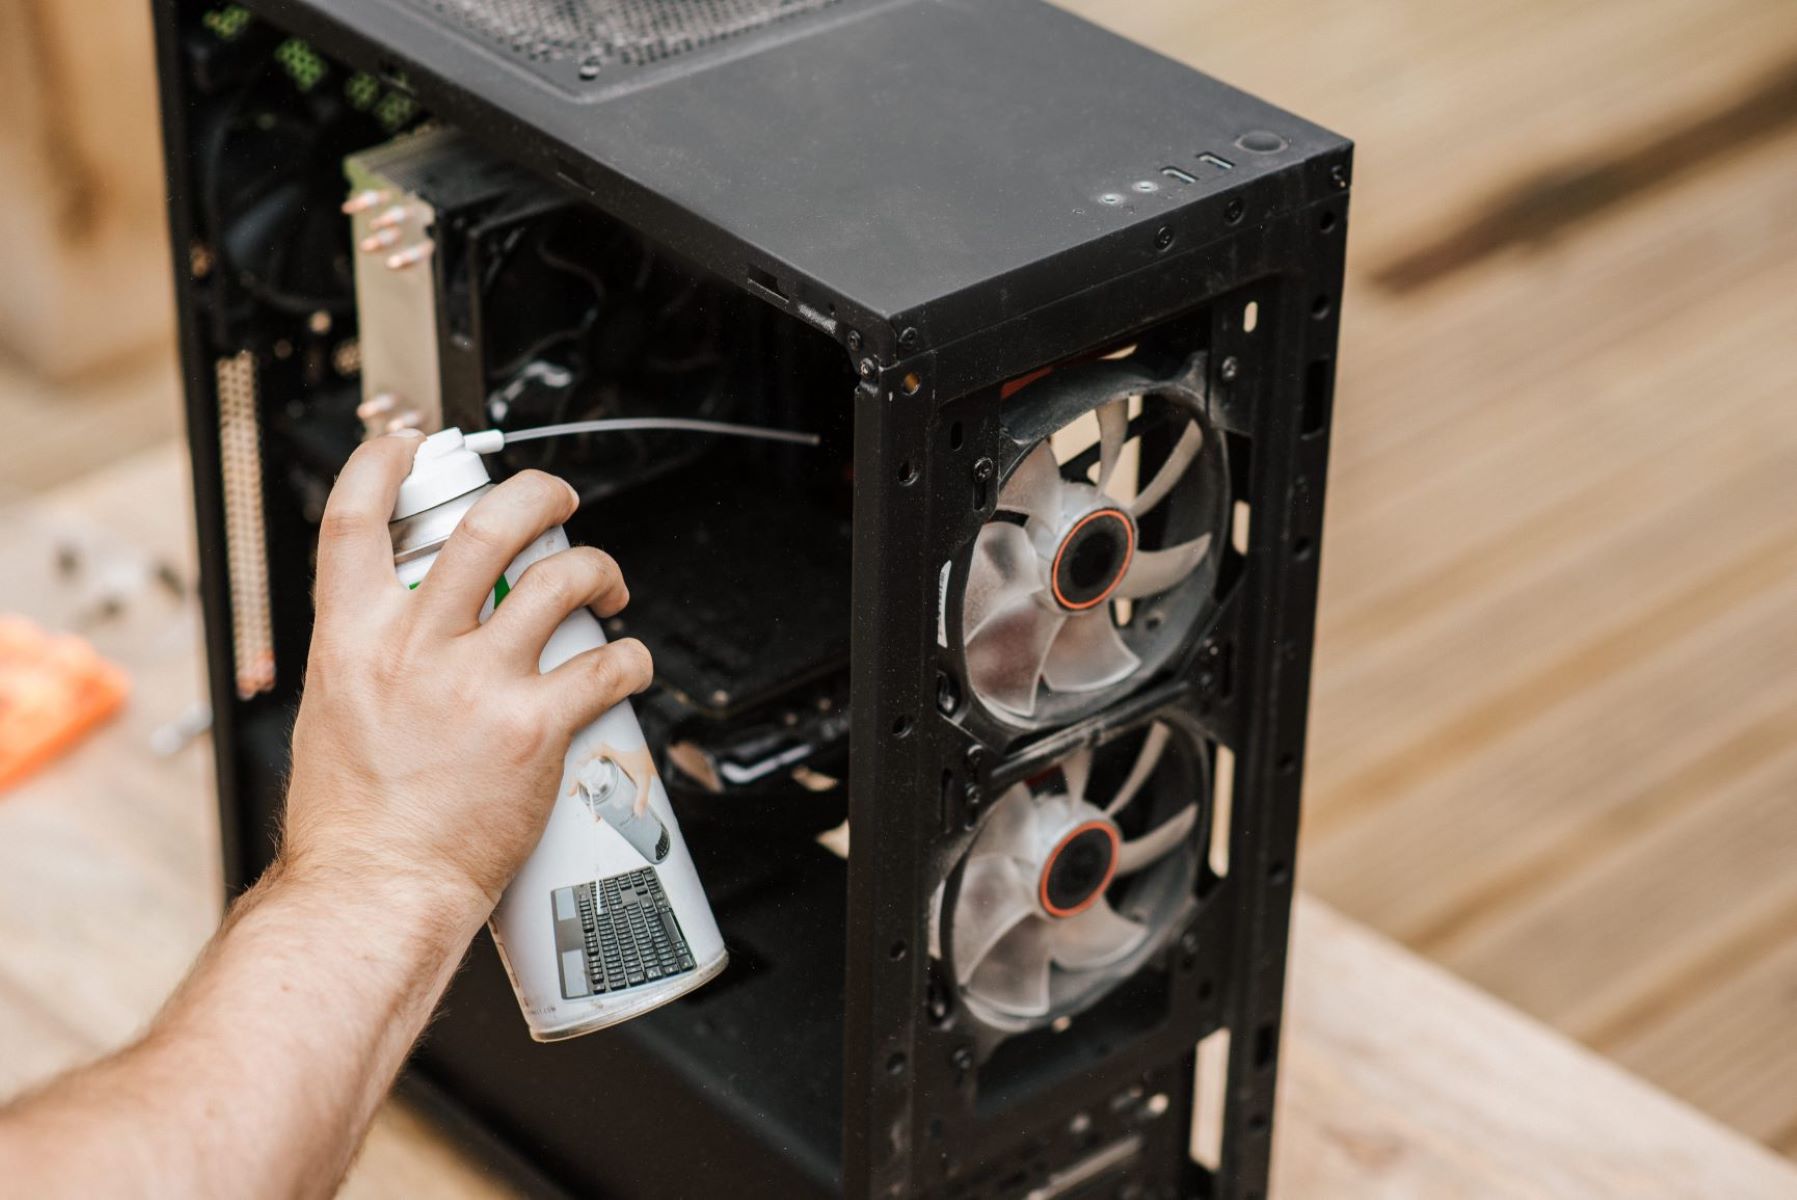
Step 3: Dust Removal
Remember to be gentle and thorough while removing dust from the motherboard.
Taking your time with this step will ensure the effective removal of all dust particles.
Rushing can lead to trapped moisture, which may cause issues when the computer is powered on.
Take a moment to ensure that all connections are secure, and there are no loose screws or cables.
Conclusion
Congratulations!
You have successfully completed the process of cleaning your motherboard.
We then emphasized the importance of following safety precautions to ensure your safety throughout the cleaning process.
Remember, cleaning the motherboard should be done only when necessary.
We hope this guide has provided you with the necessary knowledge and confidence to clean your motherboard effectively.
Regular maintenance and cleaning will help ensure that your machine operates at its best.
Thank you for taking the time to read this guide, and happy computing!
