Why is it important to check the PSU of your Xbox One S?
This can lead to lost progress and frustration.
This can result in various issues, including graphical glitches, freezing, or even permanent damage.
Regularly checking the PSU ensures that the console receives stable and consistent power, protecting its internal components.
3.Preventing Power Surges:Power surges can occur due to fluctuations in the electrical supply.
Regular inspection of the PSU allows you to identify any swollen, leaking, or burnt capacitors.
This helps you get the most out of your gaming investment.
These tools will make the process easier and ensure your safety.
This step is crucial to avoid any electrical accidents during the inspection.
Carefully lift off the cover, exposing the internal components of the console.
4.Locate the PSU and disconnect its cables:The PSU is typically located near the back of the console.
Identify the PSU and gently unplug its cables from the motherboard.
Ensure that you remember the cable connections for reassembly later.
If you notice any damage, it is a clear indication that your PSU needs to be replaced.
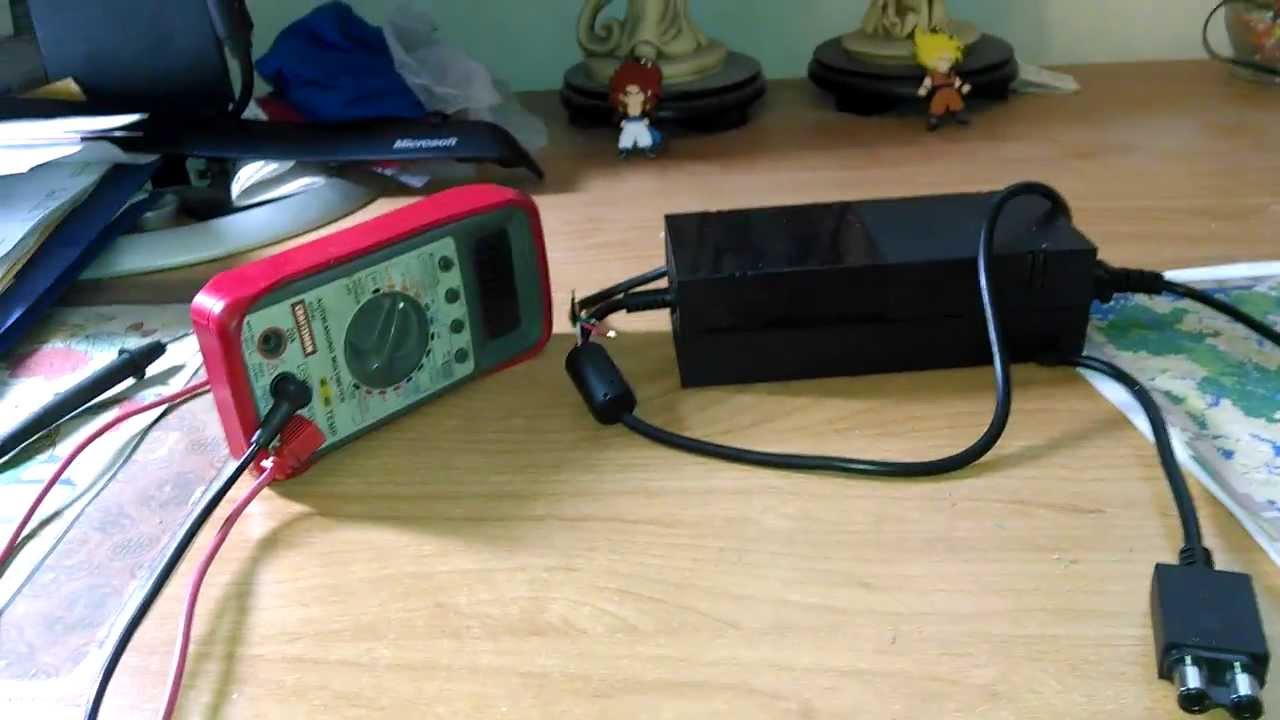
6.Testing the PSU with a multimeter:Set your multimeter to measure DC voltage.
Check the voltage readings against the specifications provided by the manufacturer.
7.Analyzing the multimeter readings:Ensure that the voltage readings fall within the acceptable range.
Using the right tools will make the process easier and help ensure accurate measurements.
Now youre ready to proceed with the next step: locating and disconnecting the cables of the PSU.
Depending on the severity of the damage, you might need to consider replacing the PSU.
In such cases, it may be necessary to replace the PSU to ensure proper functionality.
Remember to take appropriate safety precautions while testing the PSU with a multimeter.
We will cover this step in detail in the following section.
