Introduction
Welcome to our guide on how to charge a Logitech keyboard!
Logitech keyboards are known for their excellent performance and durability.
However, like any electronic gear, they require regular charging to ensure uninterrupted usage.
Whether you have a wireless or a Bluetooth-enabledLogitech keyboard, the process of charging is simple and hassle-free.
In this comprehensive guide, we will take you through the step-by-step process of charging your Logitech keyboard.
We will cover everything from checking the battery level to disconnecting the charging cable.
So, lets dive in and get your Logitech keyboard powered up!
However, the fundamental steps and principles remain the same.
if you bump into any specific variations, consult the user manual or Logitechs official website for detailed instructions.
To check the battery level, look for the battery indicator on your Logitech keyboard.
It could be a small LED light or a battery icon on the machine itself.
These apps provide more detailed battery information and may also give you notifications when the battery is running low.
Now that youve confirmed the battery status, lets move on to the next step connecting the charging cable.
Logitech keyboards typically come with a USB charging cable that is compatible with most devices.
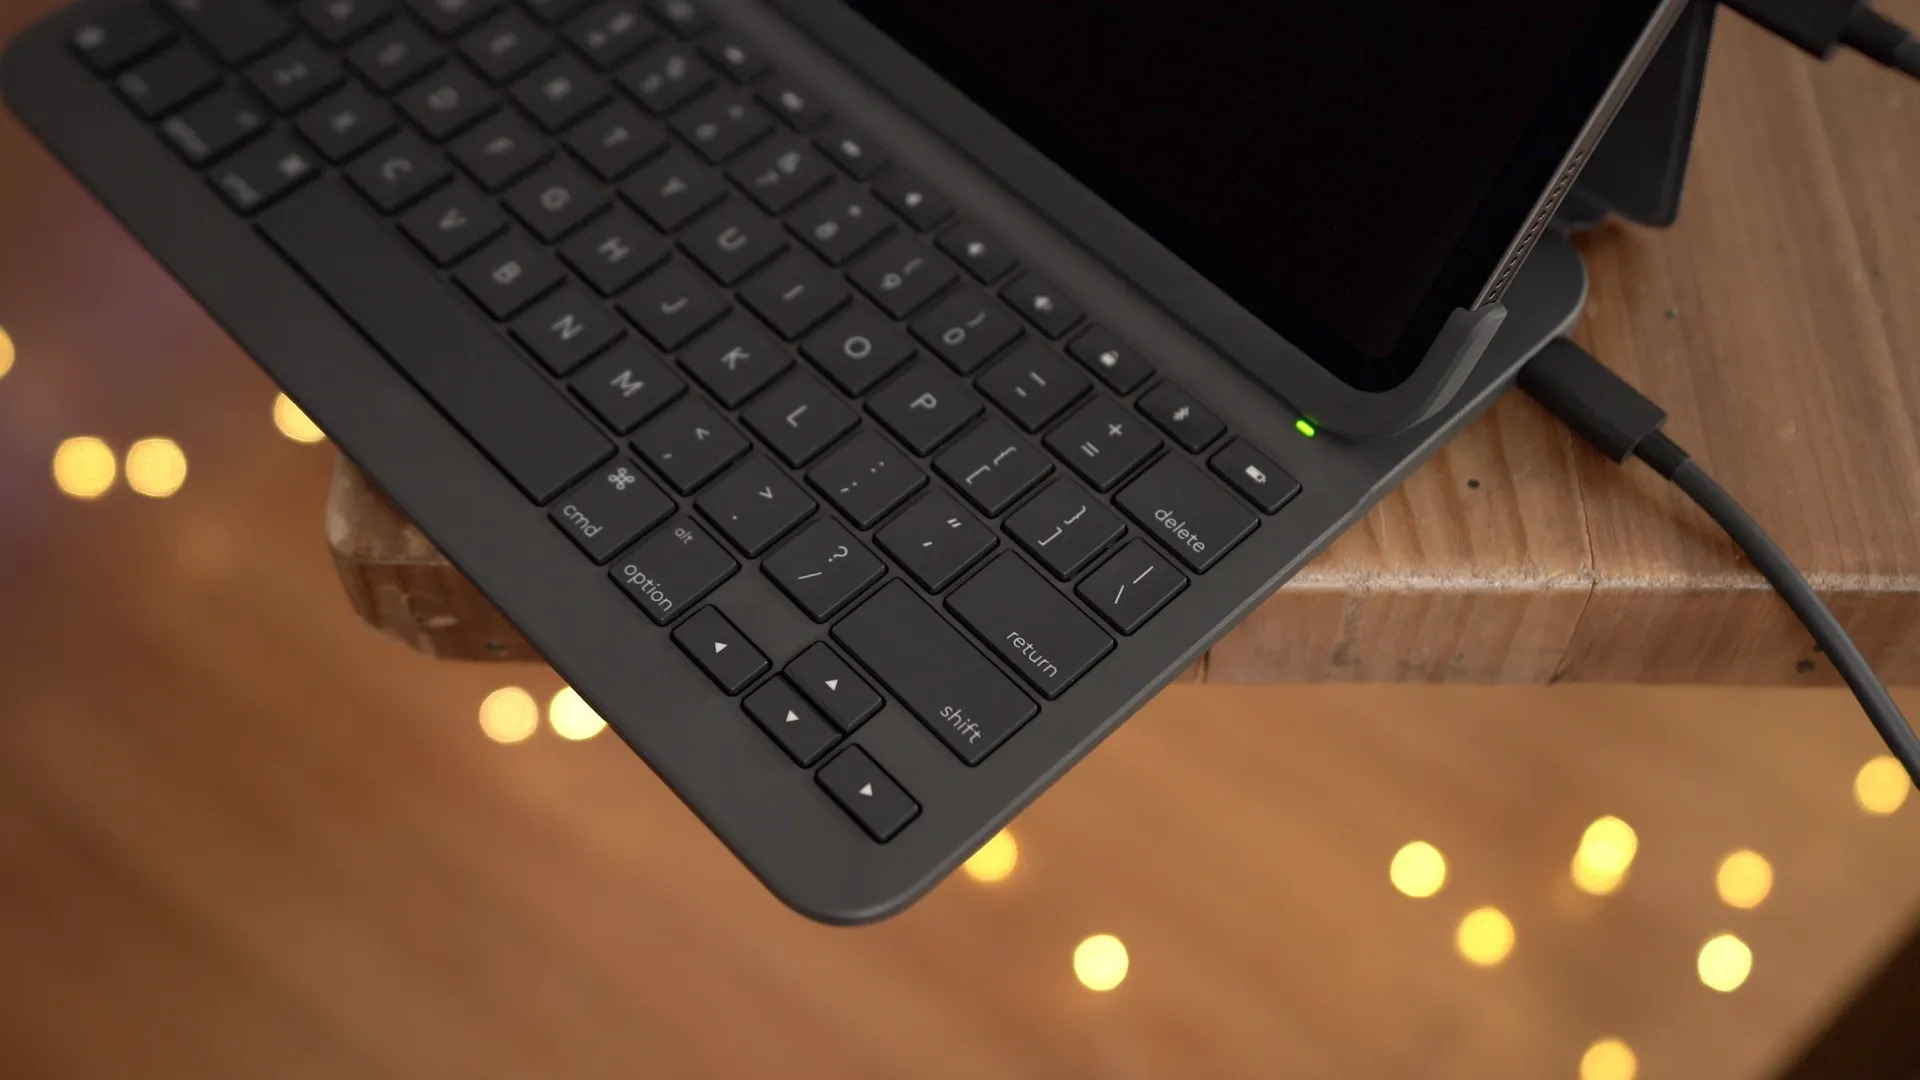
Start by locating the charging port on your Logitech keyboard.
Once youve found the charging port, take the USB charging cable and insert it into the port.
Ensure that the cable is securely inserted into the charging port to establish a proper connection.
If your Logitech keyboard has a magnetic charging connector, ensure the cable snaps into place.
For Bluetooth-enabled keyboards, the charging cable can be connected to any USB power source.
Its important to note that some Logitech keyboards may require a specific voltage or current output for charging.
Refer to the user manual or the Logitech website for any specific requirements.
Once the charging cable is securely connected, you could proceed to the next step.
In Step 3, well discuss plugging in the charging cable and initiating the charging process.
So, lets move forward and get your Logitech keyboard powered up.
This will initiate the charging process and supply the necessary power to your keyboard.
confirm the USB port provides power, as not all USB ports are designed to charge devices.
Ensure that the charging cable is securely plugged into both your Logitech keyboard and the power source.
A loose connection may interrupt the charging process or result in slow charging.
Double-check that the cable is inserted properly to prevent any accidental disconnection and ensure a stable power supply.
So, lets move on and monitor the progress of your Logitech keyboards charging.
The charging indicator provides valuable information about the progress of the charging process and the current battery status.
Most Logitech keyboards feature an LED light or a battery icon that serves as the charging indicator.
This indicator is typically located near the power button or on the top surface of the keyboard.
The exact design and behavior of the charging indicator may vary depending on the model of your Logitech keyboard.
This indicates that the charging process has begun.
In some models, the LED light may remain steady or turn off once charging starts.
Remember, the charging indicator is a helpful tool to monitor the status of your Logitech keyboards battery.
So, lets proceed and power up your Logitech keyboard to its maximum potential.
Waiting for a full charge ensures that you have maximum usage time before the next charging cycle.
Typically, it takes a few hours for a Logitech keyboard to fully charge.
Continuously using the keyboard during the charging process may prolong the charging time or result in an incomplete charge.
Make use of this time to take a break, attend to other tasks, or simply relax.
you’re free to periodically check the charging indicator to see if it has reached a full charge.
Keep in mind that overcharging the battery may have a negative impact on its lifespan and performance.
So, lets move forward and complete the charging process for your Logitech keyboard.
Before you disconnect the charging cable, double-check to safely remove it from the power source or USB port.
Gently detach the USB end of the cable from the computer, USB wall adapter, or power outlet.
Pulling the cable forcefully or at an angle may damage the charging port of your Logitech keyboard.
Next, carefully remove the USB connector from the charging port on your Logitech keyboard.
Take your time to ensure a smooth removal without any unnecessary force or twisting motions.
Always remember to keep your Logitech keyboard charged regularly to maintain optimal performance.
Enjoy the freedom and convenience of a fully charged Logitech keyboard!
Remember to regularly check the battery level of your Logitech keyboard to determine when it needs charging.
Remember to handle the cable and the charging port with care to avoid any damage.
