SSDs utilize a different storage technology that provides faster read and write speeds, resulting in significantly improved performance.
This allows for almost instantaneous access to your files, reducing the waiting time and increasing overall system responsiveness.
Another benefit of switching to an SSD as your boot drive is the stability it provides.
Since SSDs dont have moving parts, they are more resistant to physical damage because of drops or shocks.
This makes them ideal for laptop users who are constantly on the move and need a reliable storage solution.
Additionally, SSDs are silent performers.
Without the spinning noise associated with HDDs, your machine will run quietly and without distraction.
This can greatly improve the overall user experience, especially during tasks that require focus and concentration.
Well also provide troubleshooting tips to help resolve any issues that may arise along the way.
Speed is undoubtedly the main advantage of using an SSD as your boot drive.
Not only do SSDs offer speed, but they also enhance your computers multitasking capabilities.
With a traditional HDD, you may experience a noticeable slowdown when running multiple programs simultaneously.
However, SSDs handle multitasking with ease, allowing you to switch between applications seamlessly and without any lag.
Another crucial advantage of SSDs is their reliability and durability.
Since they lack moving parts, SSDs are more resistant to physical damage sparked by accidental drops or shocks.
This makes them an excellent choice for laptop users who are constantly on the go.
Energy efficiency is yet another benefit of SSDs.
Their power consumption is significantly lower compared to HDDs, which can help extend your laptops battery life.
By using an SSD as your boot drive, you could enjoy increased productivity while reducing your carbon footprint.
Finally, SSDs offer improved data security.
Traditional HDDs are more susceptible to data corruption due to physical wear and tear over time.
In contrast, SSDs are better equipped to safeguard your valuable files from corruption and ensure their integrity.
Consider factors such as storage capacity, speed, and budget.
2.Backup Your Data:Its crucial to back up all your important files and data before proceeding.
3.Check Compatibility:Ensure that your computers hardware and operating system support SSDs.
Additionally, verify if your operating system requires any specific drivers for SSDs.
Firmware updates can optimize performance and address any known issues, ensuring optimal functionality of your SSD.
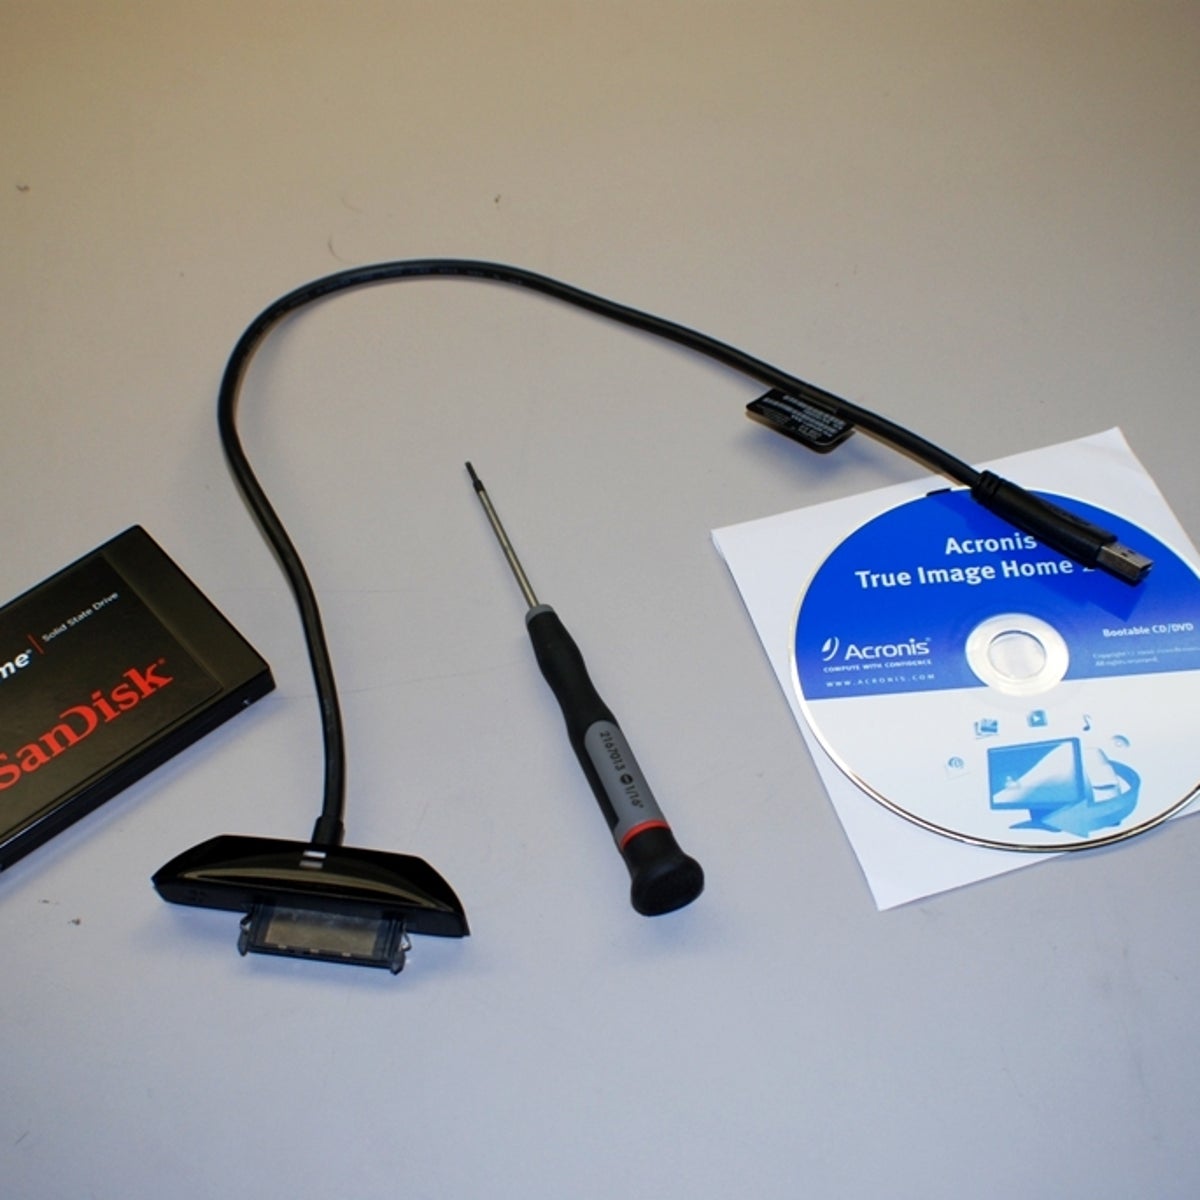
5.Prepare Cloning Software:To clone your existing drive to the SSD, you will need cloning software.
Install and familiarize yourself with the chosen software before proceeding.
6.Gather Necessary Tools:You may require specific tools to physically drop in the SSD in your system.
These tools typically include a screwdriver or small wrench to remove screws and secure the SSD in place.
Consult the documentation of your rig or refer to online resources for specific instructions regarding your machine.
This helps reduce the size of the data to be cloned, making the process faster and more efficient.
Cloning involves creating an exact copy of your existing drive and transferring it to the SSD.
Here are the steps to follow:
1.Choose Cloning Software:Launch the cloning software you previously installed.
see to it to double-check the drive letters to avoid any mistakes.
Take a moment to review and adjust any parameters according to your preferences.
3.Start the Cloning Process:after you snag reviewed the options, start the cloning process.
Be patient and avoid interrupting the process to prevent any data corruption or errors.
confirm that all partitions, files, and folders are present and accessible on the SSD.
This ensures that yoursystem boots from the newly cloned SSDwhen you kickstart your machine.
By following these steps, you’re free to successfully clone your current drive to your SSD.
This ensures your safety and prevents any damage to the system.
2.Identify the Mounting Location:Determine the location where you will be installing the SSD in your rig.
Most desktop computers have dedicated slots for hard drives, usually found in the storage drive bays.
Laptops may require removing the back panel to get into the drive bay or drive cavity.
Unscrew any mounting screws or brackets holding the drive in place and gently remove it from the drive bay.
5.plant the SSD:Align the SSD with the mounting holes in the drive bay and insert it firmly.
Use the mounting screws or brackets to secure the SSD in place.
Be careful not to overtighten the screws, as it may damage the drive.
6.Connect Cables:Connect the SATA data cable and power cable to the SSD.
8.Power On your gear:Plug in the power cord and turn on your gear.
If everything was done correctly, your system should detect the newly installed SSD during the boot process.
The SSD should appear as a new drive in the operating system once it has fully loaded.
By following these steps, you’re free to successfully roll out the SSD into your box.
The key to enter the BIOS may vary depending on your computers manufacturer.
Common keys include Del, F2, F12, or Esc.
Refer to the user manual or search online for the specific key for your system.
The exact location may differ depending on your motherboard manufacturer and BIOS version.
3.Change Boot Priority:In the Boot Options section, locate the Boot Priority or Boot Order setting.
snag the option to change the boot priority or order.
Move the SSD to the top of the list, ensuring that it becomes the first boot gear.
4.Save and Exit:Save the changes you made to the boot priority and exit the BIOS configs.
The computer will restart, and the system should now boot from the SSD.
5.Verify Boot Drive:After your gear restarts, test whether the system successfully boots from the SSD.
Always refer to the user manual or the manufacturers support website for detailed instructions specific to your machine.
reset your machine and time how long it takes for your system to fully boot up.
Compare this with the boot time of your previous drive.
The SSD should provide a noticeable improvement, resulting in quicker startup times.
2.Software Load Times:Launch various applications or software that you frequently use and observe how quickly they load.
Applications that used to take a significant amount of time to open should now open almost instantaneously.
Test a range of programs, including resource-intensive ones, to assess the overall performance of your SSD.
Observe the transfer speed and compare it to your previous drive.
SSDs typically offer faster read and write speeds, resulting in faster file transfers.
Ensure that the transfer speeds match or exceed the specifications provided by the manufacturer.
4.Benchmarking Software:Utilize benchmarking software to assess the performance of your SSD.
Compare the results to the SSDs advertised specifications to ensure they align closely.
5.System Optimization:Take advantage of the features that your SSD manufacturer offers to optimize performance.
Check their website for any specific software or firmware updates designed to enhance your SSDs operation.
Install any recommended software and follow the instructions provided to get the most out of your SSD.
Testing your SSD ensures that you might fully enjoy the advantages it brings to your computers performance.
Ensure they are securely plugged in, and there are no loose connections.
Reconnect or replace any faulty cables if necessary.
2.Update Drivers:Ensure that you have the latest drivers installed for your SSD.
Visit the manufacturers website and download the latest drivers specific to your model.
Installing up-to-date drivers can help resolve compatibility issues and improve overall performance.
If the SSD is not detected, ensure it is properly connected and try restarting the computer.
If the SSD appears as unallocated or uninitialized, you may need to format and partition it correctly.
5.Run Diagnostic Software:Some SSD manufacturers provide diagnostic software that can help identify and resolve potential issues.
Download and execute the diagnostic software for your specific SSD model to identify any underlying problems.
They can provide specific guidance and assistance tailored to your situation.
Conclusion
Congratulations!
The speed and responsiveness of an SSD allow you to accomplish tasks more efficiently and effortlessly.
These steps ensure a seamless transition and verify that your SSD is operating optimally.
The goal is to ensure that your new SSD is functioning properly and delivering the performance you expect.
