Increasing the RAM speed can result in faster data transfer and improved system responsiveness.
Step 1: Accessing the Gigabyte BIOS
- power cycle your rig.
Step 2: Navigating the BIOS
1.
Use the arrow keys on your keyboard to navigate through the menus.
Pay attention to the different tabs and submenus in the BIOS interface.
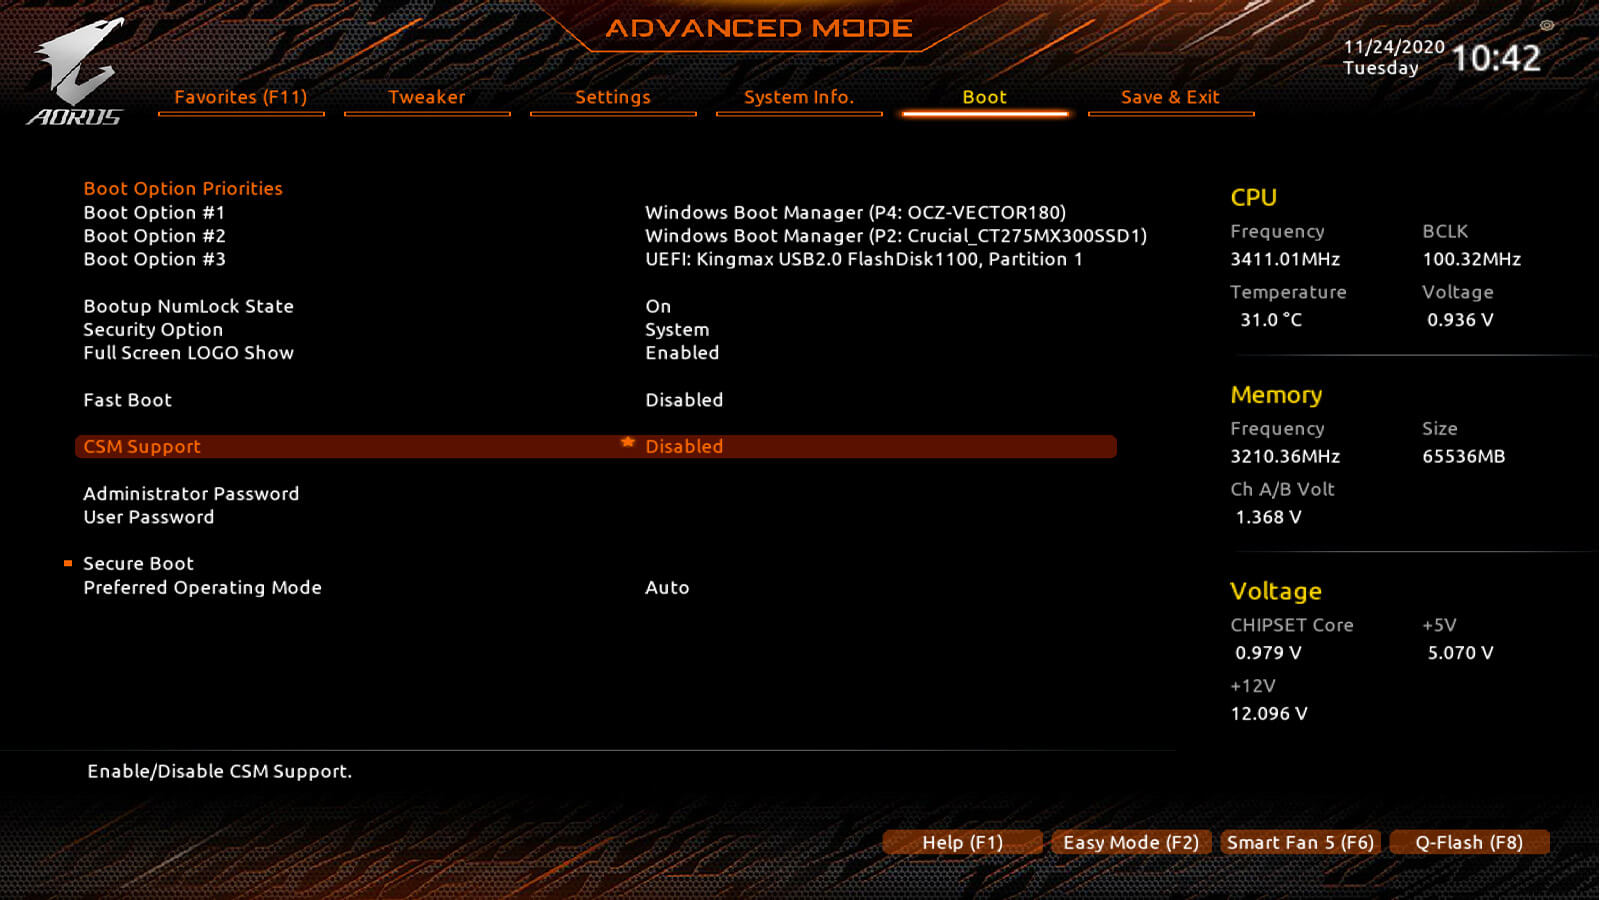
Look for a menu option that relates to memory controls.
This could be named Memory Configuration, DRAM Configuration, or something similar.4.
In some cases, the RAM speed may be listed as Memory Clock or Memory Frequency.
Its important to remember that every Gigabyte BIOS may have a slightly different layout and menu structure.
Additionally, some motherboards may have a simplified mode that hides certain advanced configs.
Proceed to the next step to learn how to make the necessary adjustments.
Look for an option labeled Memory Clock, Memory Frequency, or simply DRAM Frequency.
This is the setting that controls the speed of your RAM.2.
Its important to mention that some Gigabyte motherboards also offer XMP (Extreme Memory Profile) options.
These profiles are preconfigured configs that allow for easy overclocking of your RAM to achieve higher speeds.
Press the Enter key to initiate the submenu or modify the value.3.
These options are usually listed in increments, allowing you to select a higher or lower speed.5.
Refer to your RAM module specifications to ensure you select a supported speed.6.
After selecting or entering the desired RAM speed, save the changes by following the on-screen prompts.
This is typically done by pressing the F10 key or selecting the Save and Exit option.
Its important to note that changing the RAM speed requires careful consideration.
Overclocking the RAM beyond its rated speed can potentially cause system instability or other issues.
Highlight the Save and Exit option using the arrow keys and press Enter.3.
Confirm your selection when prompted to save the changes made to the BIOS options.4.
Wait for the system to save the changes, which usually takes a few seconds.5.
Once the changes are saved, the computer will restart to apply the new RAM speed.
Let the system complete the restart process naturally.
After the computer restarts, you cancheck if the RAM speed has been successfully changed.
you could use third-party software, such as CPU-Z or HWiNFO, to verify the RAM speed.
These tools display detailed system information, including the current RAM speed.
You have successfully changed the RAM speed in the Gigabyte BIOS.
Enjoy the improved performance and responsiveness that a higher RAM speed can provide.
Remember to exercise caution and only make changes within the recommended specifications of your RAM modules.
Overclocking the RAM beyond its rated speed may lead to stability issues or even hardware damage.
Its worth noting that changing the RAM speed is just one aspect of optimizing your computers performance.
Other factors such as CPU, storage, and cooling also play a significant role.
Therefore, consider a comprehensive approach to system optimization for the best results.
Remember to always monitor your systems stability and make adjustments accordingly.
