Introduction
Are you looking to give your setup a performance boost?
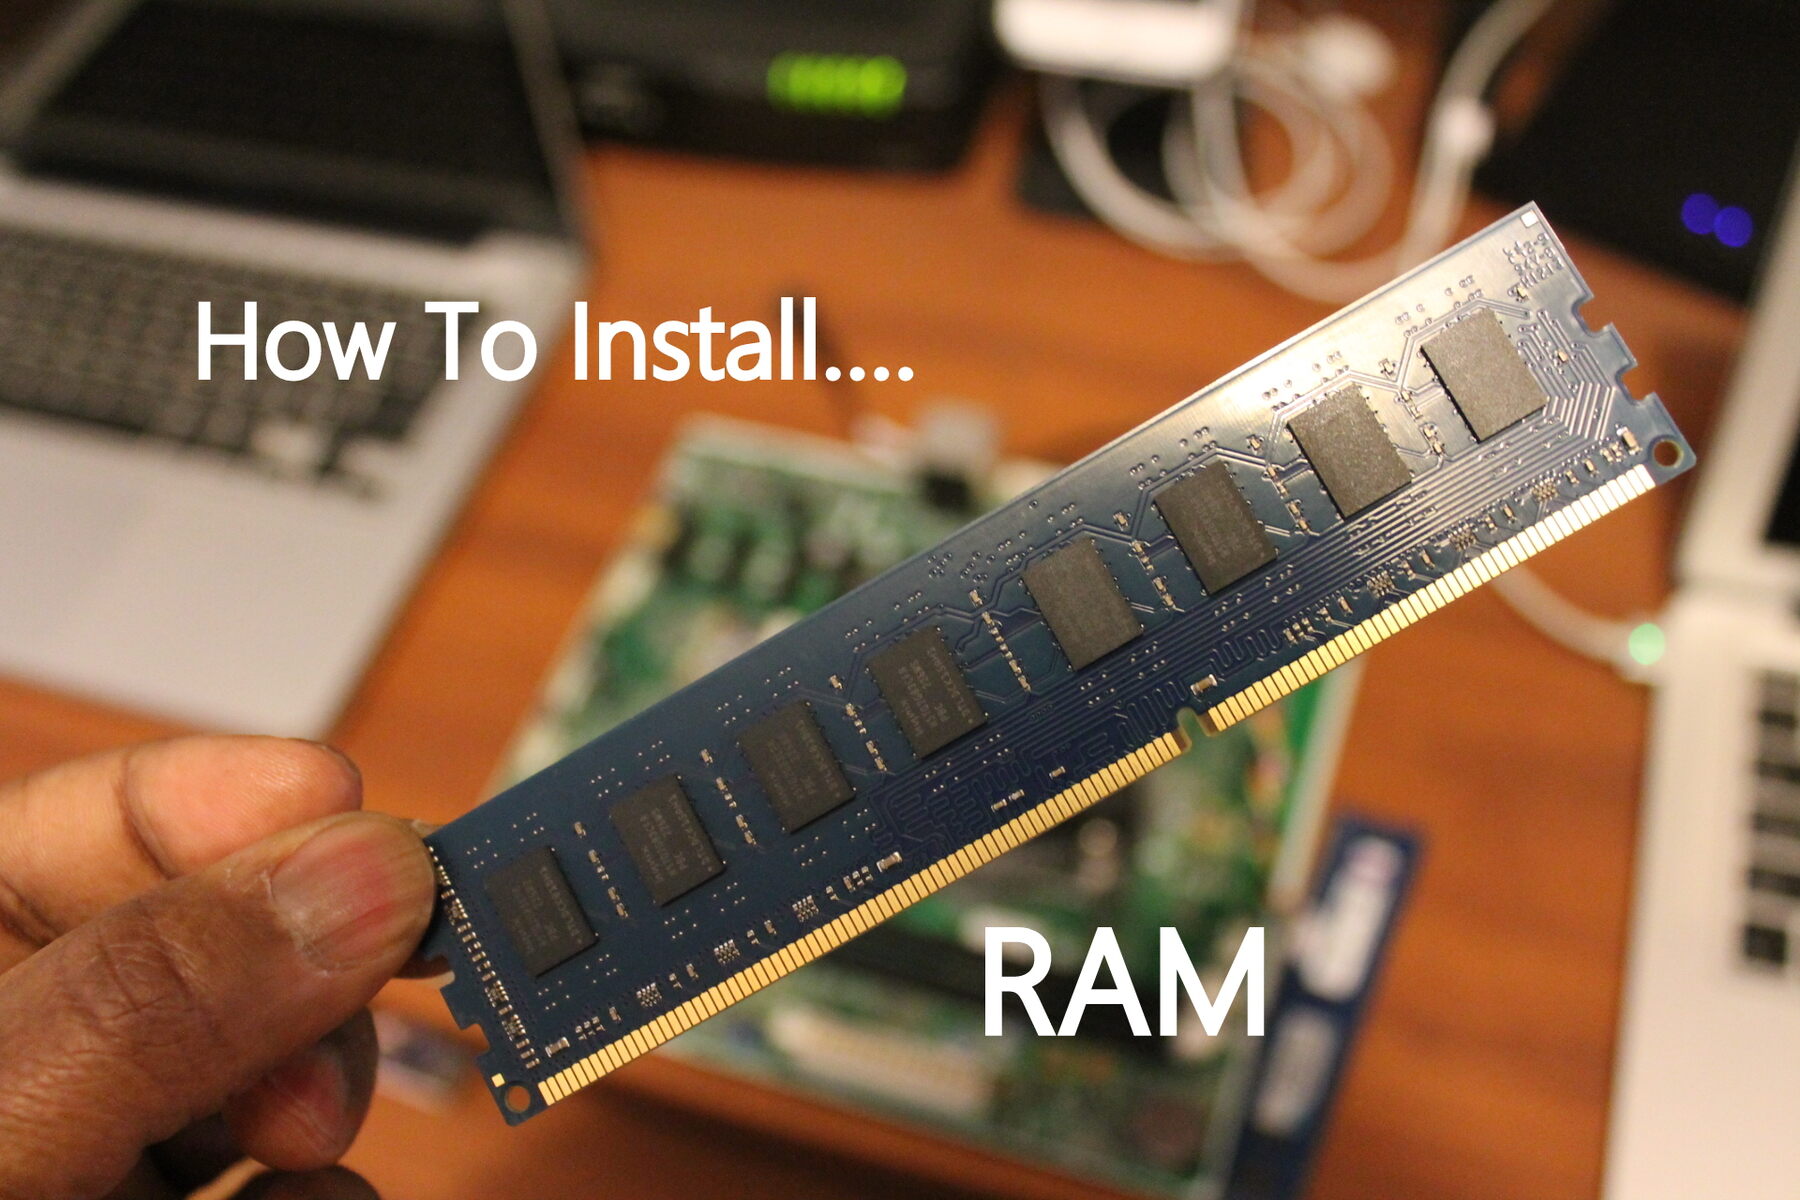
One cost-effective way to achieve this is by upgrading your RAM (Random Access Memory).
However, if youre new to computer hardware, the process of changing out RAM may seem daunting.
Be sure to consult your computers user manual or the manufacturers website for specific instructions tailored to your unit.
With that said, lets get started!
Its also essential to determine how much RAM your rig currently has and how much it can support.
This information will help you determine the amount of RAM you should purchase for the upgrade.
Another factor to consider is the pop in of RAM you need.
There are several types available, such as DDR3, DDR4, and DDR5.
Each bang out has different speed and performance capabilities.
Again, refer to your computers documentation to determine the appropriate jot down of RAM for your system.
Additionally, its important to ensure that you have a clean and static-free work environment.
Its also recommended to work on a non-static surface, such as a rubber mat or an anti-static wristband.
Finally, gather all the necessary tools for the job.
While changing out RAM requires minimal tools, having them on hand will make the process smoother.
The main tool you will need is a screwdriver.
A Phillips-head screwdriver is the most common jot down used for computer cases.
Additionally, its essential to have an anti-static wristband or mat.
These tools help prevent damage to sensitive computer components resulting from static electricity.
Its also a good idea to have a clean, lint-free cloth or compressed air canister.
Keeping your system clean helps prevent overheating and ensures optimum performance.
This will prevent them from getting lost or rolling around while you work.
With these tools on hand, youre ready to proceed to the next steps of the process.
To shut down your system, press the Start menu in the bottom left corner of your screen.
From the options that appear, select Shut down or Power off.
Wait for the computer to complete the shutdown process and power down completely.
It is essential to follow this step diligently before proceeding to the next steps.
However, the general steps outlined below should give you a good starting point.
Start by locating the screws that secure the side panel of your system case.
In most cases, these screws are located on the back of the case.
Use a Phillips-head screwdriver to unscrew and remove them.
Set the screws aside in a safe place, as youll need them later when reassembling the case.
Once the screws are removed, gently slide or lift off the side panel.
Refer to your computers documentation for specific instructions on how to remove the case.
After removing the side panel, youll have a clear view of the computers internal components.
Take a moment to familiarize yourself with the layout and locate the RAM slots.
Depending on the motherboard, the RAM slots may be vertically or horizontally aligned.
The RAM slots are usually long, thin slots with small clips or levers on either side.
These slots are where the RAM modules are inserted and secured to the motherboard.
Look for long, rectangular slots on the motherboard.
Depending on the motherboard, the RAM slots may be color-coded or labeled to indicate their specific configuration.
Most motherboards have two to four RAM slots, but this can vary depending on the model and specifications.
Take a close look at the RAM slots and note any clips or levers on either side.
These are designed to secure the RAM modules in place.
Youll need to release these clips or levers when you are ready to remove or insert the RAM modules.
Familiarizing yourself with the location and operation of these clips will make the process smoother.
Its important to correctly identify the RAM slots to ensure a successful RAM upgrade.
These are used to secure the RAM modules in place.
Gently push these clips or levers outward to release theRAM module.
Once the clips or levers are released, the RAM module will pop up at a slight angle.
Carefully grasp the edges of the RAM module and pull it straight out from the slot.
Avoid touching the metal contacts on the bottom of the module, as this can interfere with proper functioning.
Repeat this process for any additional RAM modules you have installed.
Depending on your computers configuration, you may have one or more modules to remove.
ensure to remove all the existing RAM modules before proceeding to the next step.
Step 5: Insert the New RAM
Start bytaking out the new RAMmodule from its packaging.
If needed, refer to the manufacturers instructions or documentation to determine the correct orientation of the RAM module.
Align the notch on the bottom of the RAM module with the corresponding notch in the RAM slot.
This ensures that the module is inserted in the correct orientation.
Be gentle, and with a slight angle, insert the module into the slot.
Ensure that the module is fully inserted and securely seated in the slot.
The clips or levers should automatically close and lock the RAM module in place.
Give the module a gentle tug to confirm that it is properly secured.
If you are installing multiple RAM modules, repeat this process for each module, one at a time.
double-check to insert the modules into the correct slots according to your computers specifications or motherboard layout.
Refer to your computers manual or manufacturers documentation for guidance on recommended RAM configurations.
The panel should line up with any screw holes on the back of the case.
Insert the screws into their respective holes and tighten them using a Phillips-head screwdriver.
A properly closed case ensures the internal components are protected and minimizes the risk of damage or disconnection.
With the case fully reassembled, take a moment to ensure everything looks aligned and in place.
Check that all cables are neatly routed and connected securely.
Avoid any visible cables obstructing fans or airflow, as this can impact the cooling of your system.
You have successfully replaced the case and completed the physical installation of the new RAM modules.
Now youre ready to power up your box and enjoy the enhanced performance.
Leaving foreign objects inside the case can cause serious damage to the components when powered on.
Ensure that all other cables, such as themonitor cableand peripherals, are securely connected as well.
Double-check that everything is plugged in correctly to avoid any loose connections.
Once all the cables are connected, press the power button on your system to turn it on.
You should hear the fans spinning, and the computer should start to boot up.
Pay attention to the startup process and look for any error messages or unusual behavior.
After the computer finishes booting up, sign on to your operating system.
Its time to confirm that the new RAM is recognized and functioning correctly.
confirm the information matches the specifications of the RAM you installed.
Ensure they are fully inserted and securely seated in the slots.
If the new RAM is recognized correctly and there are no errors or issues, congratulations!
You have successfully upgraded your computers RAM.
Enjoy the improved performance and faster multitasking capabilities that the additional RAM provides.
With the right support, you’ve got the option to ensure a smooth and successful RAM upgrade.
Throughout the process, be gentle with your computers components and take care when handling the RAM modules.
Properly inserting the new RAM modules into the vacant slots is crucial for their successful installation.
Ensure that the clips or levers lock the modules in place to guarantee a secure connection.
Finally, power up your rig and verify that the new RAM is recognized and functioning correctly.
Now that you have successfully upgraded your computers RAM, enjoy the improved speed and responsiveness of your system.
Enjoy the benefits and continue exploring other ways to enhance your computing setup.
