In this guide, we will walk you through the process of changing the nozzle on your 3D printer.
Over time, the nozzle can become clogged, resulting in poor print quality or even failed prints.
Additionally, if the nozzle gets damaged, it might need to be replaced.
This will prevent any accidental movement of the print head or potential injuries while working on the nozzle.
Start by locating the power switch on your 3D printer and turning it off.
Once the printer is off, unplug it from the power source to ensure complete safety.
Always prioritize your safety when working with any electrical equipment.
Always refer to the manufacturers instructions for specific guidance on your printer model.
With the filament safely removed, we can now move on to the next step of replacing the nozzle.
In the next step, we will focus on cleaning the nozzle thoroughly before installing the new one.
Also, be mindful of the specific cleaning recommendations provided by the manufacturer of your 3D printer.
Now, lets move on to the next step of the nozzle replacement process.
Properly melted and smoothly flowing filament is essential for achieving high-quality prints.
Now, lets proceed to the final step of the nozzle replacement process.
Heres a quick recap:
First, turn off and unplug the 3D printer for safety.
Then, remove the filament from the extruder to prepare for the nozzle replacement.
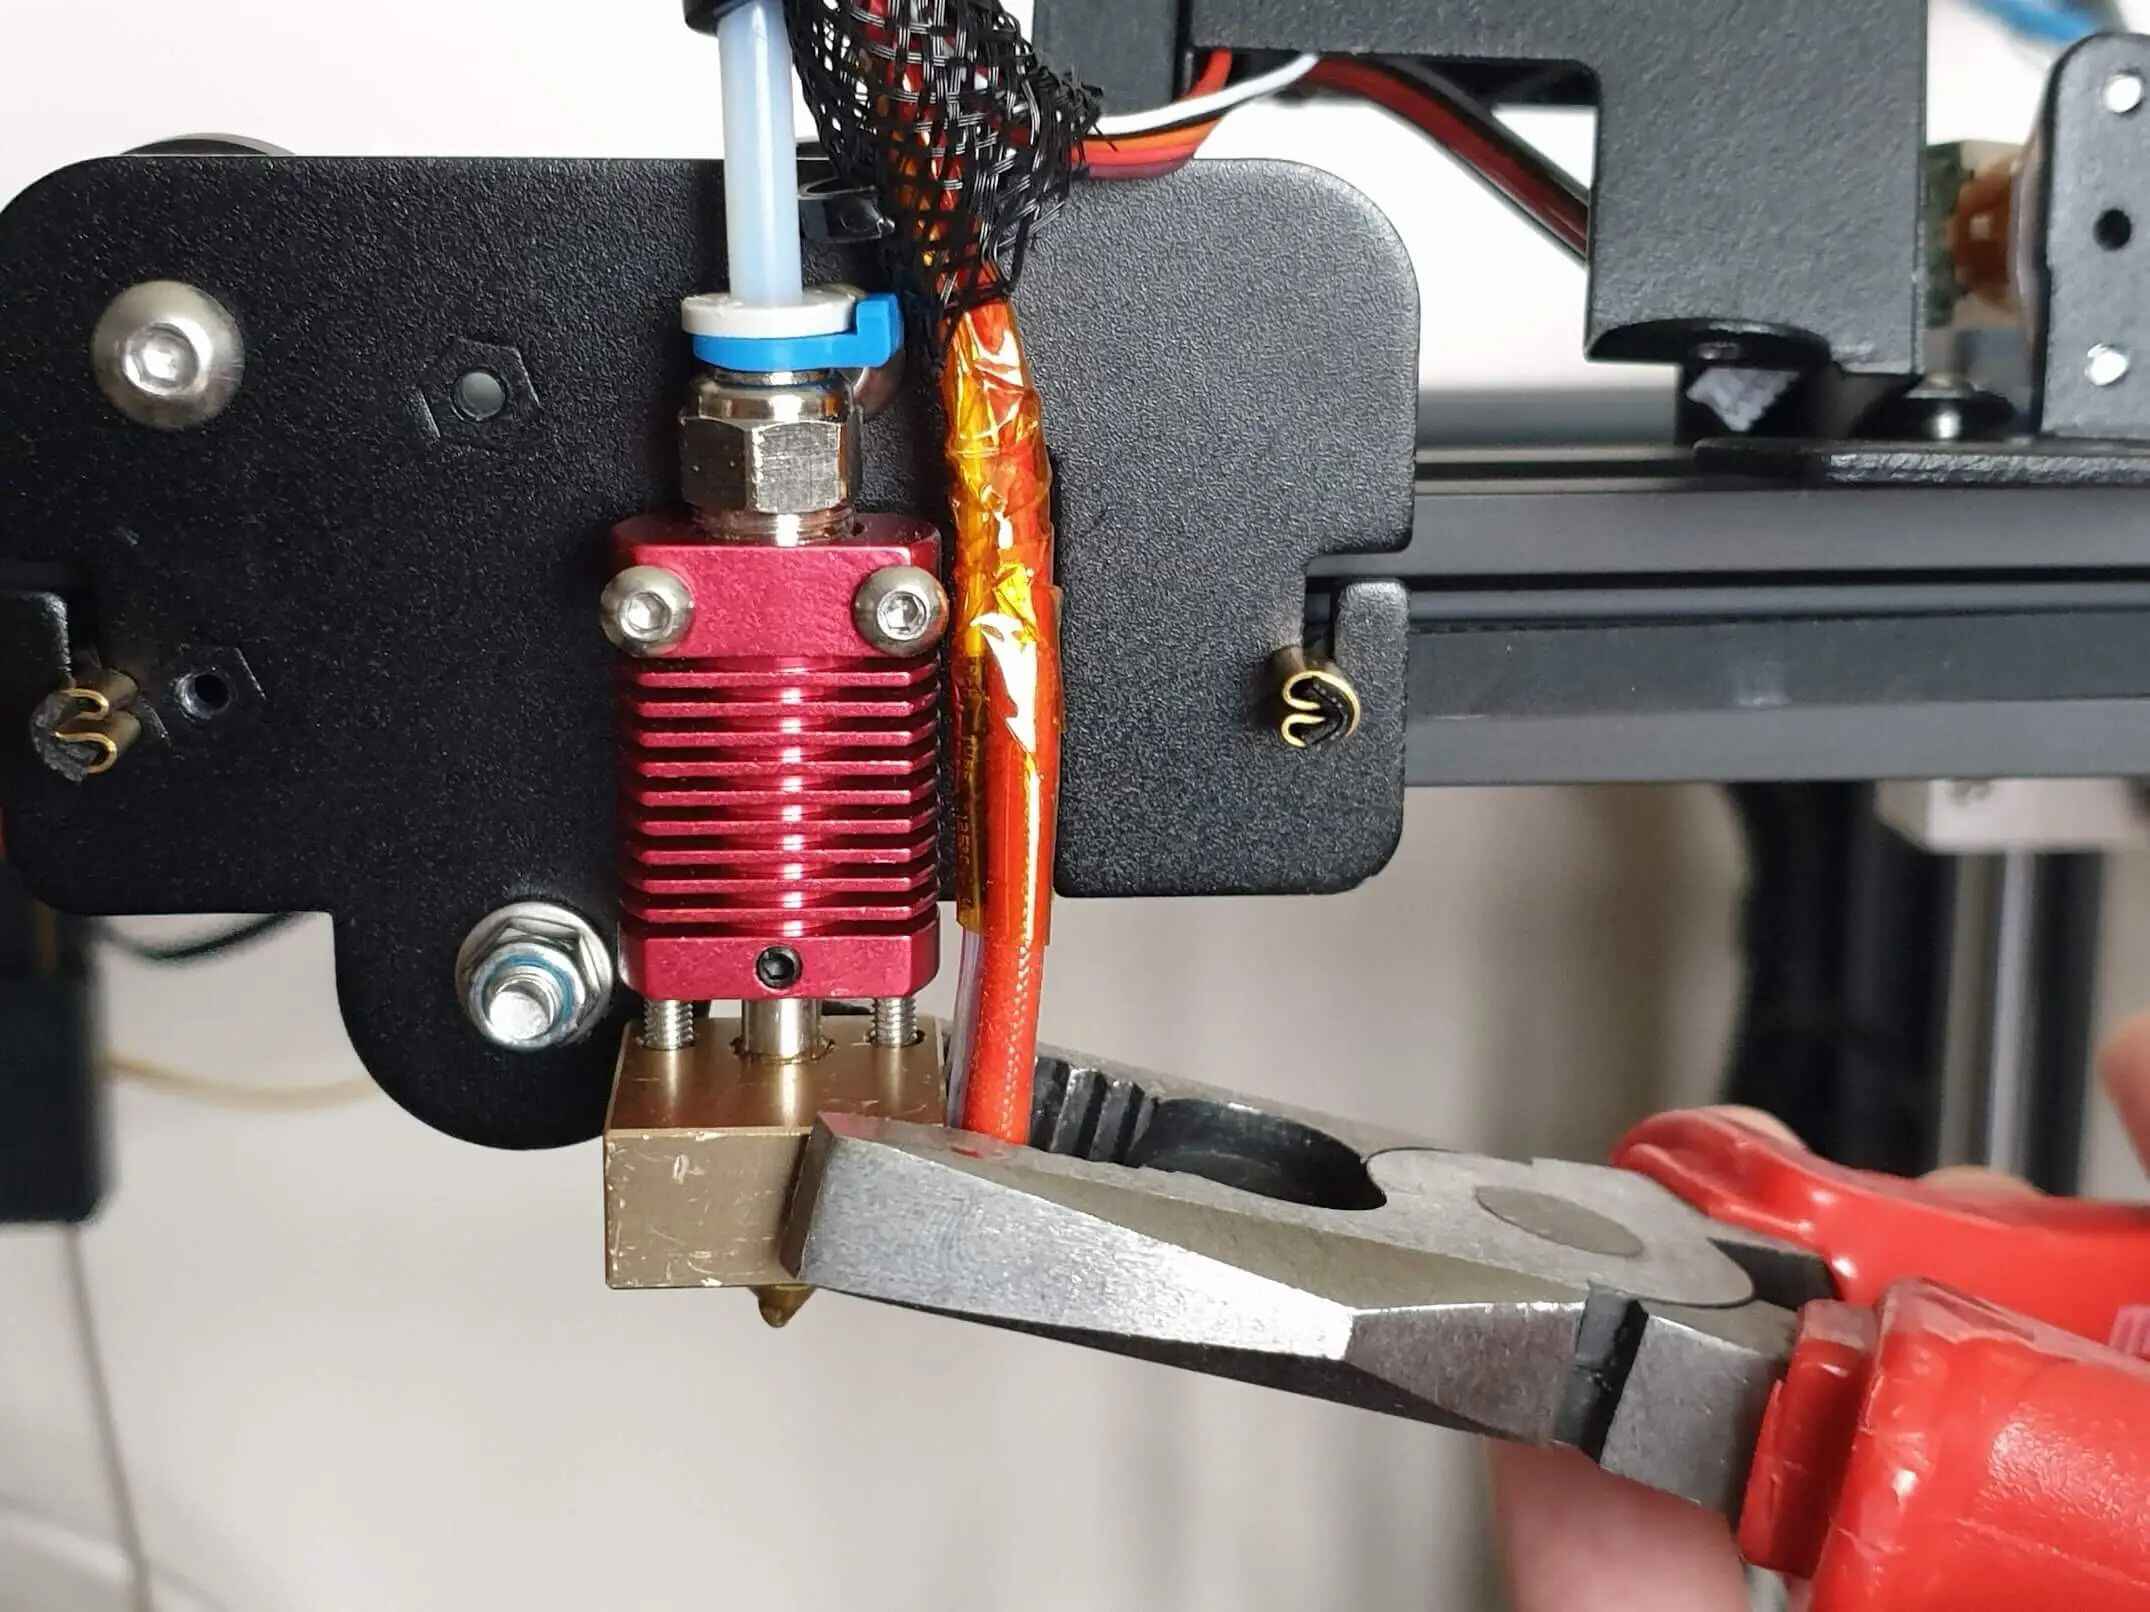
Heat the nozzle and carefully remove the existing nozzle, making sure to clean it thoroughly before proceeding.
Next, set up the new nozzle onto the extruder, ensuring proper alignment and tightening.
Finally, run a test print to evaluate the print quality and make any necessary adjustments.
Remember to consult the manufacturers instructions specific to your 3D printer model for detailed guidance.
Regular maintenance, including nozzle replacement when necessary, is crucial for ensuring consistent and high-quality 3D prints.
