Introduction
Welcome to our comprehensive guide on how to change the graphics card in a laptop.
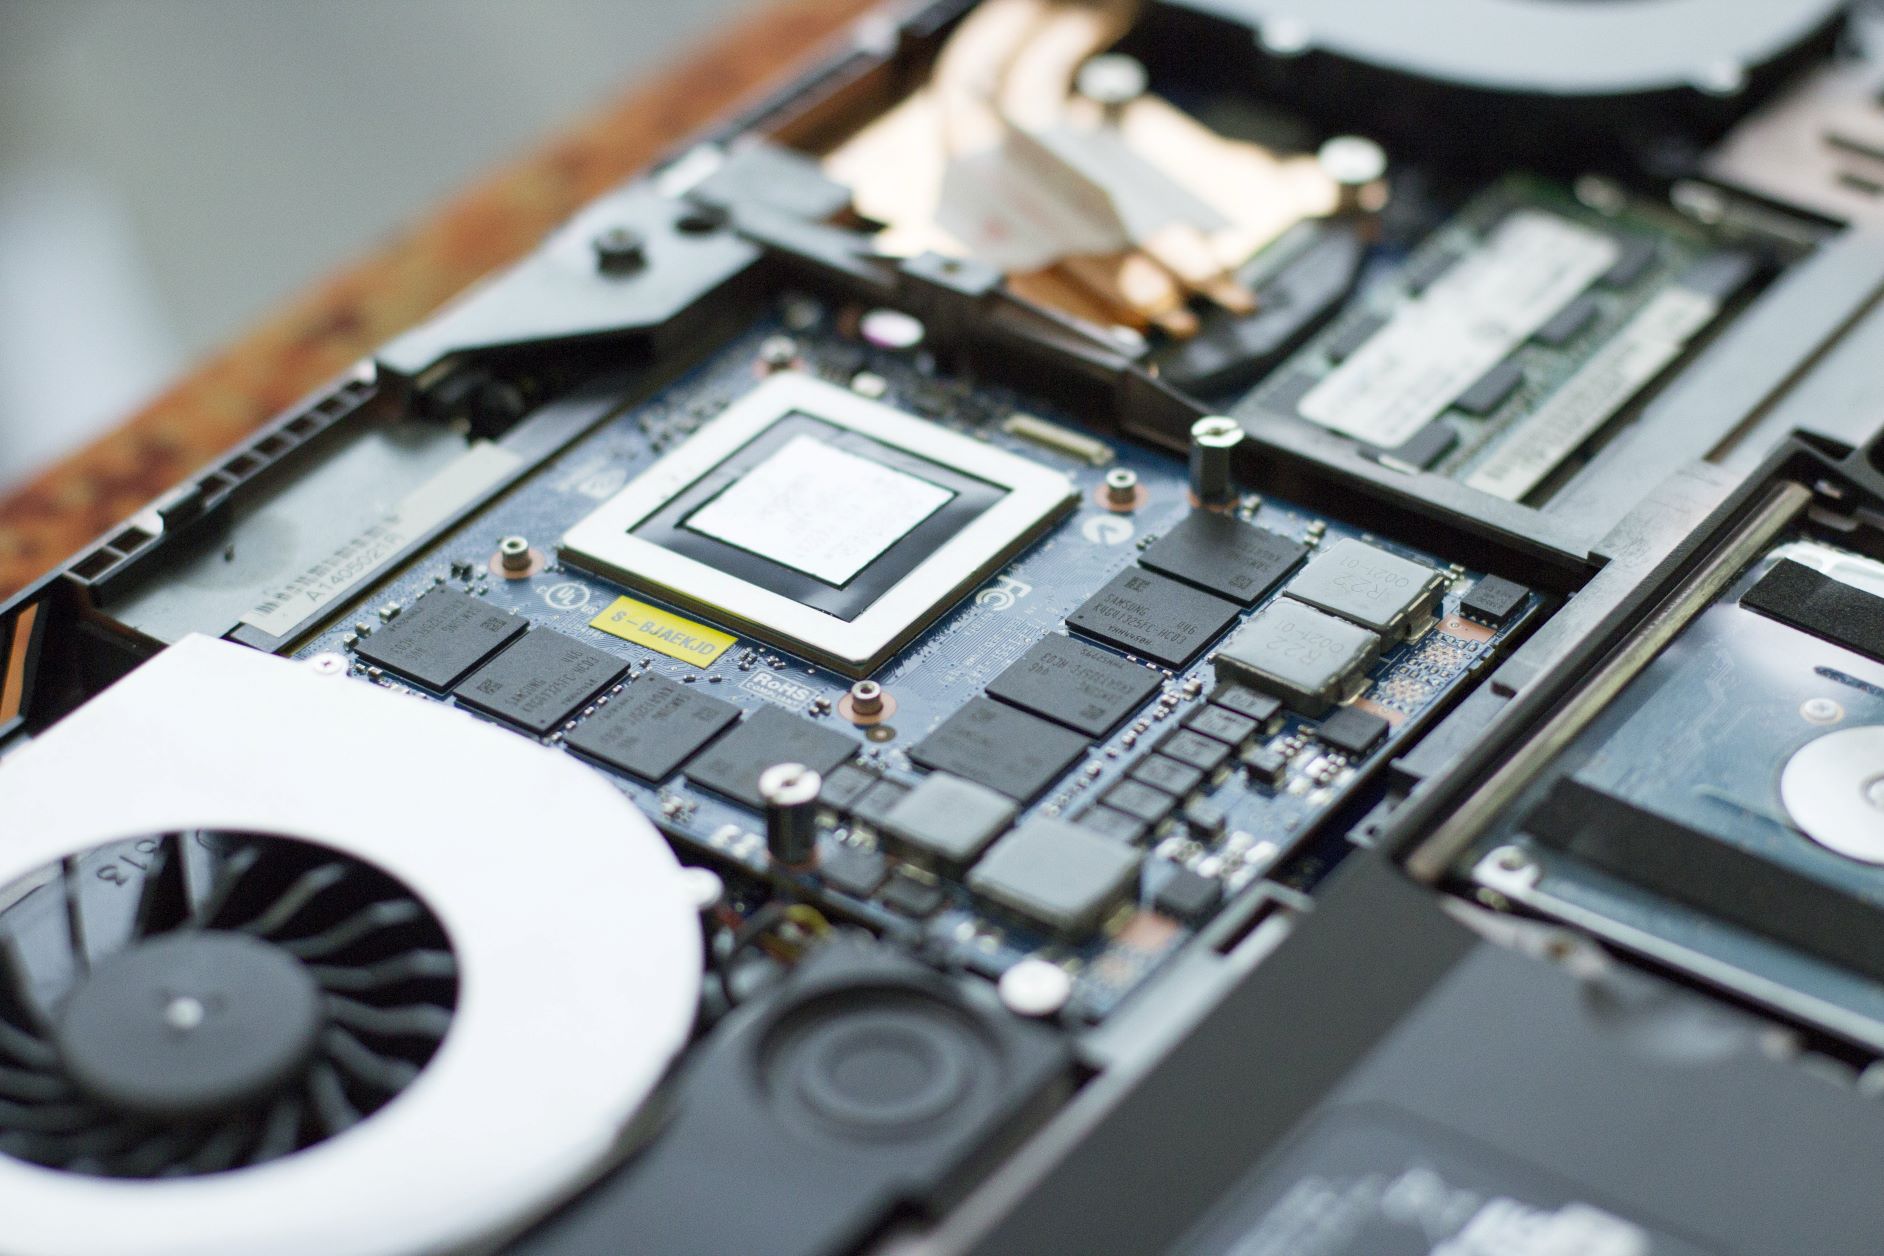
Many models have integrated graphics cards that are soldered onto the motherboard, making them unchangeable.
However, if your laptop does have a removable graphics card, this guide is for you.
c’mon note that changing thegraphics card in a laptoprequires intermediate to advanced technical skills.
While some laptops have user-replaceable graphics cards, others have integrated graphics that cannot be swapped out.
Look for information about the laptops expansion slots or the ability to upgrade the graphics card.
If you cant find any specific details, its worth reaching out to the manufacturers customer support for clarification.
Another important factor to consider is the physical space available inside the laptop.
Furthermore, its crucial to ensure compatibility between the graphics card and your laptops operating system.
Having the right tools on hand will make the process smoother and more efficient.
Well cover this in detail in the following section.
Taking the time to prepare will help ensure a smooth and successful graphics card replacement.
This step will give you access to the internal components, including the old graphics card.
Opening up the laptop is a crucial step in replacing the graphics card.
This step involves careful handling and ensuring that all necessary precautions are taken.
Its important to note that the removal process may vary depending on your specific laptop model.
Always refer to the user manual or manufacturers website for detailed instructions tailored to your laptop.
This step involves careful alignment and ensuring a secure connection for optimal performance.
Its important to be gentle when handling the new graphics card and follow the manufacturers instructions for proper installation.
This step ensures that the graphics card is properly integrated into your system and ready to be utilized.
After connecting the necessary cables and power, the next step is to close up your laptop.
Well cover this in detail in the following section.
Closing the laptop involves putting all the components back together and securing the bottom panel in place.
when you land completed these steps, your laptop should be closed up and ready for use.
Take a moment to admire your work and appreciate the successful installation of the new graphics card.
Installing the appropriate drivers ensures compatibility and optimal performance of the graphics card with your laptops operating system.
However, the general steps outlined above should guide you through the process.
In the next section, well discuss how to test the functionality of your new graphics card.
By thoroughly testing your new graphics card, you might identify any potential issues or performance limitations early on.
Your laptop is now equipped with an upgraded graphics card that can enhance your gaming and multimedia experiences.
In this guide, we covered the essential steps involved in changing the graphics card of a laptop.
We started by checking compatibility to ensure that your laptop supports graphics card upgrades.
Then, we discussed the necessary tools and preparations to make before diving into the process.
We also covered connecting cables and power to ensure proper integration.
Embrace the newfound power of your laptops upgraded graphics card and let your creativity and enjoyment soar!
