Introduction
Welcome to our step-by-step guide on how to change a bulb in a projector.
Over time, projector bulbs dim and lose their brightness, affecting the quality of the projected image.
In this guide, we will walk you through the process of changing a bulb in a projector.
We will provide detailed instructions and helpful tips to make this task easier for you.
The user manual will provide model-specific instructions and any additional precautions you should take during the bulb replacement process.
Now, lets gather the tools and materials youll need to change the bulb in your projector.
Having everything ready ahead of time will help streamline the process and ensure a smooth bulb replacement.
ensure to consult the user manual for any additional tools or materials recommended by the manufacturer.
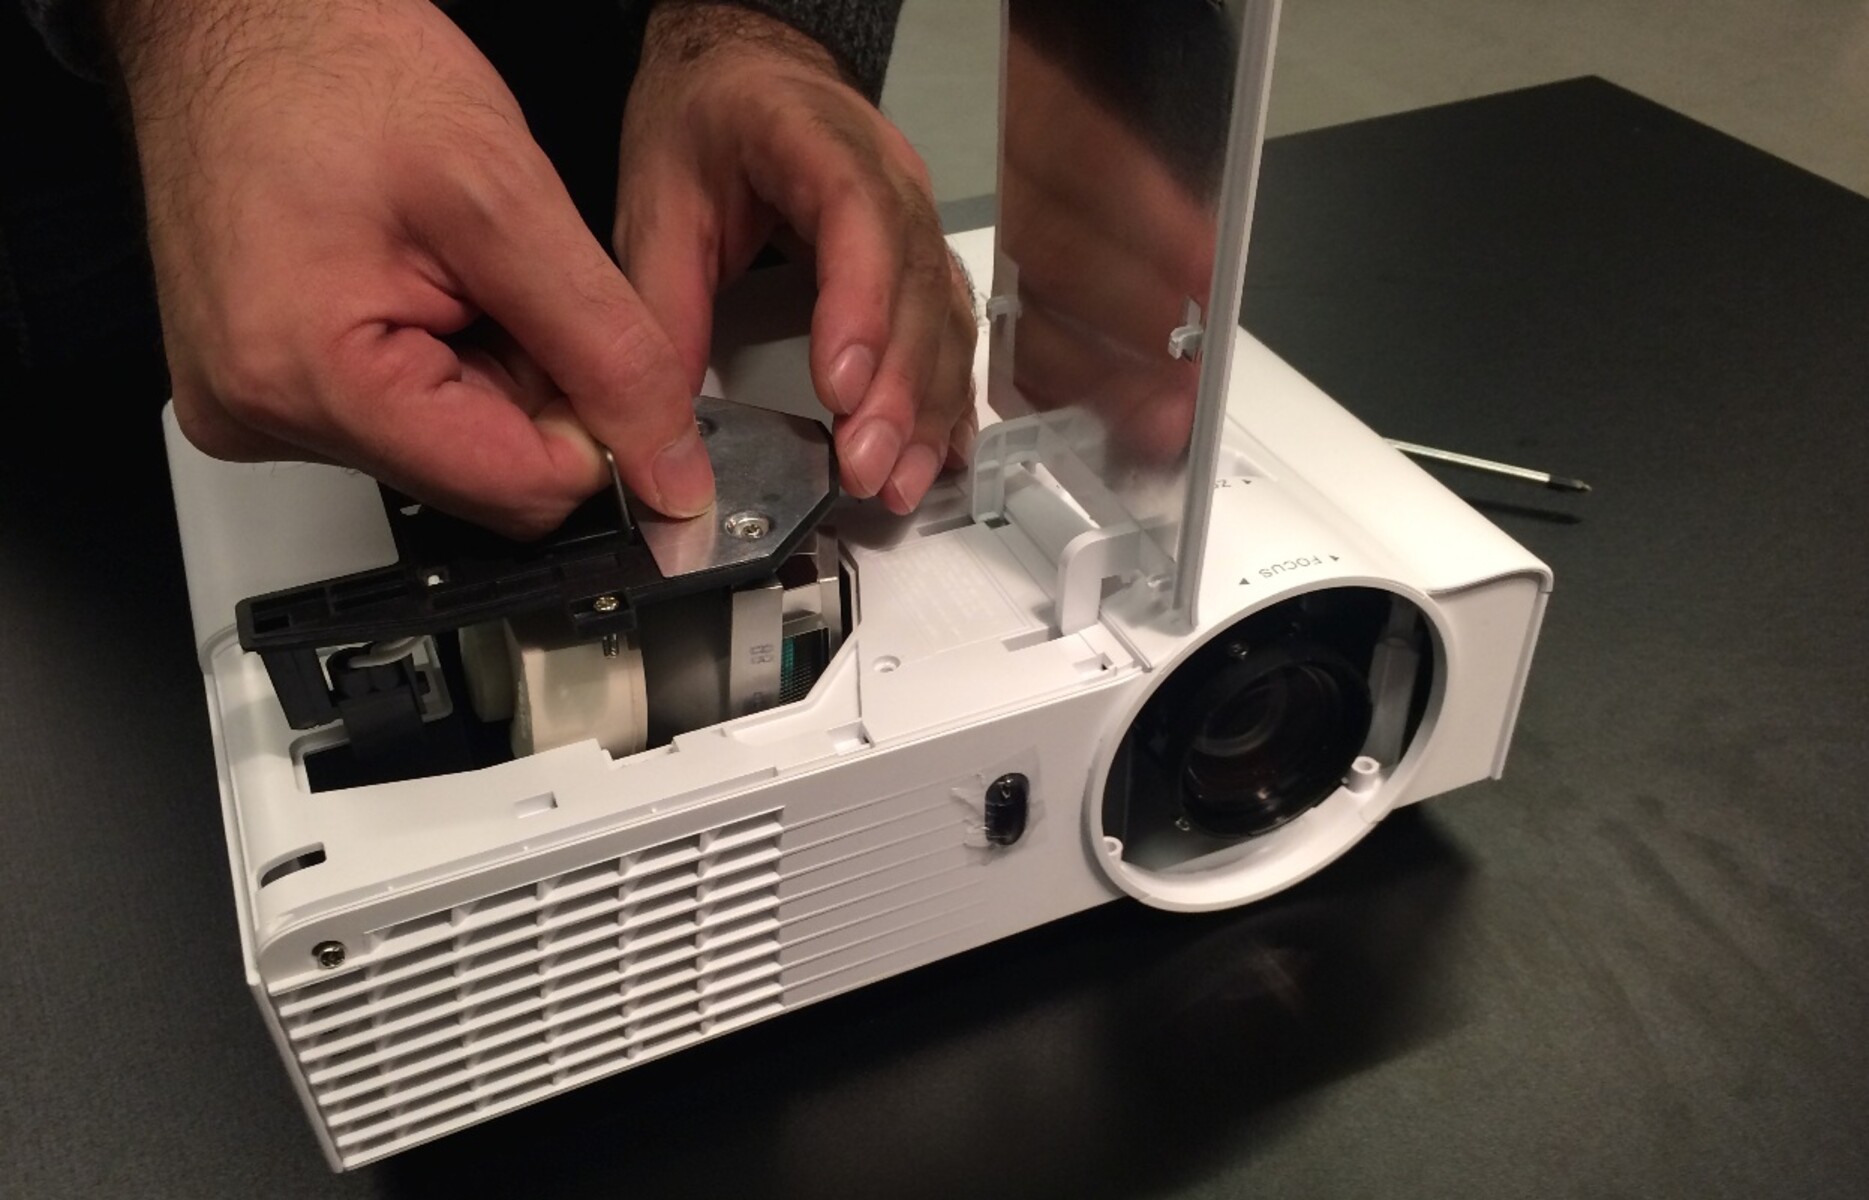
In the next step, we will guide you through removing the bulb access panel.
In the next step, we will guide you through the process of identifying and removing the old bulb.
This knowledge will be crucial as you move on to the next step: removing the old bulb.
Now, its time to move on to the next step: installing the new bulb for optimal performance.
You have successfully replaced the bulb in your projector.
Remember, proper preparation is key to a successful bulb replacement.
This will help you navigate the process with confidence.
Ensure that the projected image is clear, bright, and free from any abnormalities.
Adjust the prefs if necessary to optimize the image quality.
